Logging into PeerIQ
This section describes logging into PeerIQ for the first time. After logging in for the first time, you must immediately change your password and then log in again.
To log into PeerIQ:
-
Open a web browser.
-
Navigate to the PeerIQ web interface:
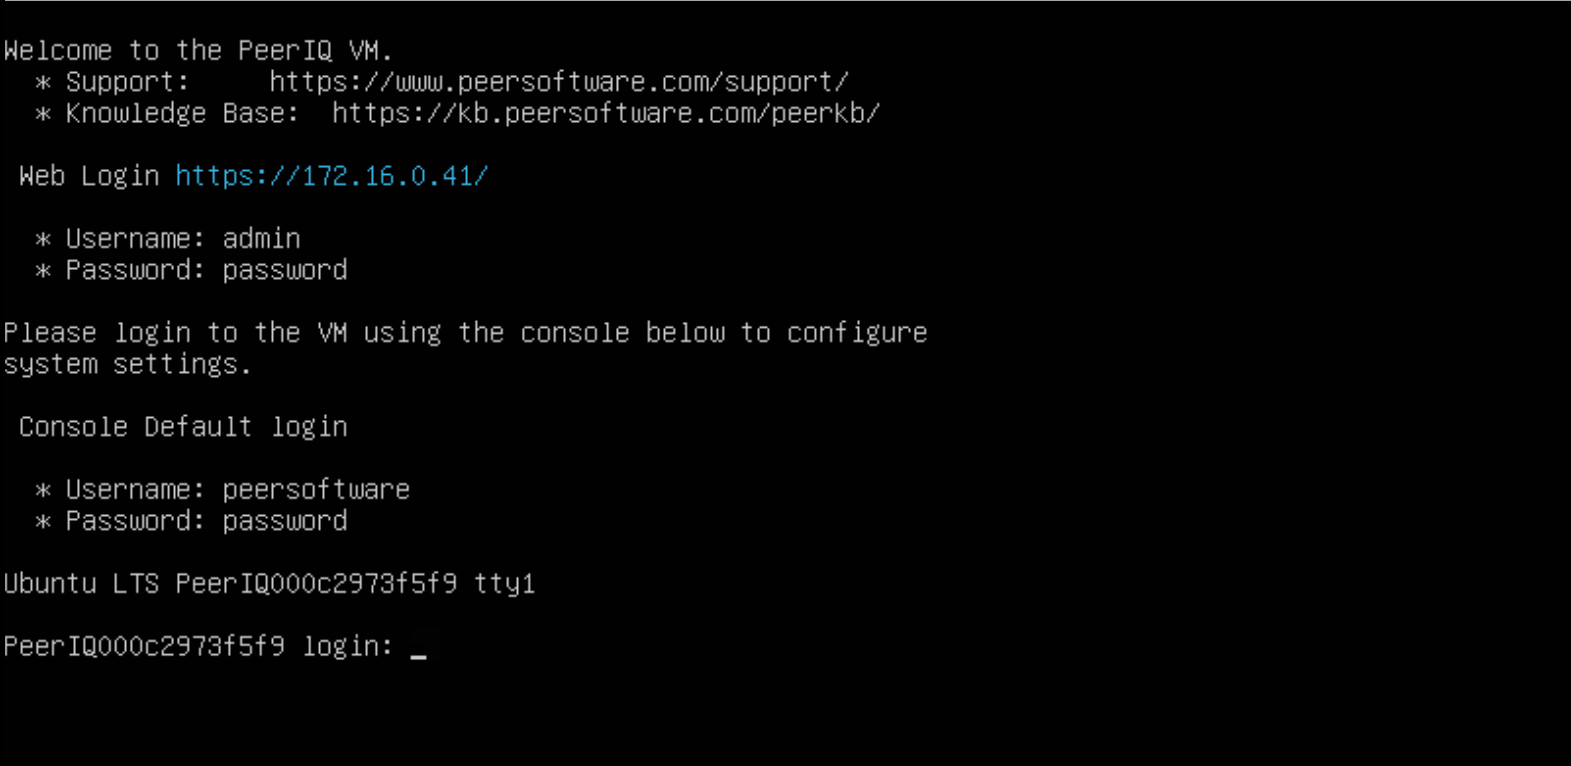
- For Virtual Appliances:
The PeerIQ interface is typically accessible at
https://<Appliance IP or Hostname>. If you are unsure of your appliance's IP address, you can retrieve it from either:- Your hypervisor's management interface.
- The console of the PeerIQ virtual appliance itself.
- For Red Hat or Rocky Installations:
The PeerIQ interface is typically accessible at
https://<Server IP or Hostname>:4430. The port 4430 is set by default but can be modified during the installation of PeerIQ.
- For Virtual Appliances:
The PeerIQ interface is typically accessible at
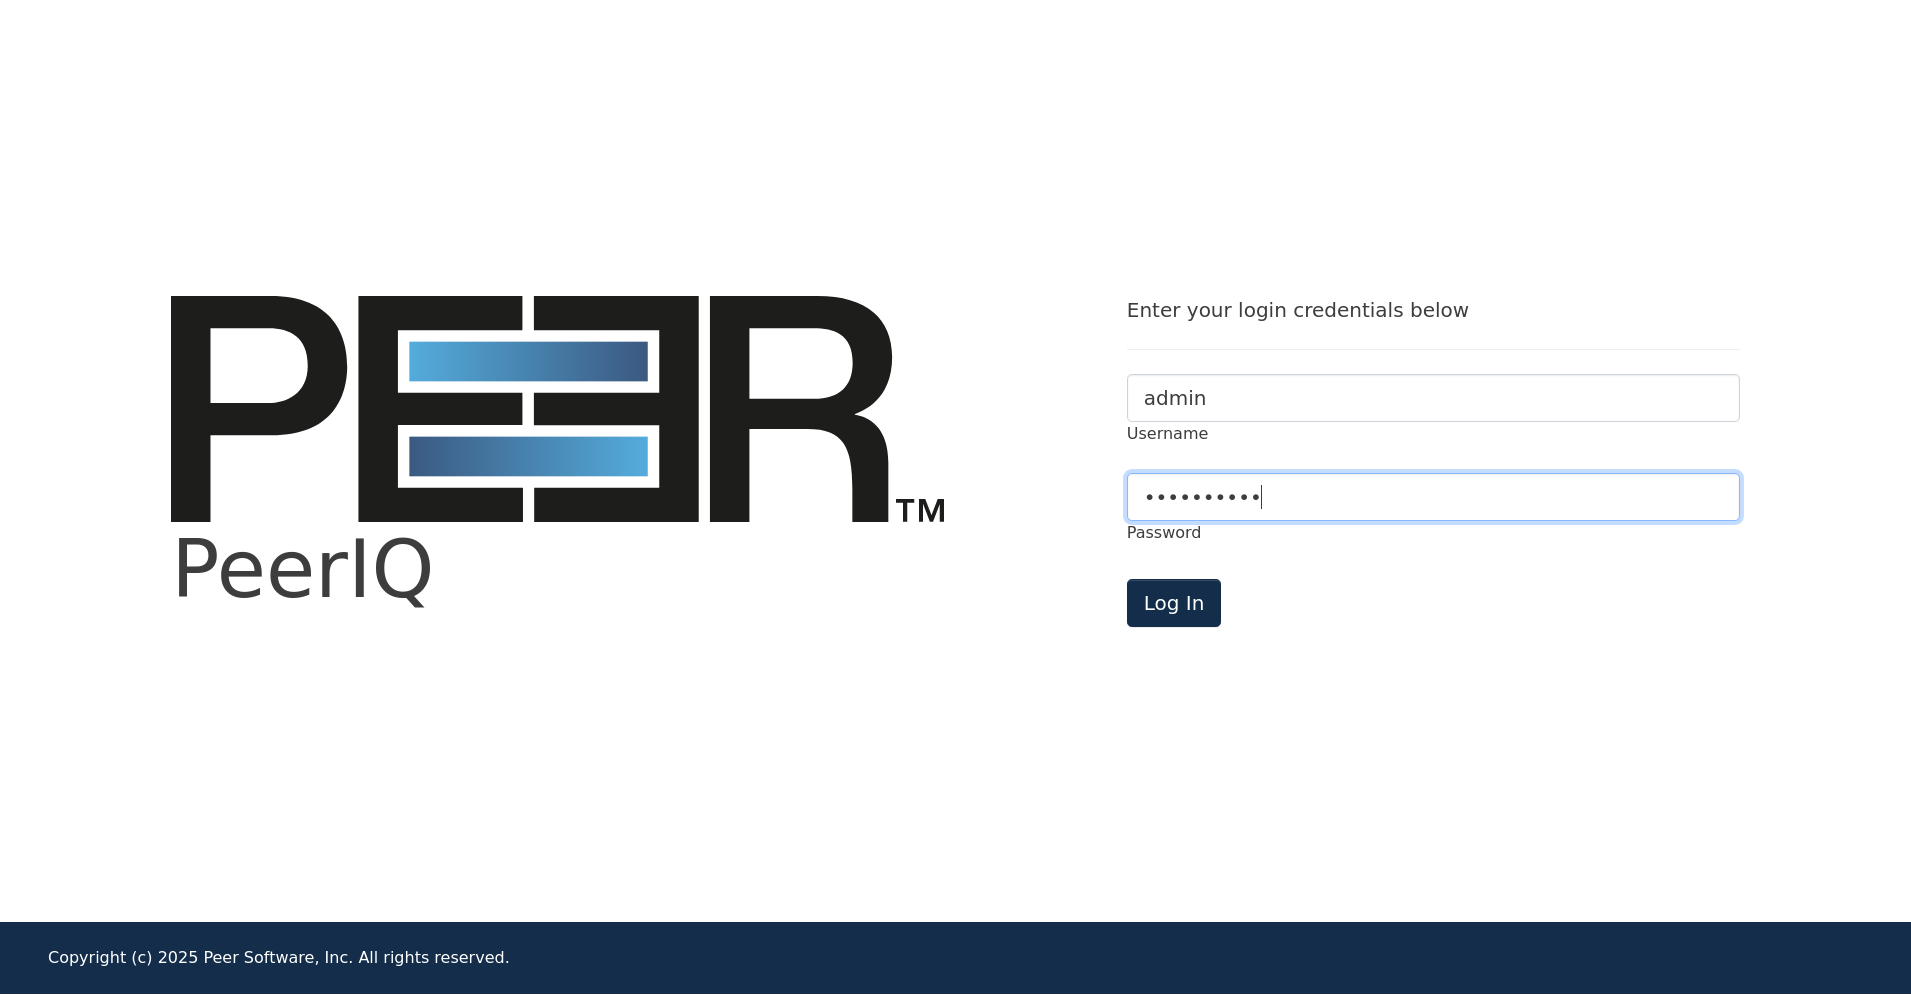
-
In the login page, enter the default credentials: admin and password.
-
Click Submit.
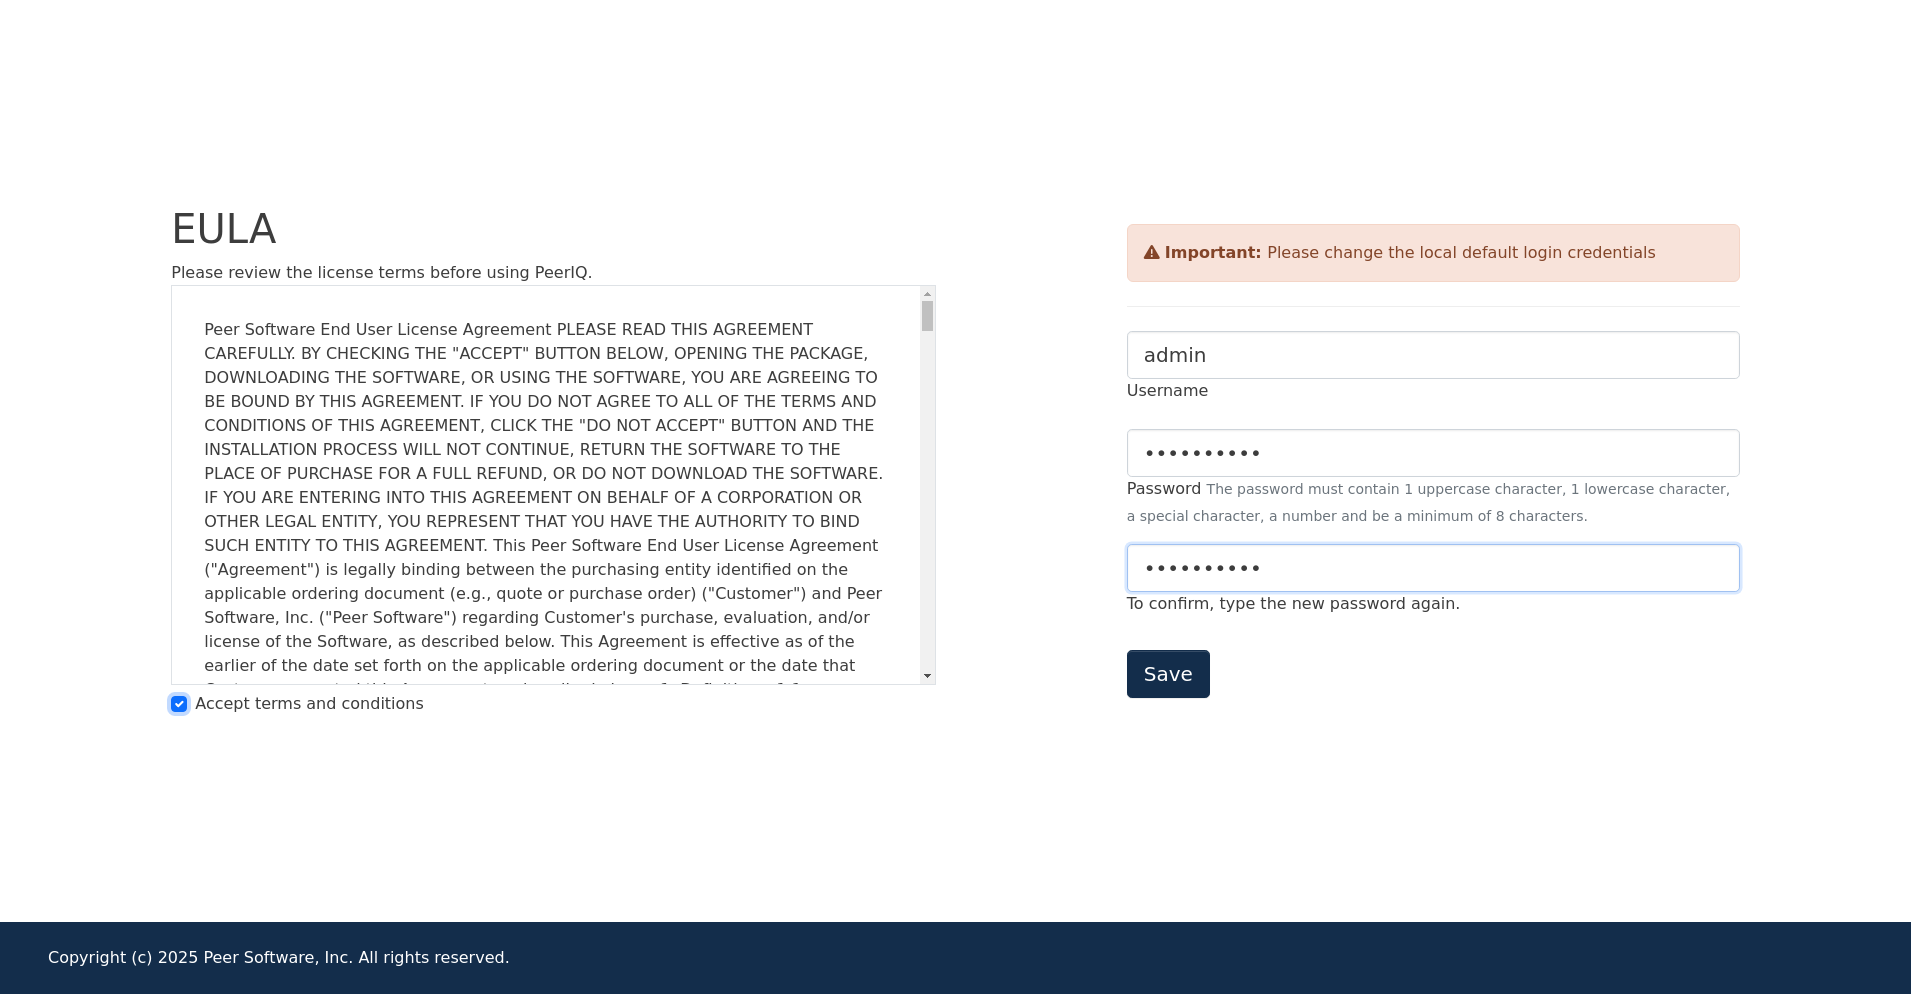
The End User License Agreement (EULA) is displayed on the login page the first time you log in. You must accept the EULA to use PeerIQ.
-
Click the Accept terms and conditions checkbox to accept the license agreement.
-
Change the default username and password of the default Administrator account.
A password must be at least eight characters in length, contain at least one number, one uppercase character, one lowercase character, and a special character (such as %, \$, #, {, }, ˜, ˆ, \, &).
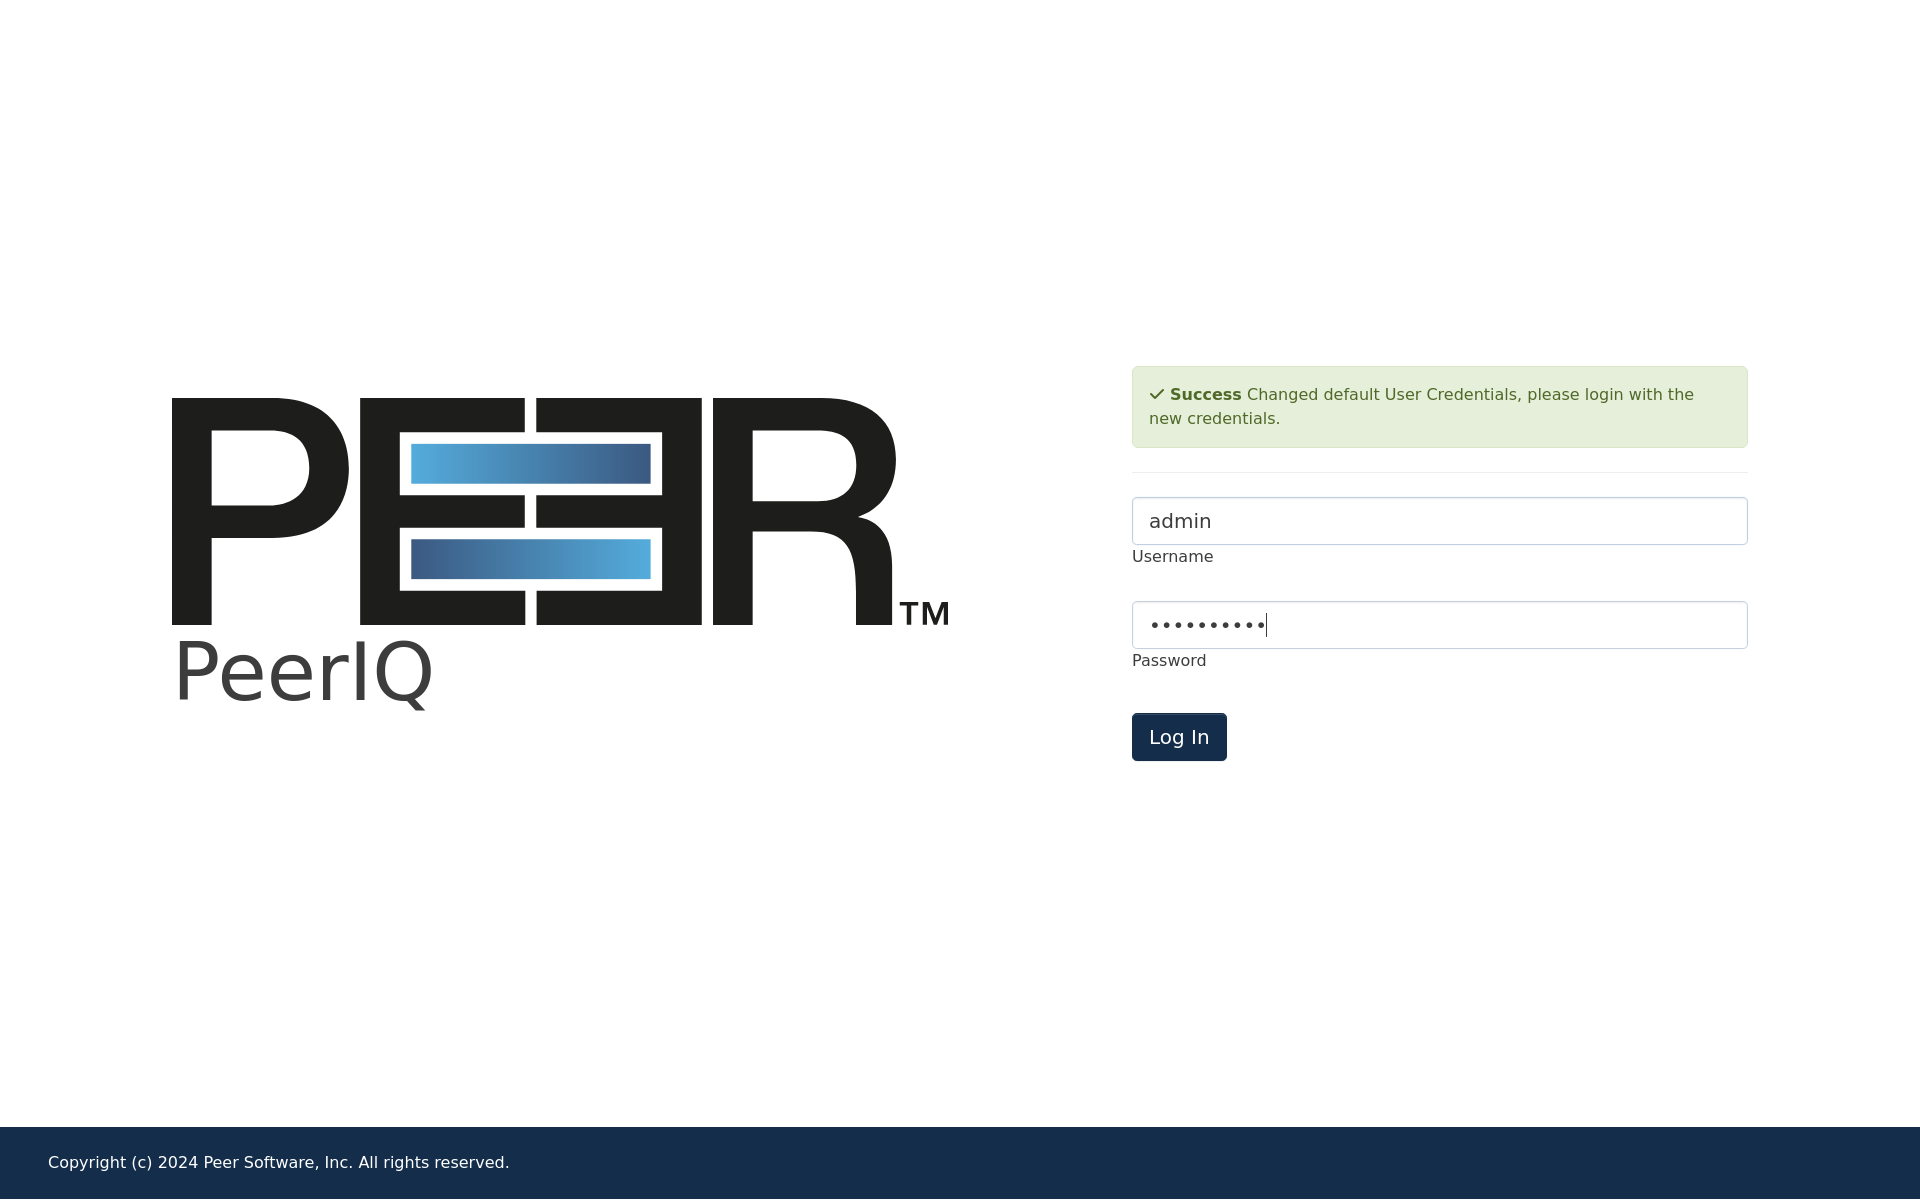
Once you have accepted the EULA and successfully changed the login credentials, the login page is redisplayed with a success message.
-
Log in again using your new password.
Managing Your PeerIQ Account
You can manage your PeerIQ account on the Account page, including changing your password and account details, adjusting your time settings and updating your preferences.
To access your account:
-
Click your username at the top of any PeerIQ page.
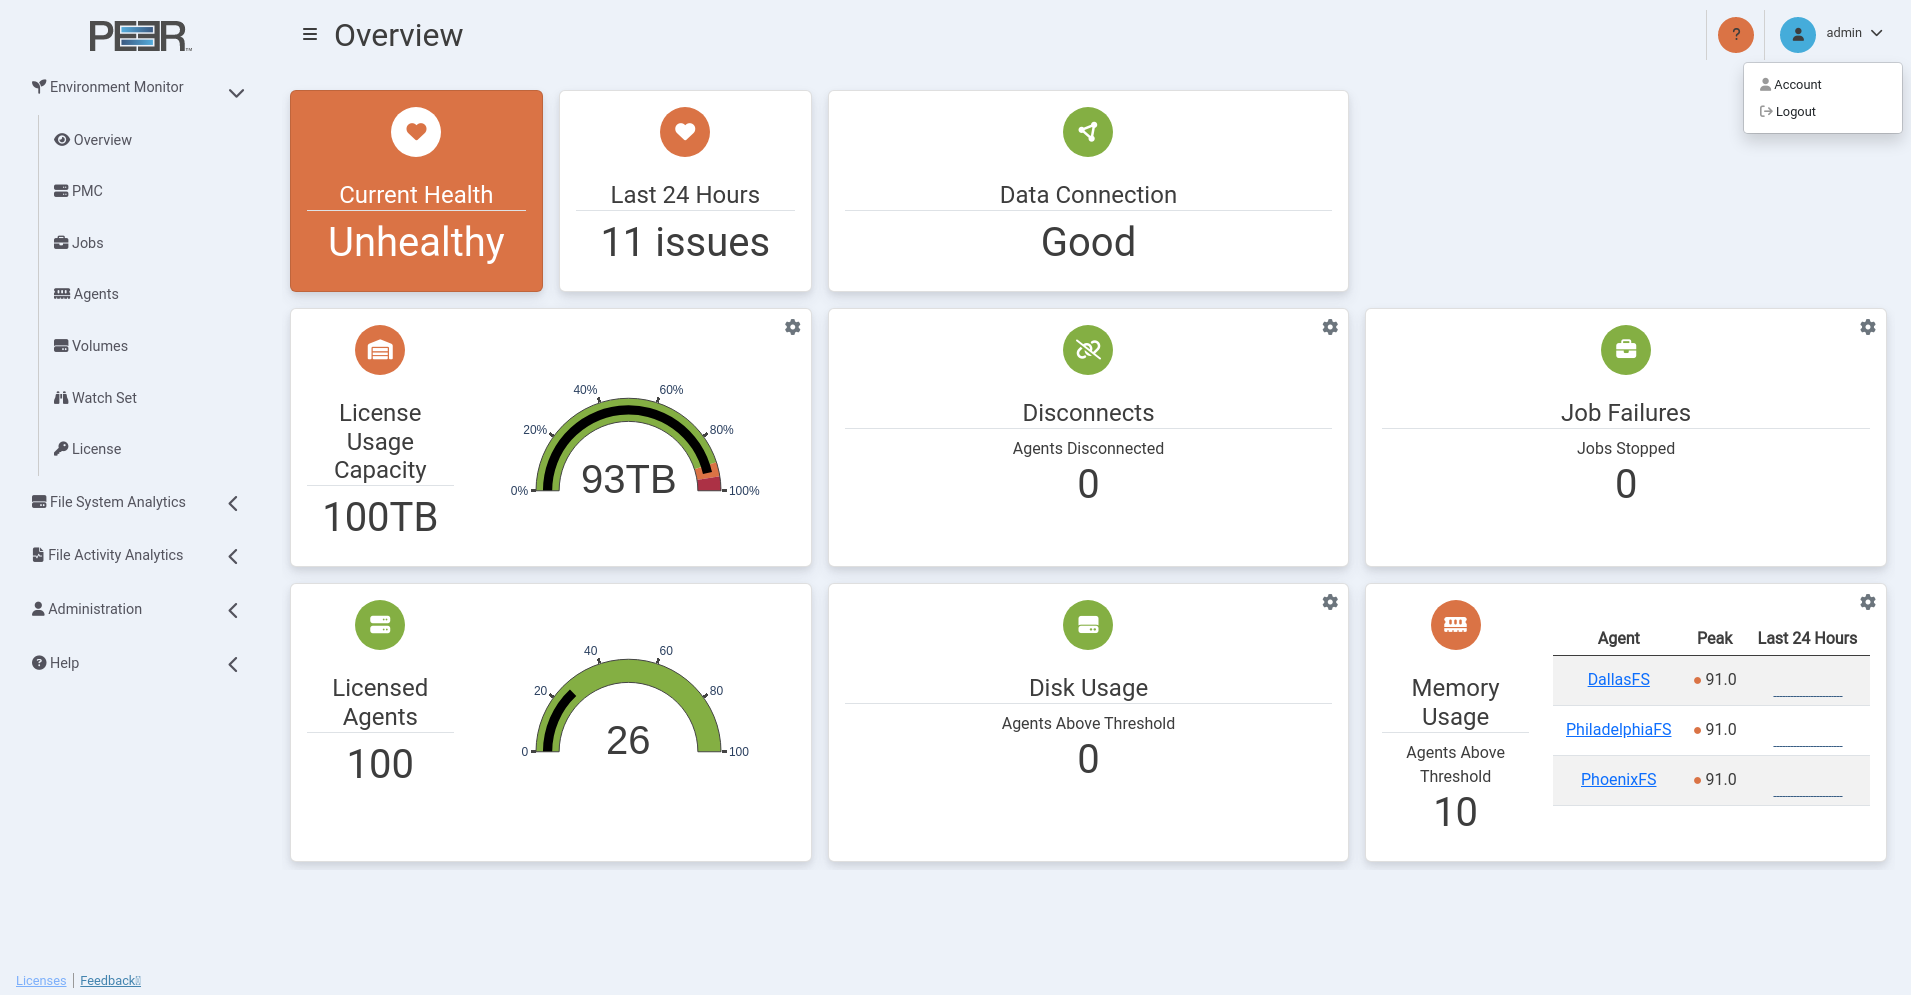
-
Select Account. The Account page is displayed.
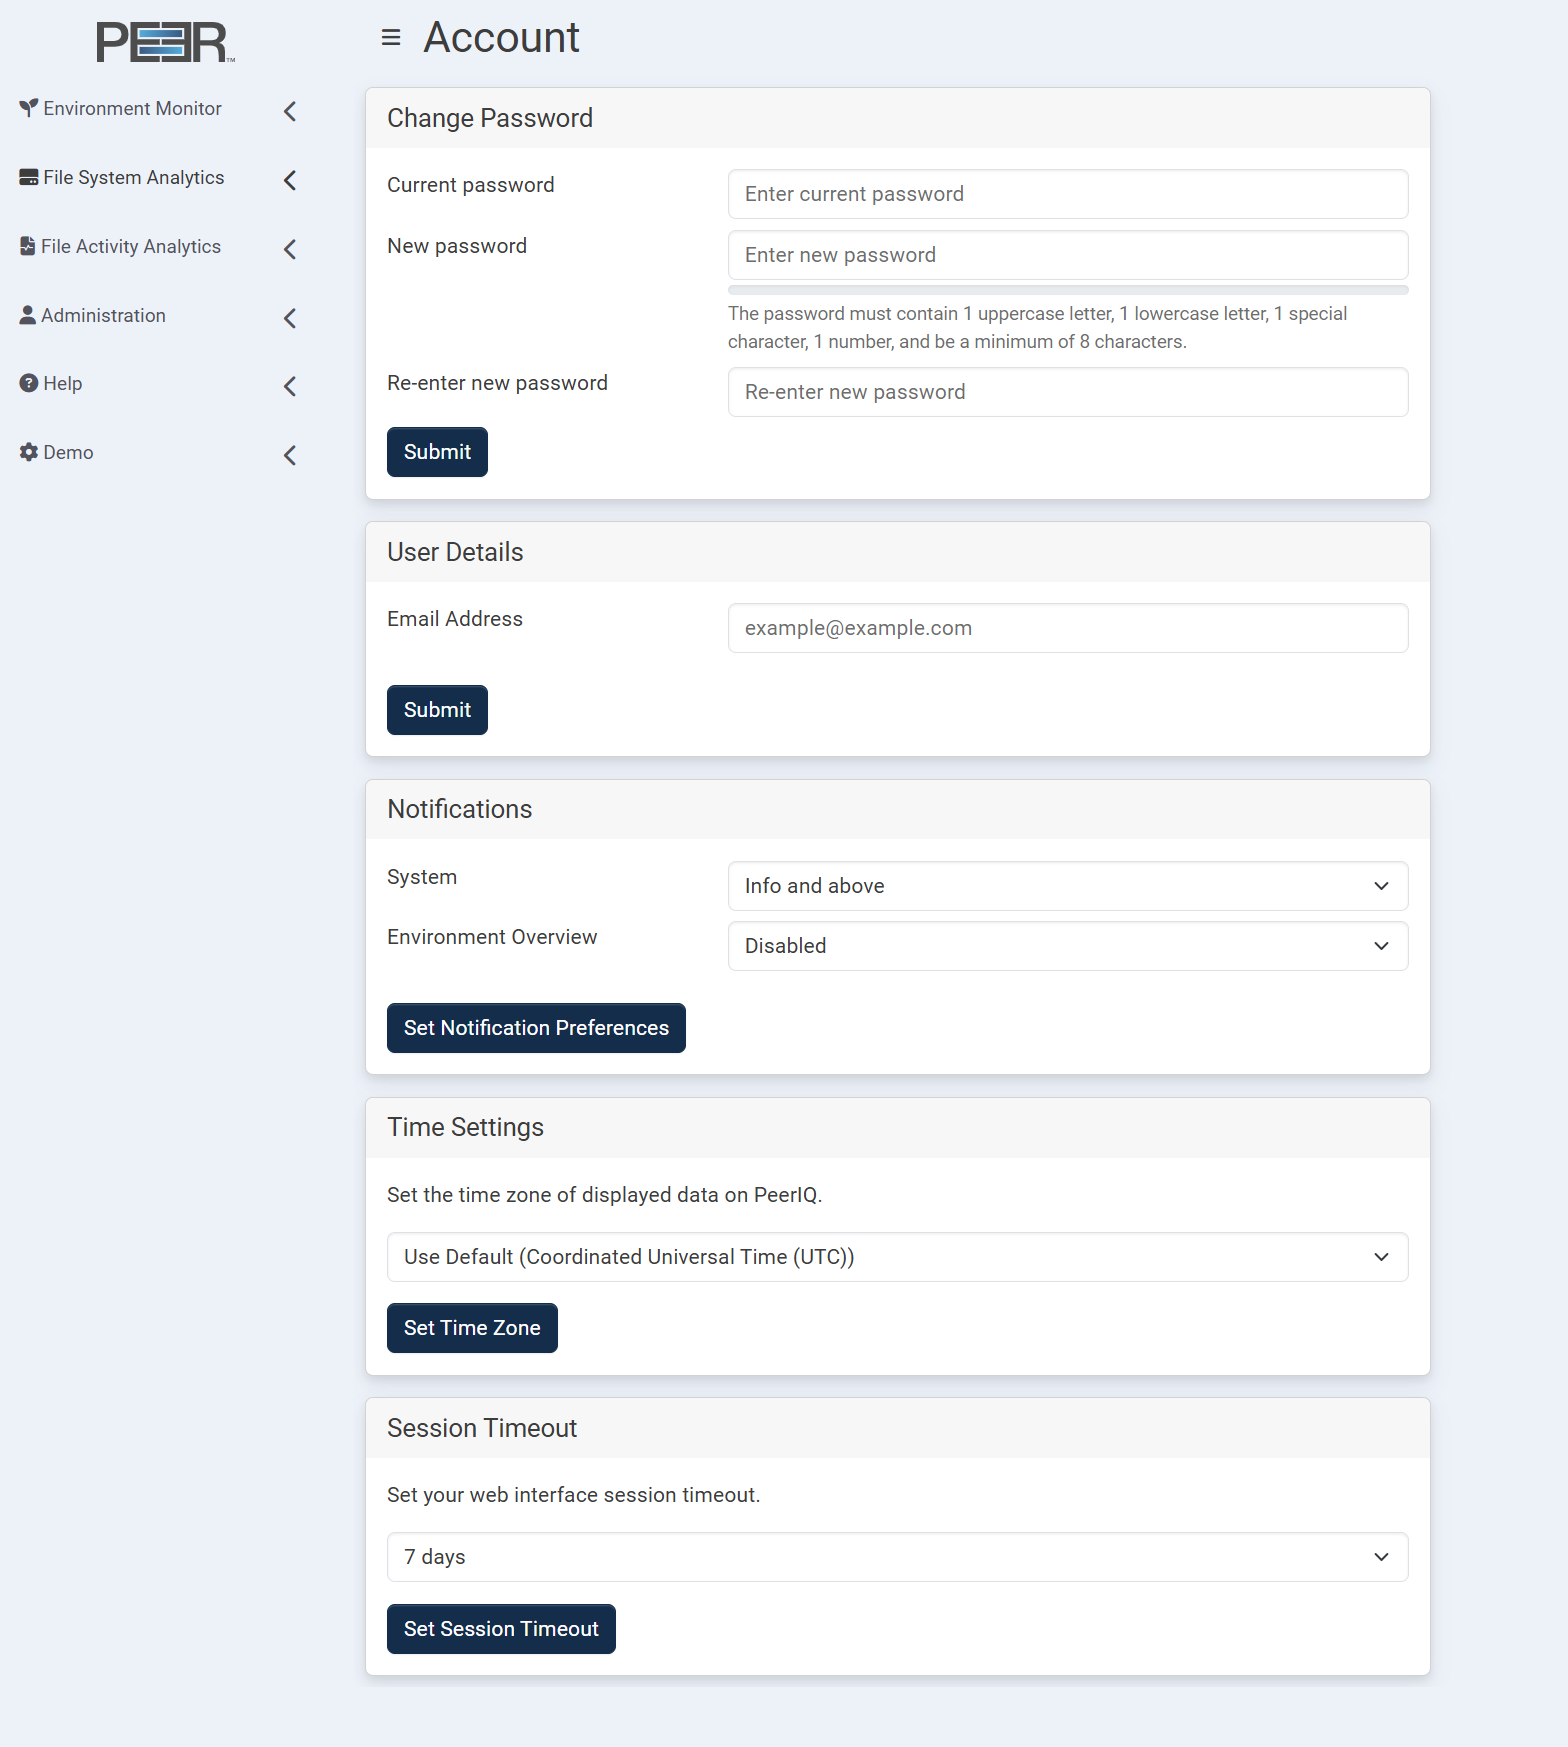
Changing Your Password
This feature is not available for accounts managed through LDAP.
To change your password:
- In the Current password field, enter your current password.
- In the New password field, enter the new password.
A password must be at least eight characters long, contain at least one number, one uppercase letter, one lowercase letter, and one special character (such as %, $, #, {, }, ~, ^, \, &).
- In the Re-enter new password field, re-enter your new password.
- Click Submit.
Updating Your Email Address
The User Details card displays the email address associated with your PeerIQ account. To update it:
- In the Email Address field, enter your new email address.
- Click Submit to save the change.
This address is used for system notifications and account-related messages.
Managing Notification Preferences
The Notifications card controls which notification categories are sent to your account and the severity level required to generate a notification.
Notification preferences are configured separately for each available category:
- System: Controls notifications about account activity and important PeerIQ system events.
- Environment Overview: Controls notifications generated from the Overview page. When enabled, PeerIQ sends a notification when an Overview page threshold is exceeded at or above the selected alert level.
For each category, choose one of the following options from the dropdown menu:
- Disabled: No notifications are sent for that category.
- Error: Notifications are sent only when an error-level alert is triggered.
- Warning and above: Notifications are sent for warning-level and error-level alerts.
- Info and above: Notifications are sent for informational, warning-level, and error-level alerts.
To change your notification preferences:
- In the System dropdown, select the minimum alert level that should send system notifications, or select Disabled.
- In the Environment Overview dropdown, select the minimum alert level that should send notifications when Overview page thresholds are exceeded, or select Disabled.
- Click Set Notification Preferences to apply your changes.
Changing Your Time Zone Settings
Use the Time Settings card to configure the time zone displayed across the PeerIQ interface. Choose your preferred time zone from the dropdown menu:
- Coordinated Universal Time (UTC) – displays all time-related data in UTC.
- Local Browser Time Zone – matches the time zone of your web browser.
The default time zone is set by PeerIQ administrators, but each user can adjust this setting individually.
Click Set Time Zone to save your selection.
Setting Your Session Timeout
The Session Timeout card defines how long your session remains active before automatic sign-out. Use the dropdown menu to select your preferred timeout length, then click Set Session Timeout to apply the change.
Note: Updating the timeout affects only new sessions. Existing sessions remain active until they naturally expire or you sign out manually.
Notifications
PeerIQ provides a centralized notification system to alert users about important events, updates, and system activity. Notifications can be accessed from any page in the PeerIQ web interface.
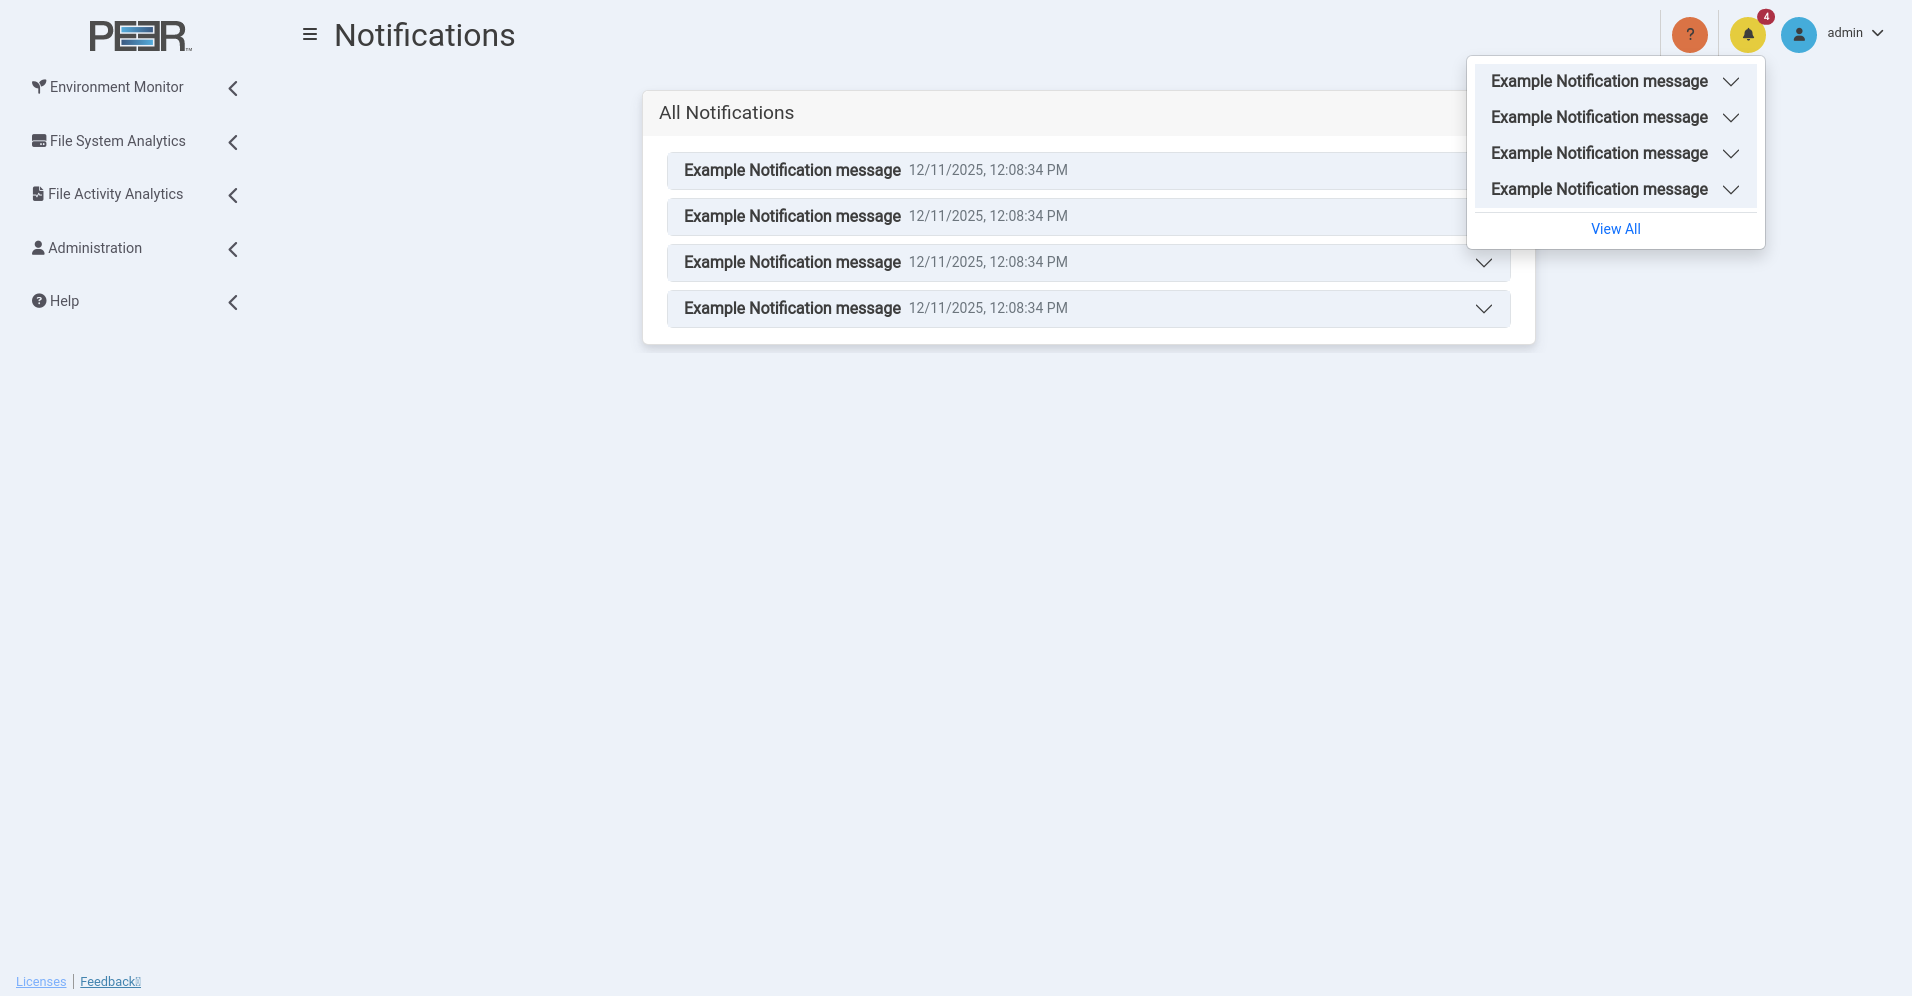
Accessing Notifications
In the top-right corner of every page, a yellow bell icon indicates the presence of notifications. When new notifications are available, a red badge appears over the bell, displaying the number of unread items.
Click the bell icon to open a drop-down list showing recent notifications. Each entry includes a short description and timestamp.
- Clicking a notification expands it to display additional details.
- Selecting View All at the bottom of the drop-down opens the full Notifications page.
Notifications Page
The Notifications page lists all notifications generated by the PeerIQ system. Each message is shown with its timestamp and title.
Clicking the downward arrow on a notification expands it to display the full message content, providing additional context or details about the event.
Notifications are retained for review to help administrators and users monitor system activity and configuration changes across PeerIQ. PeerIQ keeps the ten most recent notifications available for review. When a new notification is added, the oldest entry is automatically discarded to maintain this limit.