Select OAuth 2.0 under Authentication to enable two-factor authentication for sending email notifications through supported providers such as Google Workspace (Gmail) or Microsoft 365. Enter the provider-specific information, update the firewall if required, authorize the account, and verify the configuration before saving.
Important: You must register PeerGFS as an OAuth client (create an OAuth client application in Google or Microsoft 365) before completing the Email Configuration section. When creating the OAuth client, select an application type that supports redirecting to http://localhost (for example, Desktop/Native application). This ensures that Peer Management Center can complete the authorization process.
To configure OAuth2 authentication:
1.Under Provider, select the email provider: Microsoft 365 or Google.
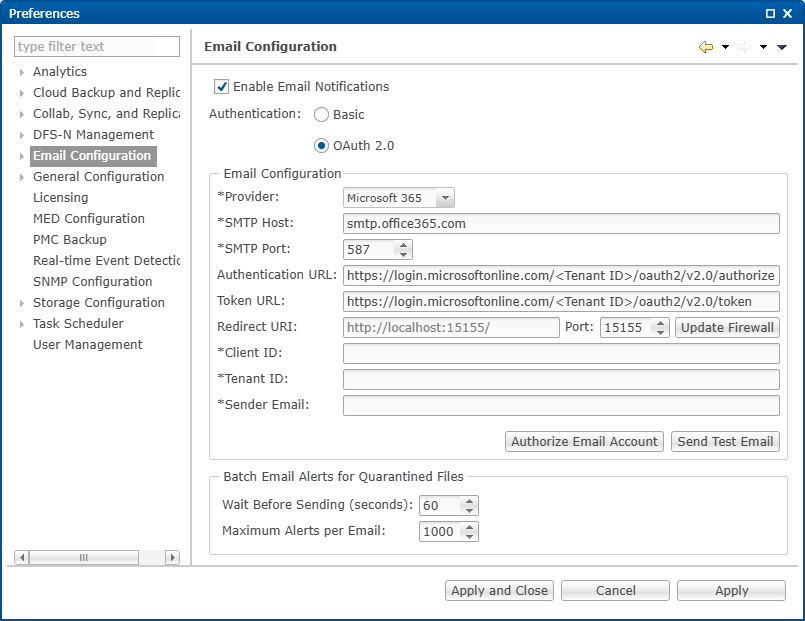
If you selected Microsoft 365:
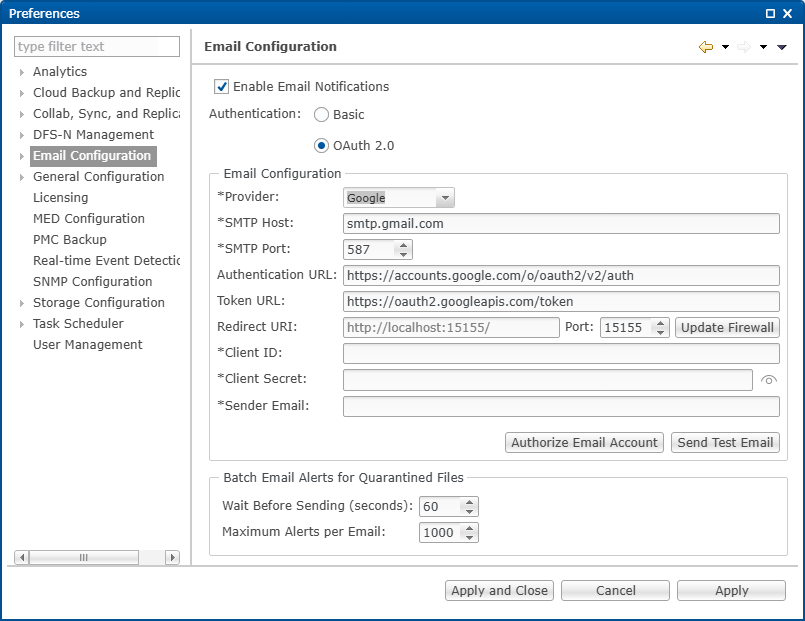
If you selected Google:
2.Enter values for the following fields. Some fields are pre-filled and normally do not need to be modified.
Note: When registering PeerGFS as an OAuth client, your provider generates values required in several of the fields below:
•Microsoft 365: Client ID and Tenant ID
•Google Workspace: Client ID and Client Secret
Field |
Description |
|---|---|
SMTP Host |
Displays the host name of the SMTP server used for outgoing messages. This field is pre-filled based on the selected provider. |
SMTP Port |
Displays the TCP/IP port used by the SMTP service. This field is pre-filled. |
Authentication URL |
Displays the URL endpoint used for OAuth2 authentication. This field is pre-filled and should not be changed unless directed by Peer Support. |
Token URL |
Displays the URL endpoint where the authorization token is exchanged. This field is pre-filled. |
Redirect URI |
Displays the redirect address used during OAuth2 authentication. This field is pre-filled. |
Port |
Displays the local port used for redirect communication (default is 15155). This field is pre-filled. |
Client ID |
Enter the client ID provided when you registered Peer Management Center as an application in your provider’s console. |
Tenant ID/Client Secret |
Enter the appropriate value: •For Microsoft 365, enter the Tenant ID. •For Google, enter the Client Secret generated for the registered application. |
Sender Email |
Enter the email address that should appear in the From field of sent messages. This must correspond to a valid account within your provider’s domain. |
3.For Linux systems: If Peer Management Center is running on a Linux server that you are configuring through a web browser on another computer, create a temporary SSH tunnel before authorizing the email account. See OAuth2 Authentication on a Linux PMC for instructions.
4.Click Authorize Email Account, and then click OK in the message that appears.
•Your default browser opens to the provider’s login page so you can sign in and complete two-factor authentication.
•When authentication succeeds, a confirmation message appears in the browser, and a token is returned to the Peer Management Center service running on localhost:
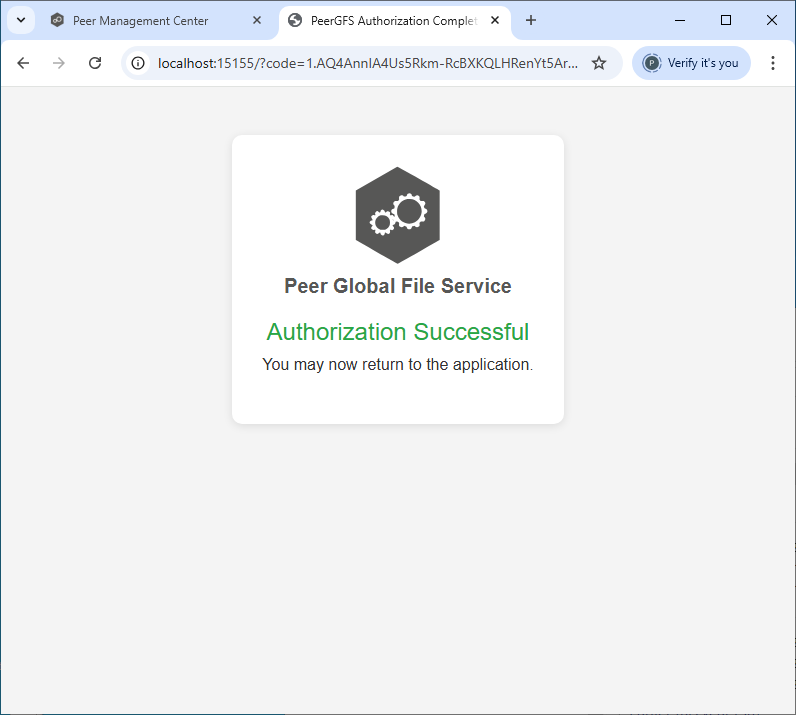
5.Close the browser window.
A confirmation message is displayed in Peer Management Center.
6.Click Send Test Email, enter a destination address, and then click OK. Click OK in the confirmation dialog that appears.
7.If a connection error occurs during authorization, click Update Firewall to ensure that the local port (default is 15155) is available for authentication, and then retest.
8.Verify that the test email was received.
9.(Optional) Complete the Batch Email Alerts for Quarantined Files section.
Use this section to define how alerts for quarantined files are batched and sent when email notifications are enabled. For descriptions of the fields, see Email Configuration.
10. Click Apply to save your changes.
OAuth2 Authentication on a Linux PMC
If Peer Management Center is running on a Linux server that you’re configuring through a web browser on another computer, you must temporarily create an SSH tunnel before authorizing the email account. The tunnel allows your browser to communicate with the Peer Management Center service on the Linux host when the email provider redirects the authorization token back to localhost.
To create the tunnel:
1.On the client computer running the web browser, open a terminal.
2.Run the following command to create an SSH connection with local port forwarding: ssh <user>@<hostname> -L 15155:localhost:15155
3.Return to the browser and complete the OAuth2 Email Configuration steps (authorize the account, complete 2FA, and test the email).
4.After successful authentication, close the terminal window to end the SSH session.