This topic describes adding and deleting participants in a File Collaboration job.
Adding a Participant to a File Collaboration Job
To add a participant to a file collaboration job:
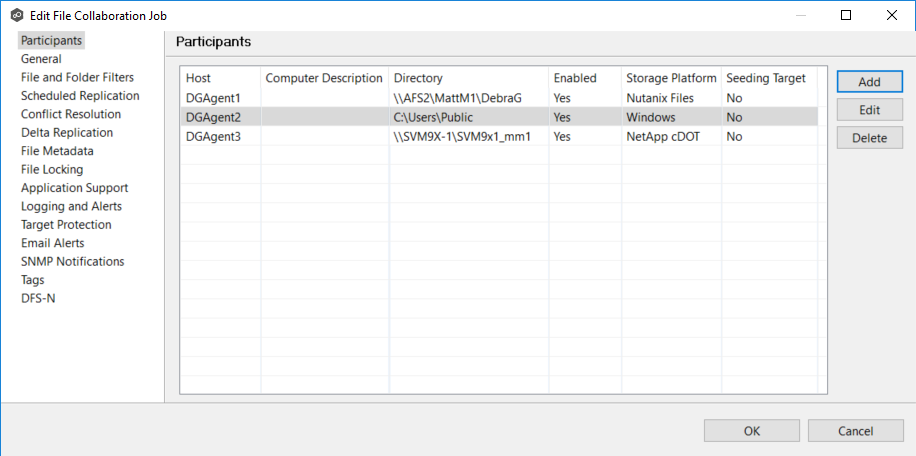
1.In the Edit File Collaboration dialog, click the Add button.
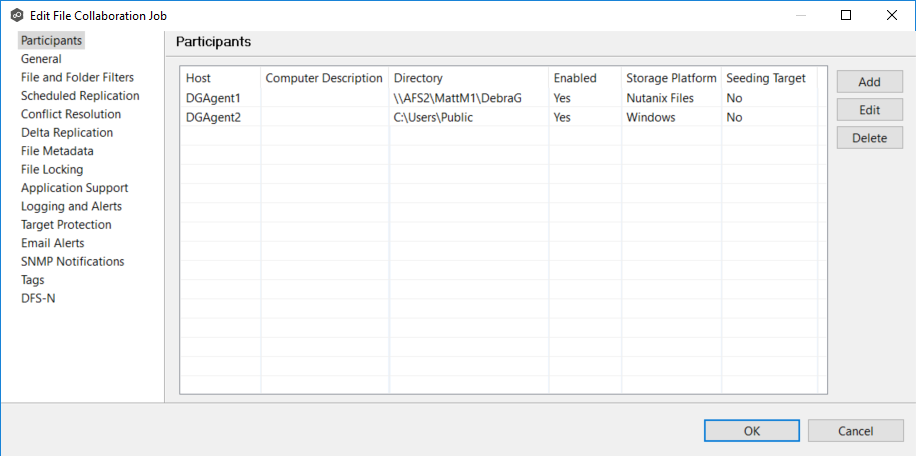
The Add New Participant wizard opens; the Storage Platform page is displayed.
2.Select the type of storage platform that hosts the data you want to collaborate on.
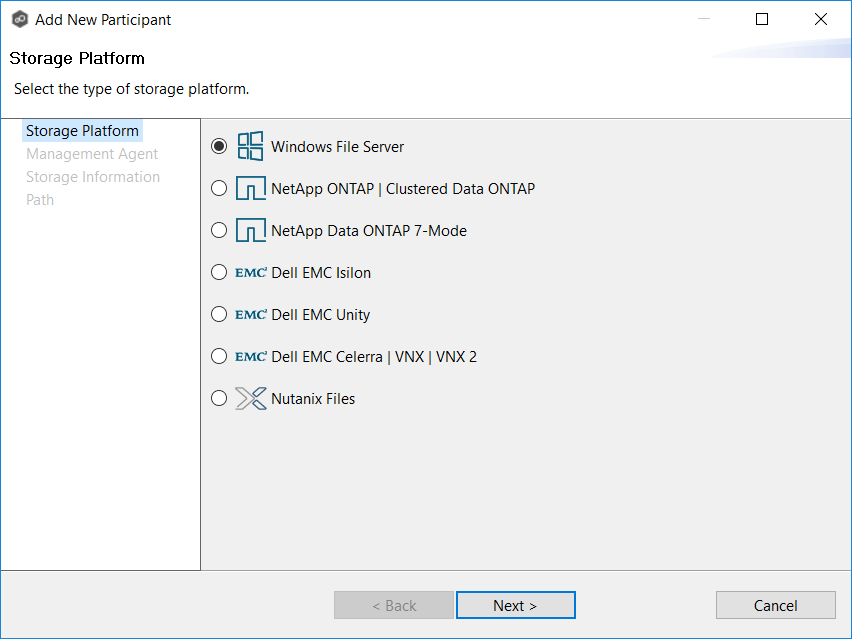
3.Click Next.
The Management Agent page appears. It lists the available agents.
Tip: If the Agent you want is not listed, try restarting the Peer Agent Windows Service on that host. If it successfully connects to the Peer Management Broker, then the list is updated with that Agent.
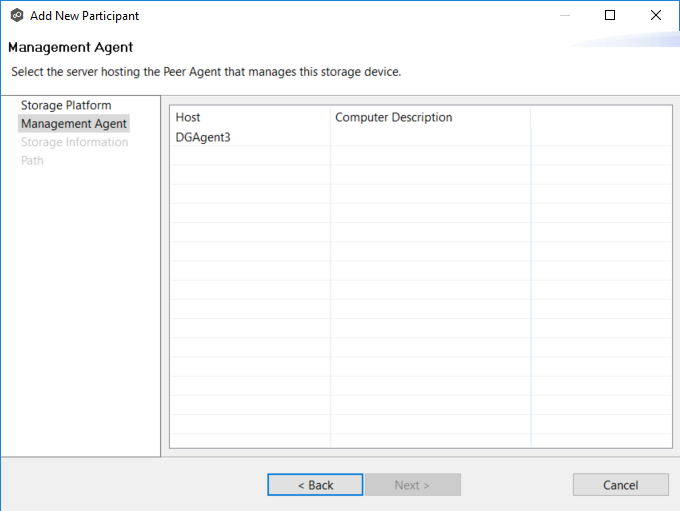
4.Select a management agent.
5.Click Next.
The Storage Information page appears; the choices available depend on your selection in the Storage Platform page.
6.Enter the requested information.
NetApp ONTAP | Clustered Data ONTAP
Dell EMC Celerra | VNX | VNX 2
7.Click Next.
The Path page appears.
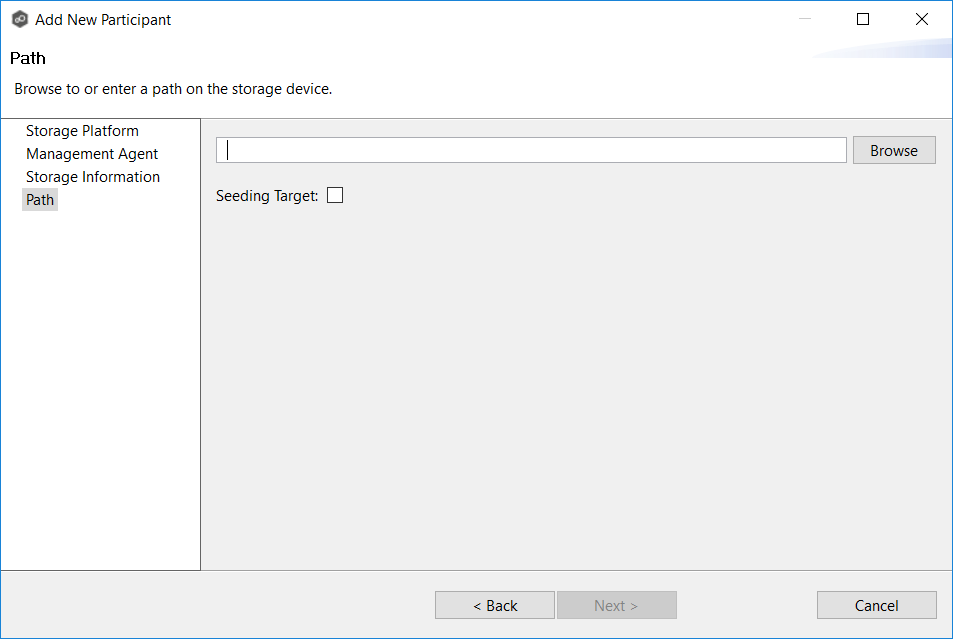
8.Browse to or enter the path to the watch set.
9.Click Finish to complete the wizard.
The new participant appears in the Participants table.
Deleting a Participant from a File Collaboration Job
To delete a participant from a File Collaboration job:
1.In the Edit File Collaboration dialog, select the participant in the Participants table you want to remove from the job.
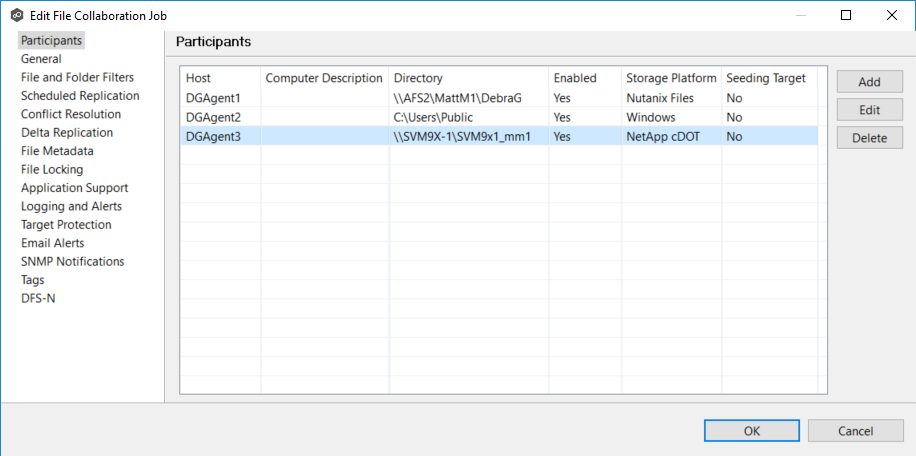
2.Click the Delete button
3.Click OK in the Delete Confirmation dialog.
The participant is removed from the Participants table.
Note: A File Collaboration job must have at least two participants, so if after deleting a participant, there is only a single participant, you must add another participant to the job.