This topic describes adding and deleting participants in a File Collaboration job.
Adding a Participant to a Job
To add a participant to the job:
1.Click the participant in the Available table.
To be available, a host must have Peer Agent installed and successfully connect to the Peer Management Broker. If a particular host is not displayed in the list, try restarting the Peer Agent Windows Service on that host, and if it successfully connects to Peer Management Center Broker, then the list will be updated with the computer name of that host.
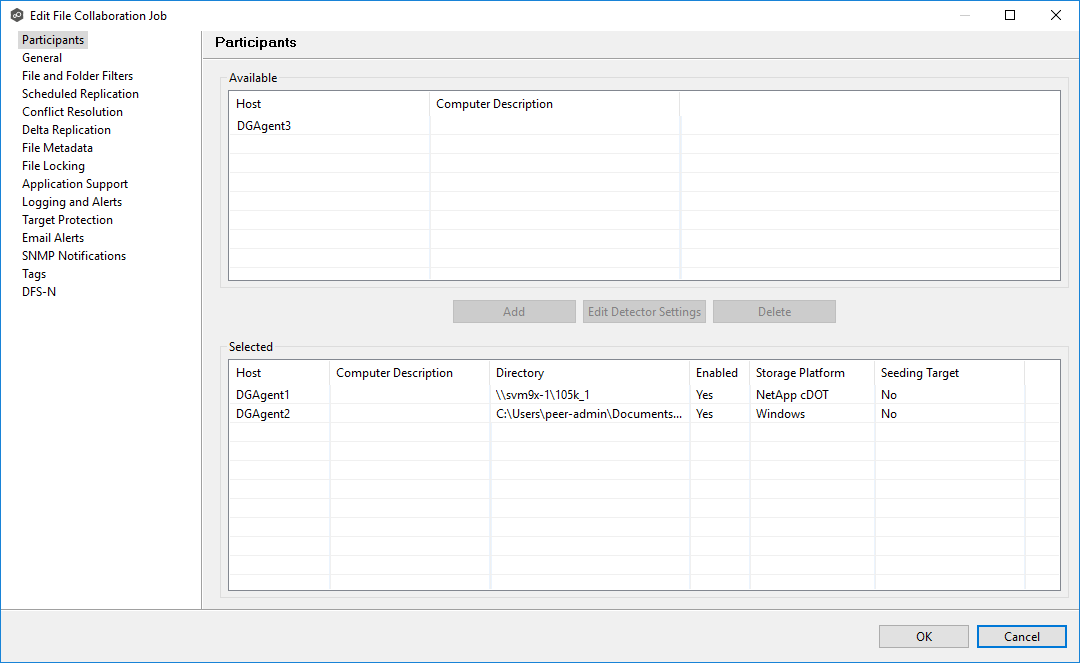
2.Click the Add button.
The participant is moved to the Selected table.
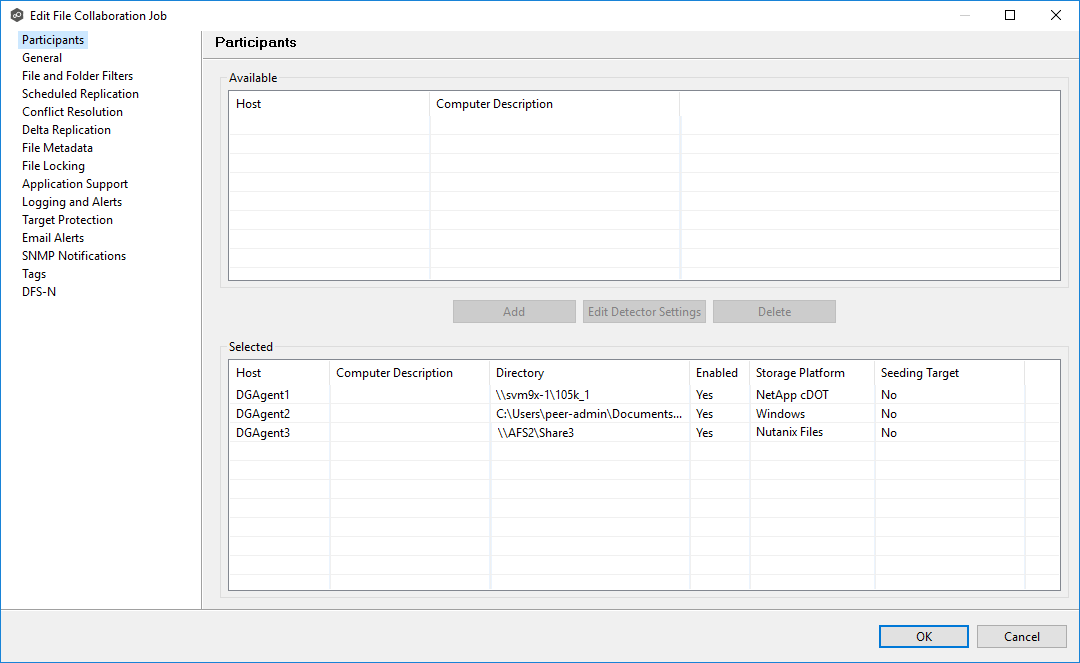
3.(Optional) Enter the computer's name in the Computer Description column.
4.Enter the path to the folder to be watched in the Directory column.
5.(Optional) Modify whether the participant is a seeding target.
6.(Optional) Modify the participant's detector settings.
7.Click OK to close the Edit wizard or select another configuration item to modify.
Deleting a Participant from a job
To delete a participant from a job:
1.Click the participant in the Selected table.
2.Click the Delete button.
The participant is moved to the Available table.
Note: A File Collaboration job must have at least two participants, so if after deleting a participant, there is only a single participant, you must add another participant to the job.
3.Click OK to close the Edit wizard or select another configuration item to modify.