This step is optional.
The DFS Namespace page presents three options for linking a DFS namespace folder to a File Synchronization job.
To link a namespace to this job:
1.Click the Enable DFS Linking checkbox.
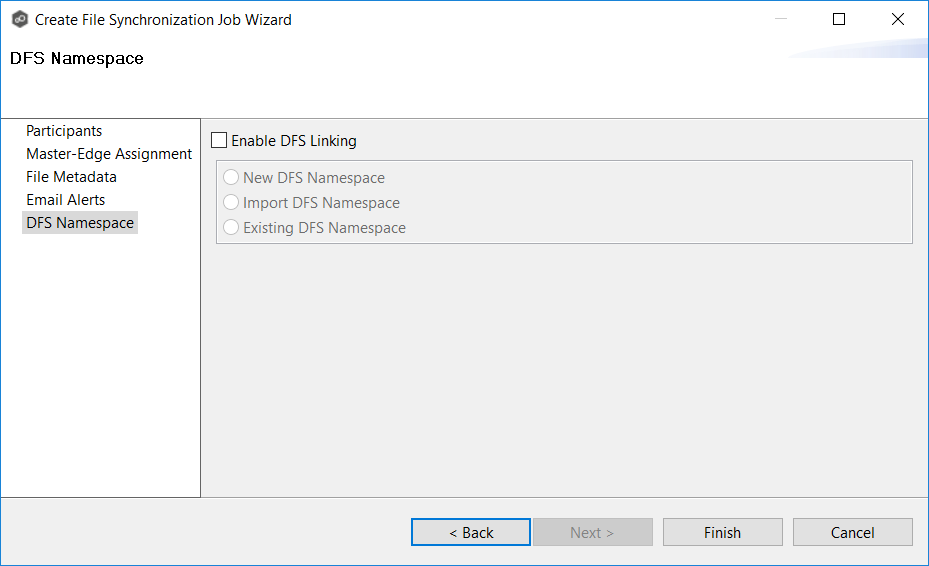
The three options are enabled.
2.Select one of the three options:
•New DFS Namespace - Select this option if you want to create a new namespace that will automatically be linked to this job. If you select this option, the Create DFS-N Management Job Wizard opens. Follow these steps to create a new namespace.
•import DFS Namespace - Select this option if you have a namespace that was created using the Microsoft DFS Management tool and is not currently being managed by a DFS-N Management job. If you select this option, the Import Existing Namespaces wizard opens. For detailed instructions, follow these steps to import an existing namespace.
•Existing DFS Namespace - Select this option if you want to use an existing namespace that is being managed by a DFS-N Management job. If you select this option, it will display the namespace folder and folders associated with namespace. If you want to make changes to the namespace, you can edit the DFS-N Management job managing that namespace.
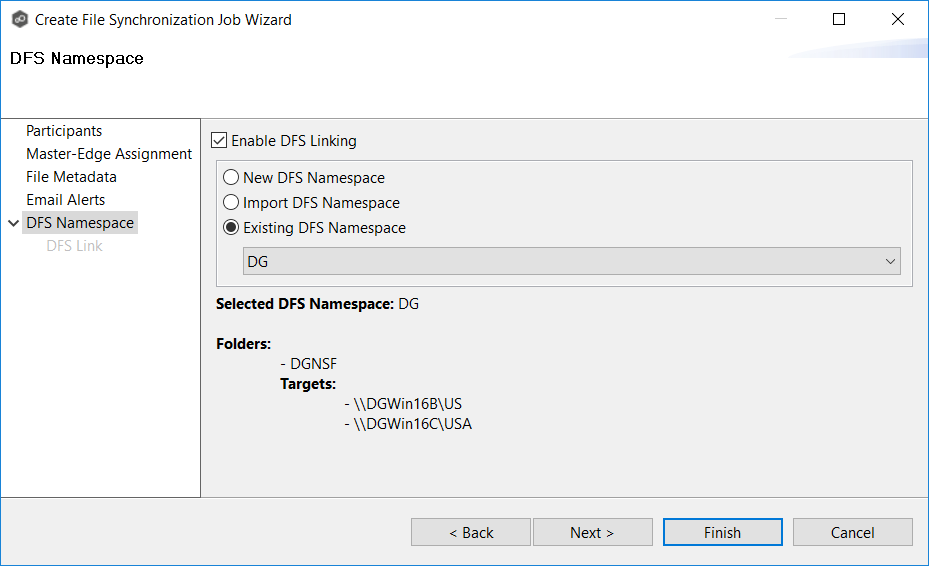
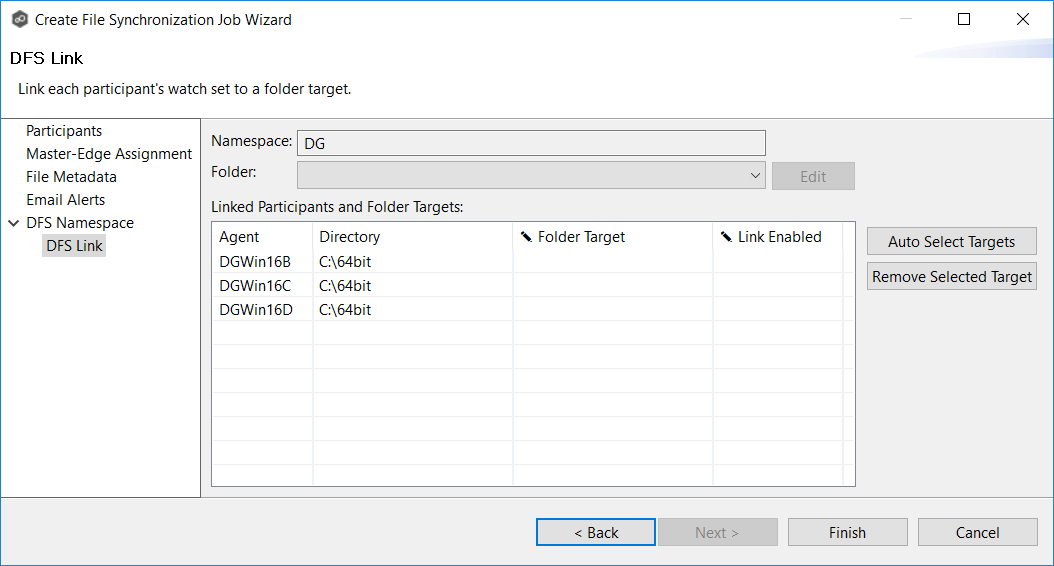
Click Next if you want to link participants to folder targets on the DFS Link page; otherwise continue with Step 3.
For more information about linking participants to folder targets, see Linking an Existing Namespace Folder to an Existing File Collaboration or File Synchronization Job.
3.Continue to Step 6: Save Job.