On the Management Agent page, you select a Management Agent for this DFS-N Management job from the list of servers that have a Peer Agent installed.
Recommendation: Select an Agent that will be dedicated to managing DFS-N Management jobs. This enables the Agent to continue managing the namespace even if other Agent servers go down. If you use a dedicated Agent for DFS-N Management jobs, this Agent will not count against the number of licensed servers.
To reduce the number of Windows servers in your environment, you can install an Agent that runs on the same server as Peer Management Center and use this Agent to manage DFS-N Management jobs. This Agent will also not count against the number of licensed servers.
1.Select an Agent that is in the domain of the DFS namespace of where you want to create the new DFS namespace.
Note: If you select an Agent that has No in the DFS Mgmt. Enabled column, the Microsoft DFS PowerShell Management toolkit will be installed in Step 3: Agent Verification.
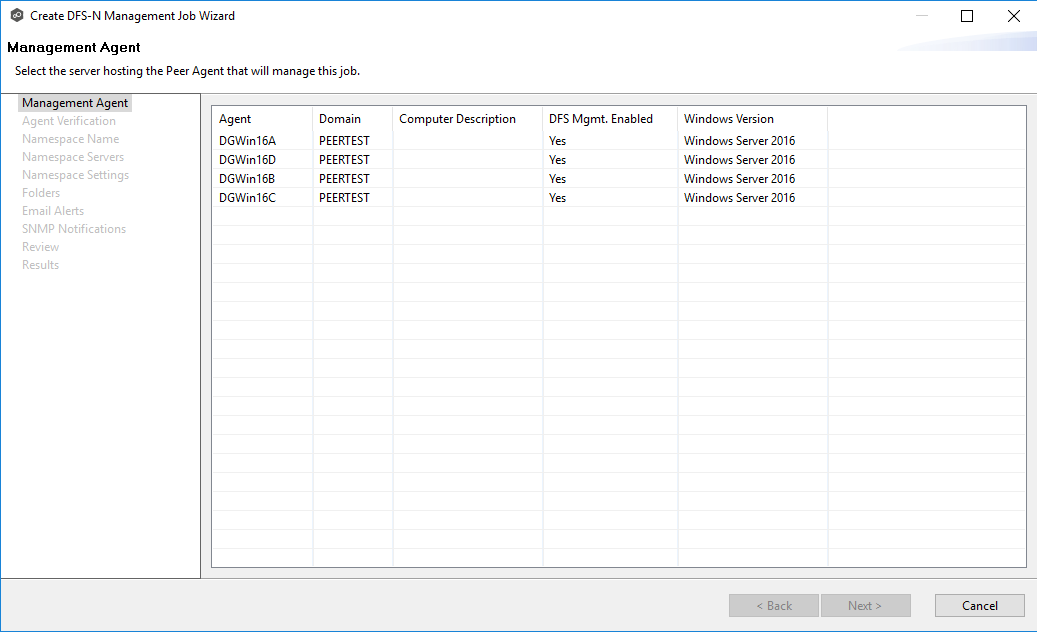
2.Click Next.
The Agent Verification page appears.