You can add a namespace server to a namespace.
To add a namespace server:
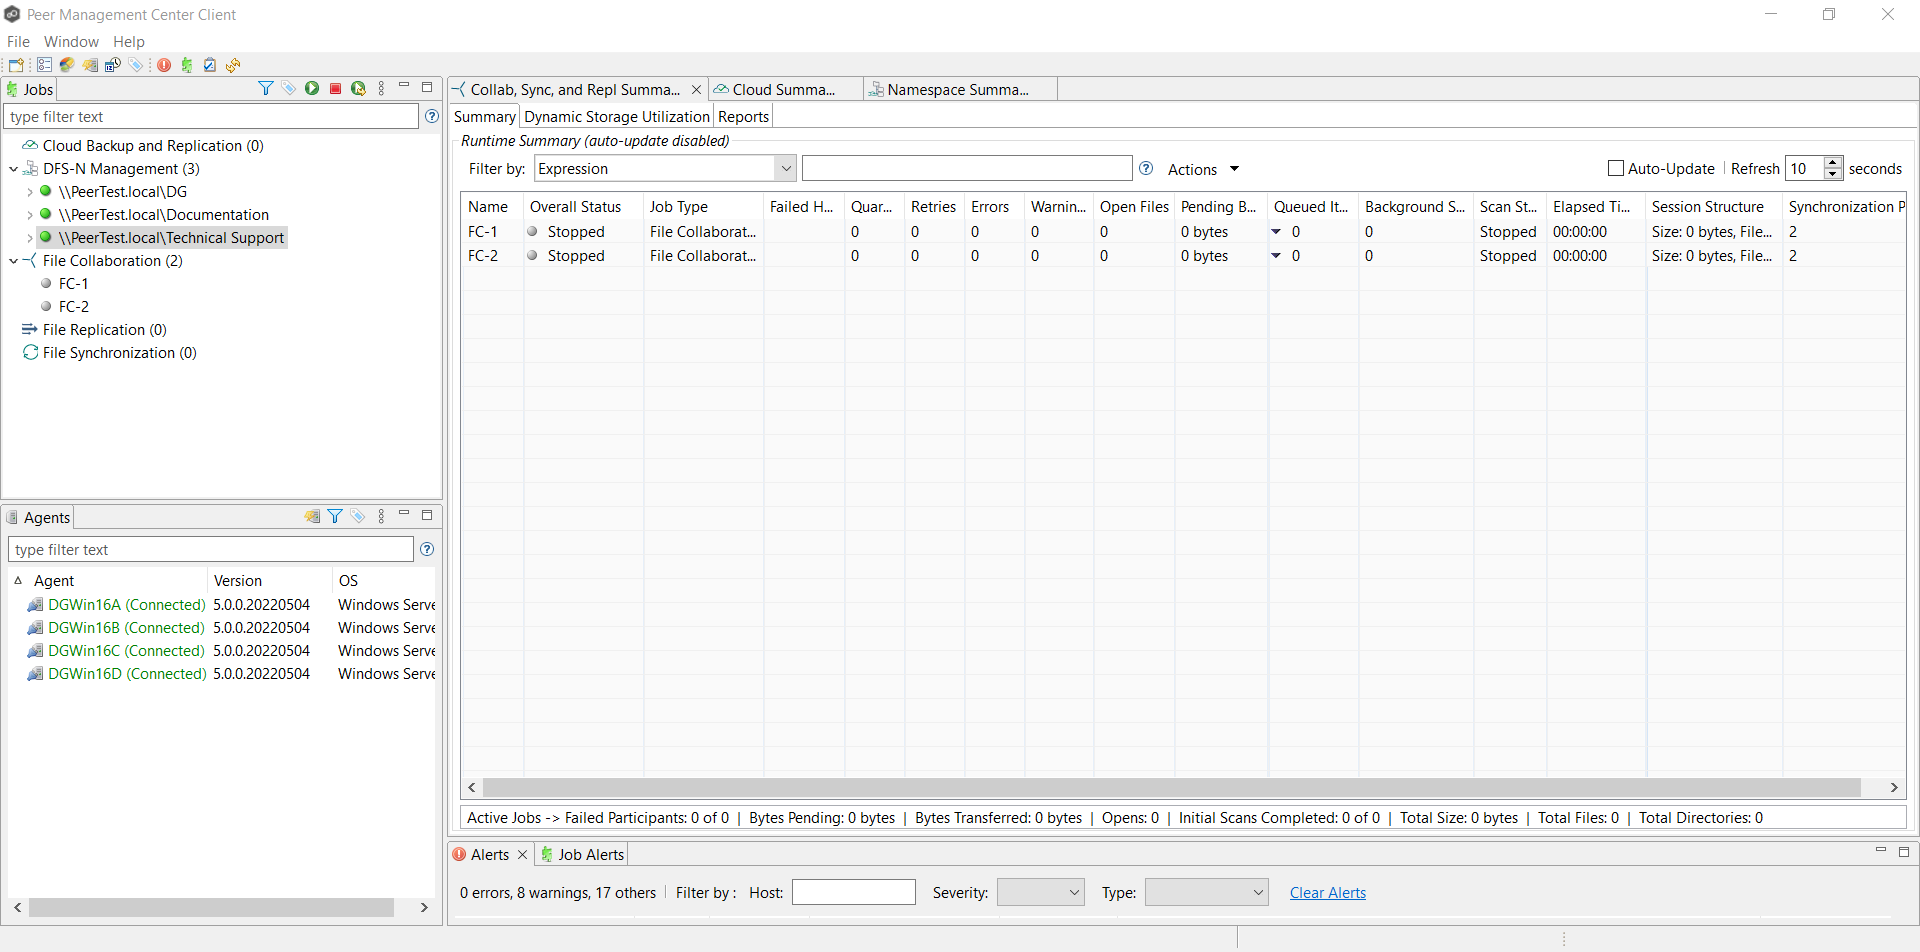
1.Double-click the name of a DFS-N Management job in the Jobs view or in the Namespace Summary view to open the runtime view for the job.
The runtime view for the job is displayed.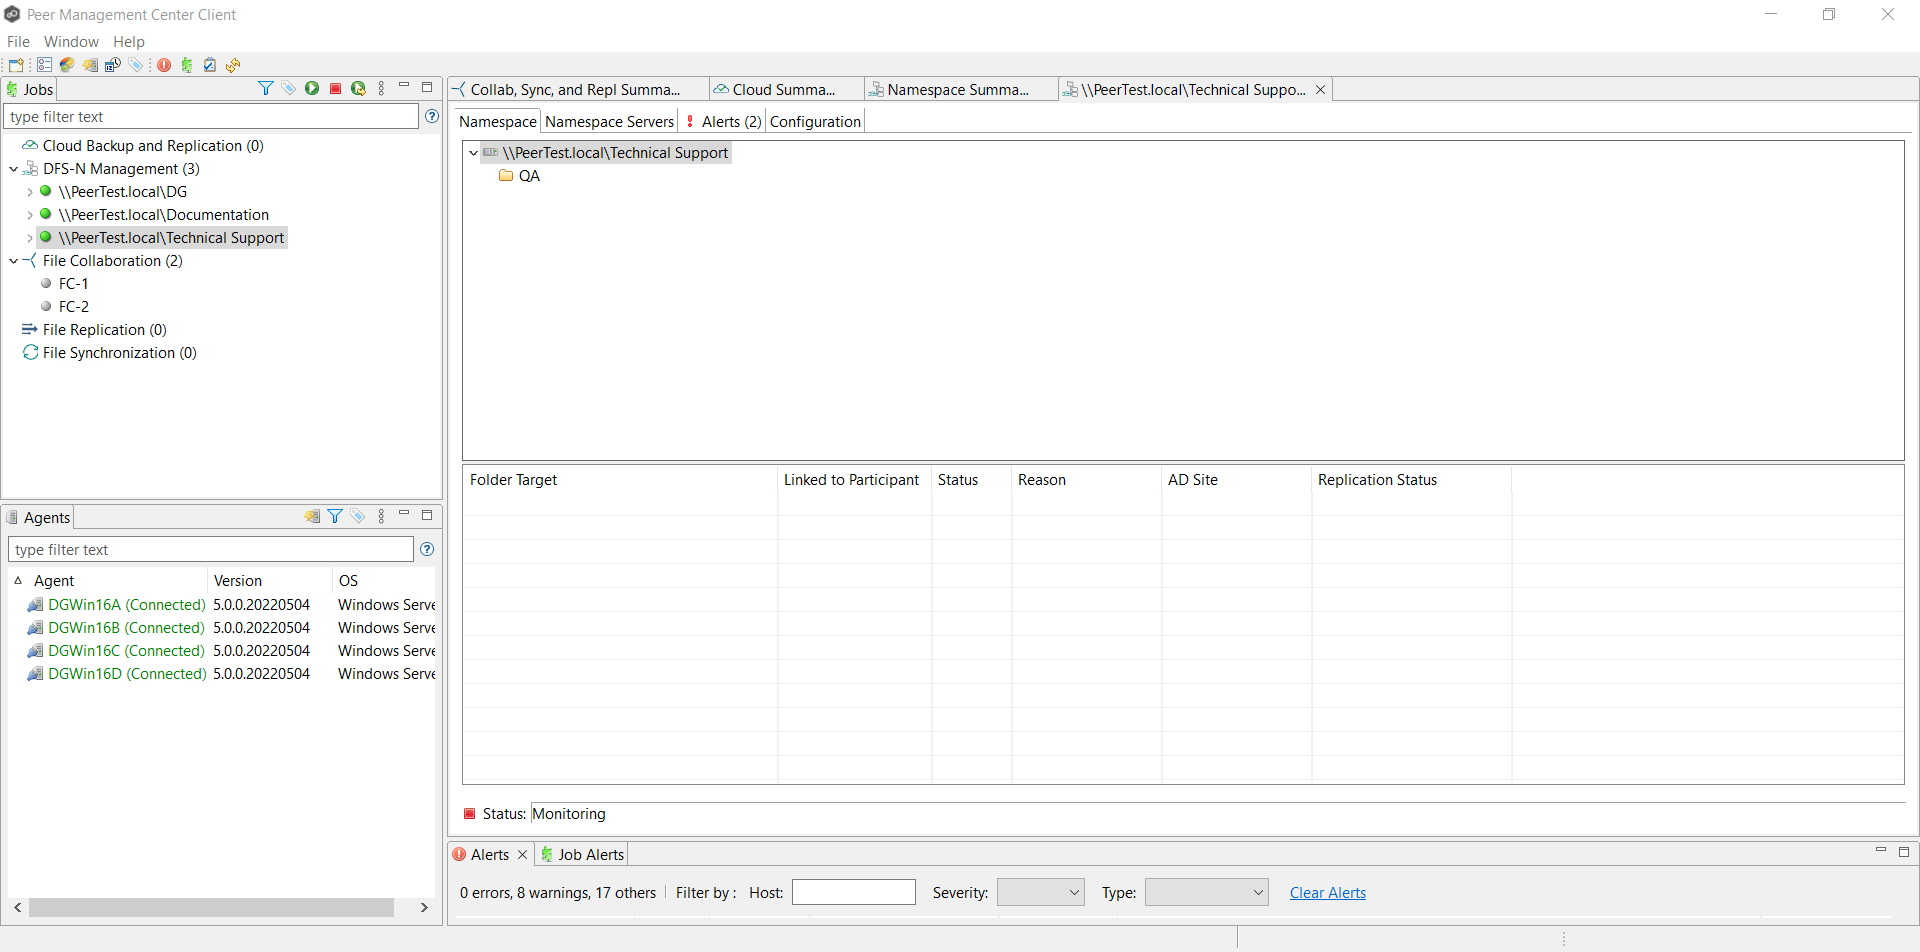
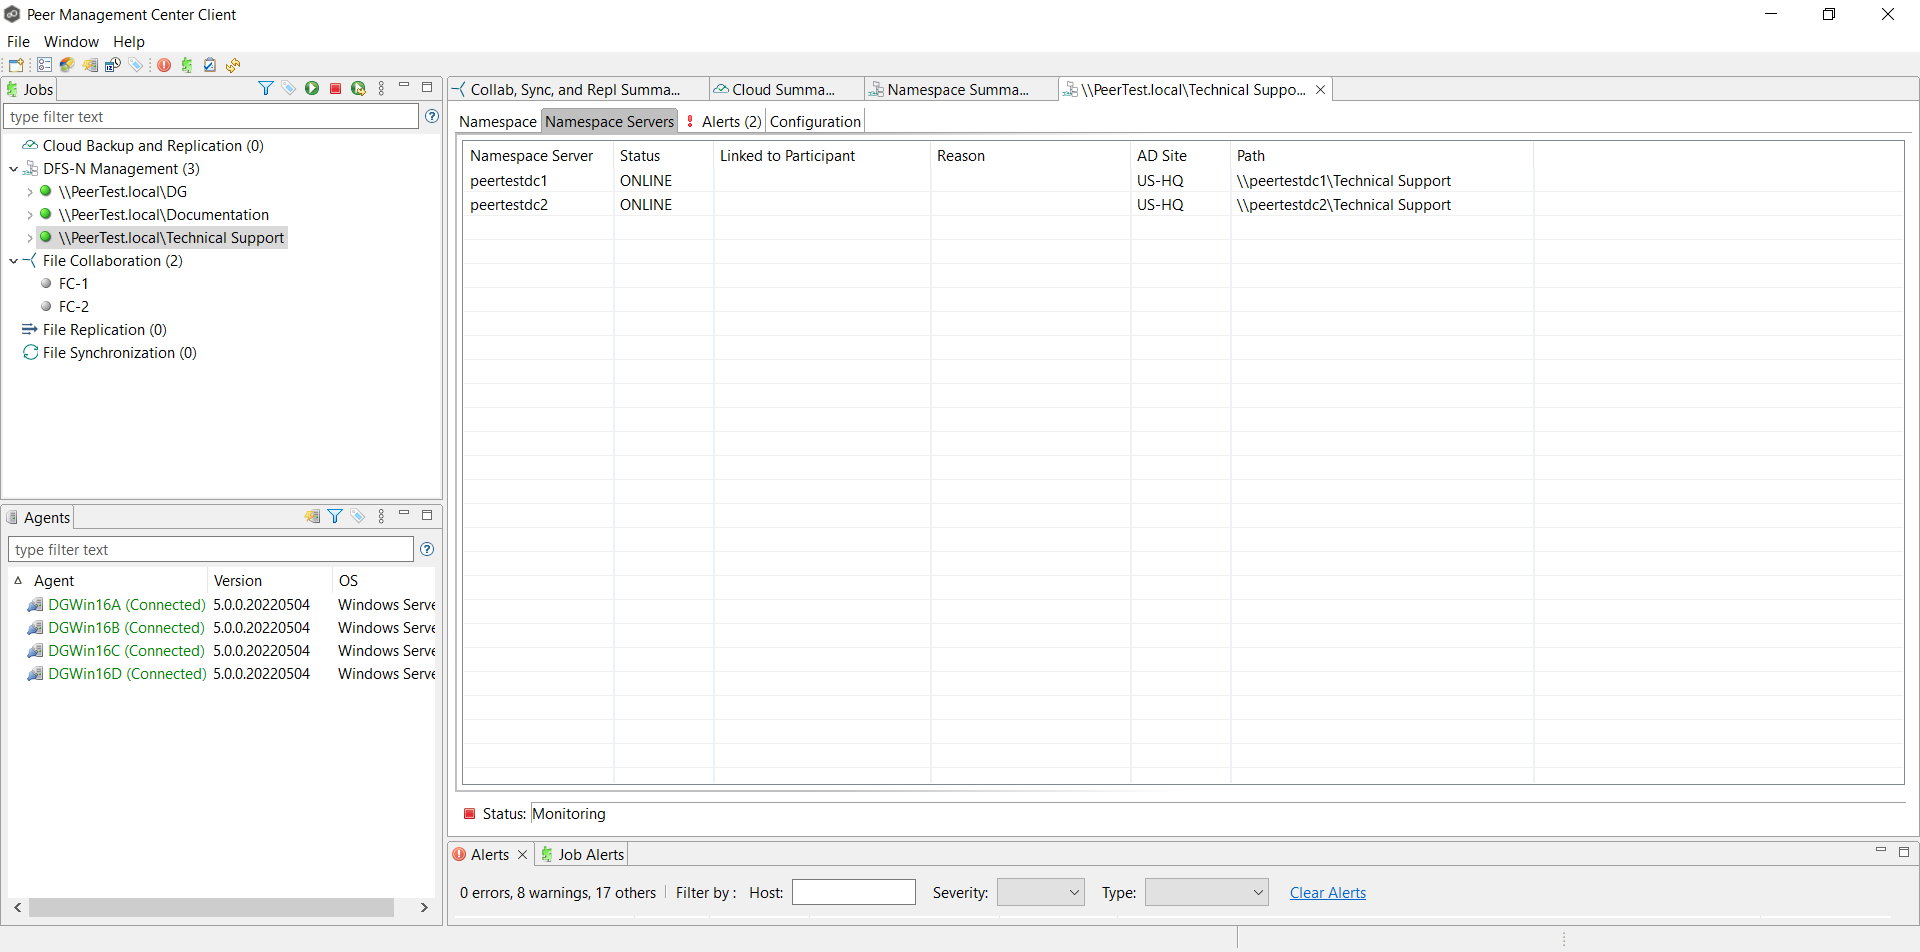
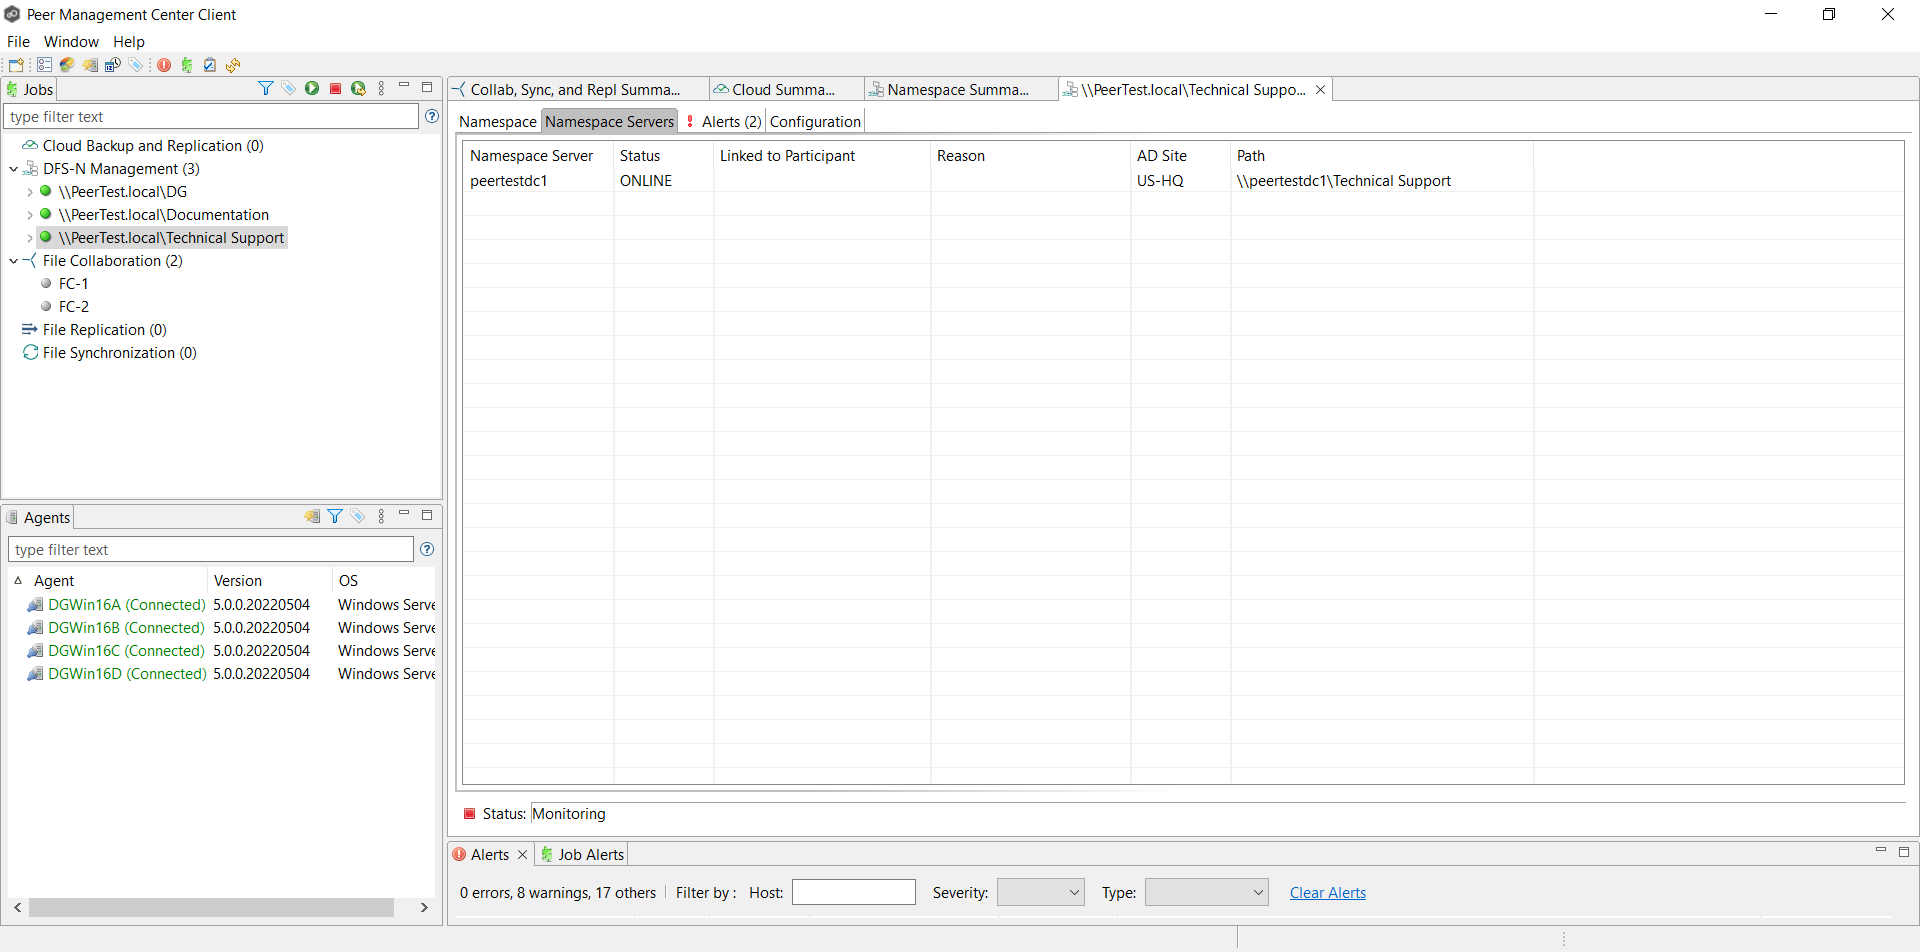
2.Click the Namespace Servers tab.
3.Right-click anywhere in the Namespace Servers tab, and then select Add Servers.
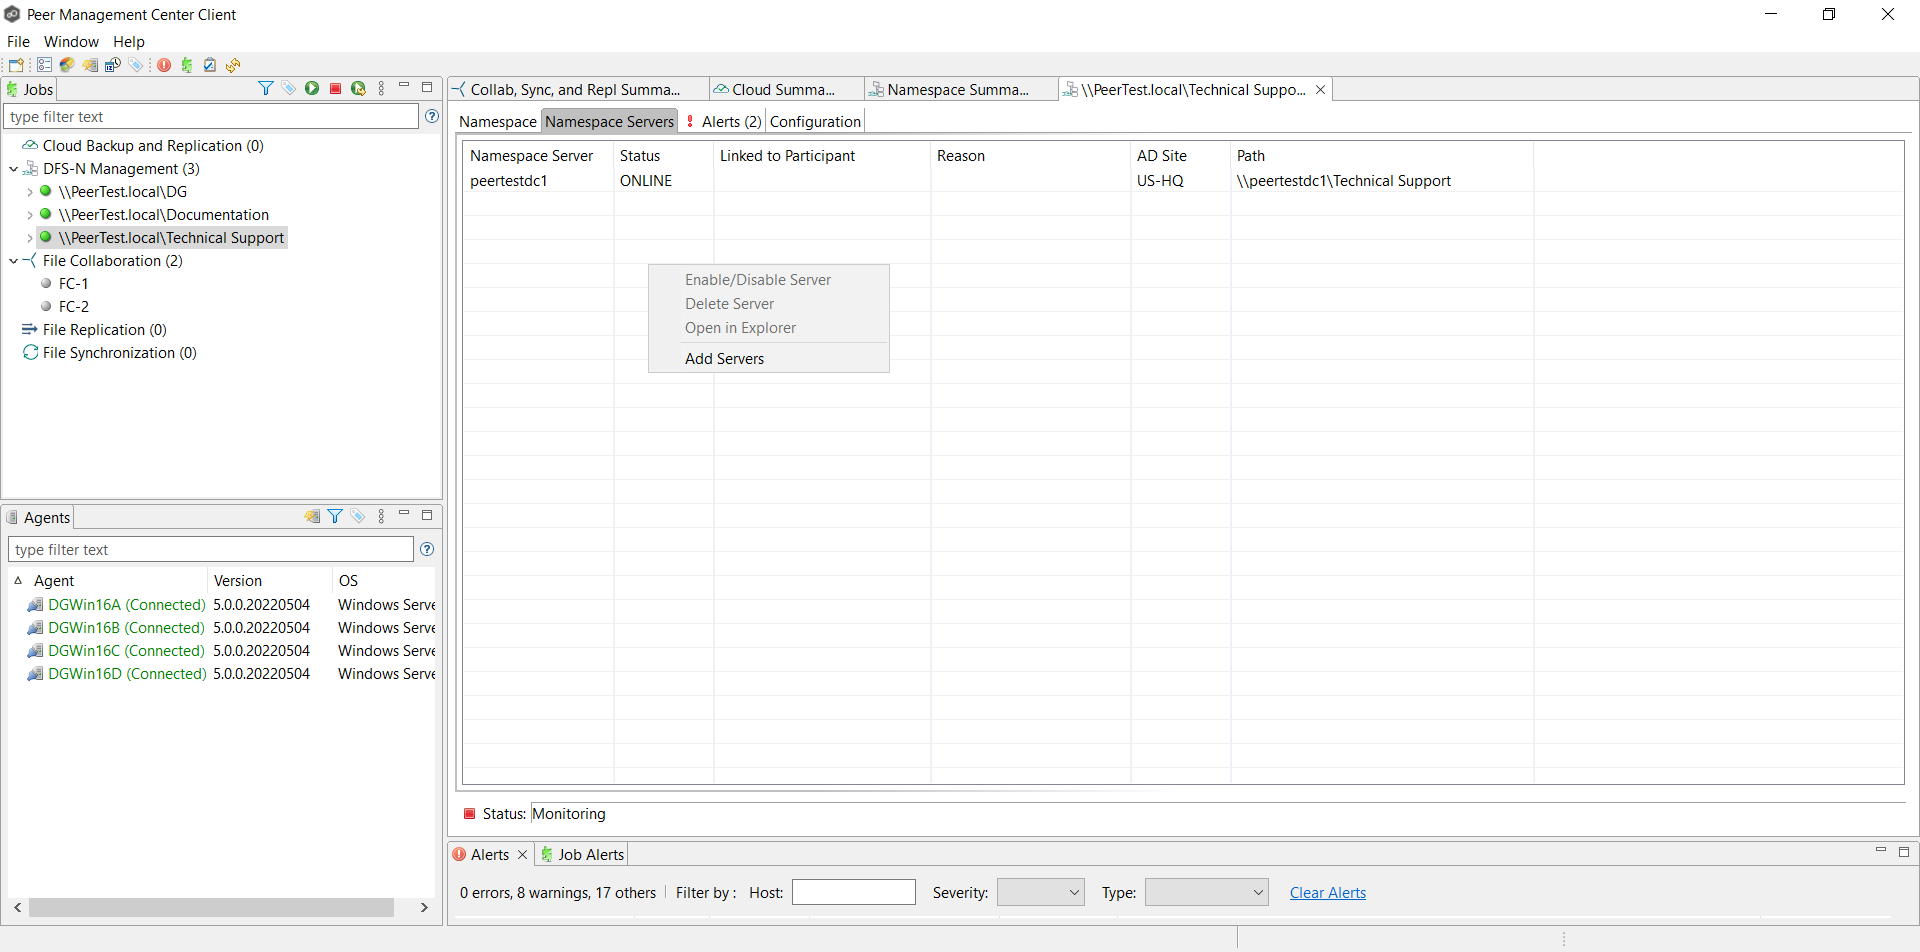
The Add DFS Namespace Server wizard appears.
4.Enter the fully qualified domain name (FQDN) of a namespace server in the Server Name field, and then click Add.
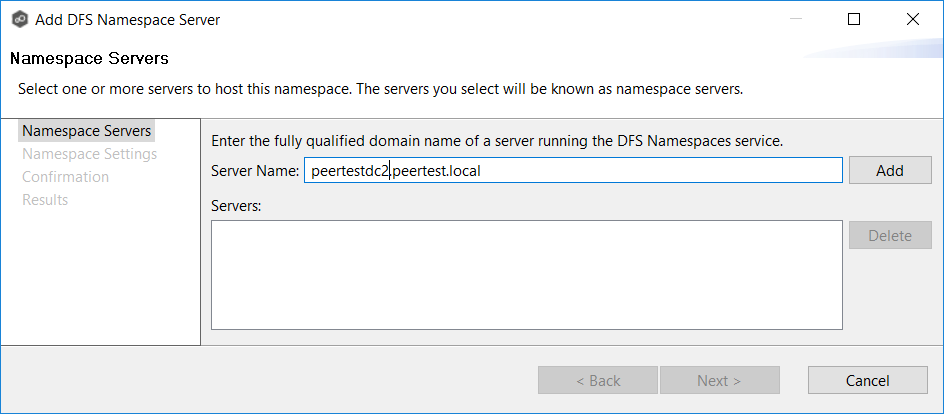
The server FQDN is listed in the area below.
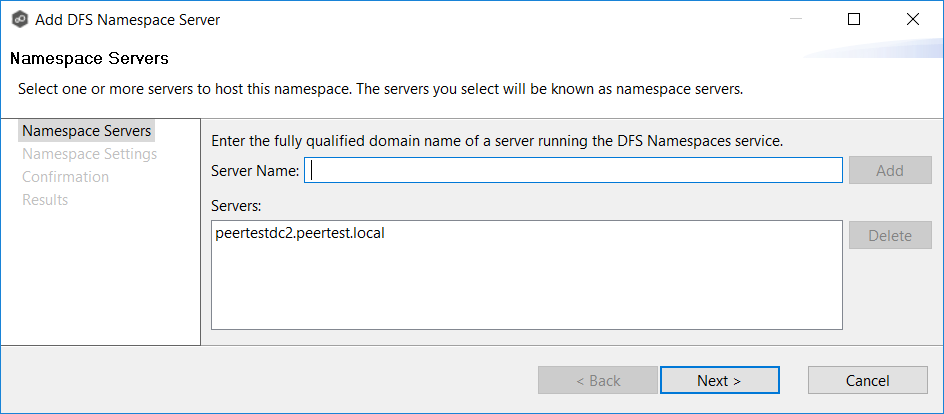
5.Add additional servers if desired.
6.Click Next.
The Namespace Settings page is displayed.
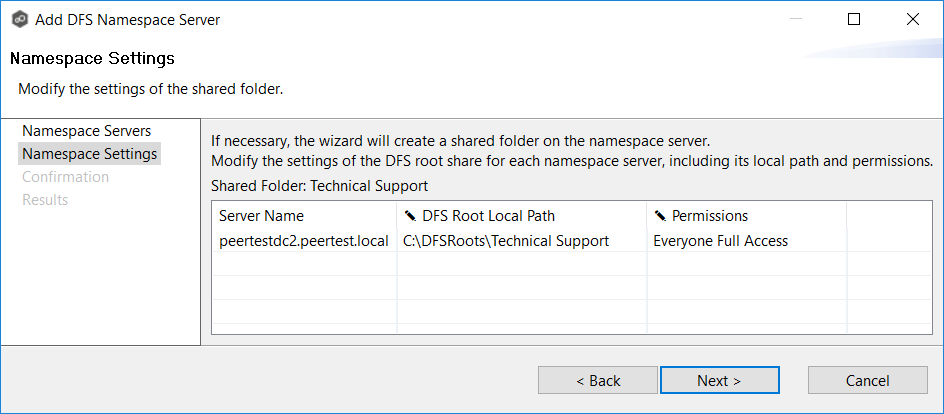
7.(Optional) Edit the namespace server settings: DFS Root Share Path and Permissions.
•To modify the local path to the DFS root share for the namespace, type a new path in the DFS Root Local Path column. The default location of the DFS root share is under C:\DFSRoots\ and is specified in DFS-N Management Job Preferences.
•To modify the access permissions, select a new set using the drop-down menu in the Permissions column.
8.Click Next.
The Confirmation page is displayed.
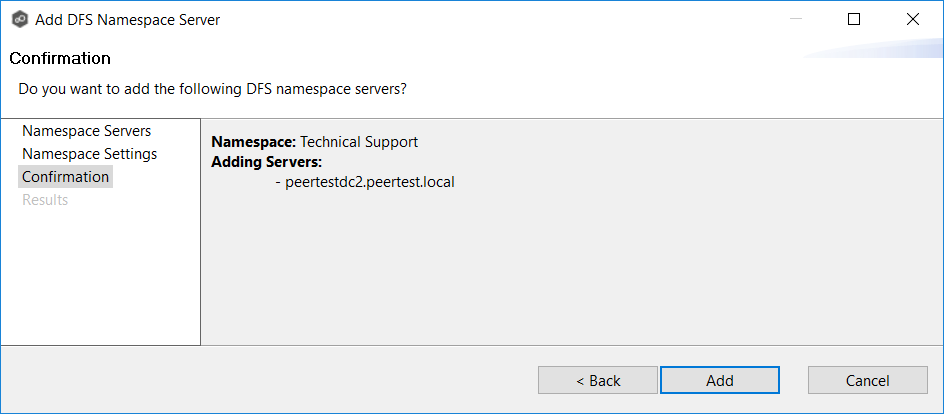
9.Review the namespace server configuration.
10.Click Add if the configuration is correct; otherwise, click Back and correct the configuration.
The Results page is displayed.
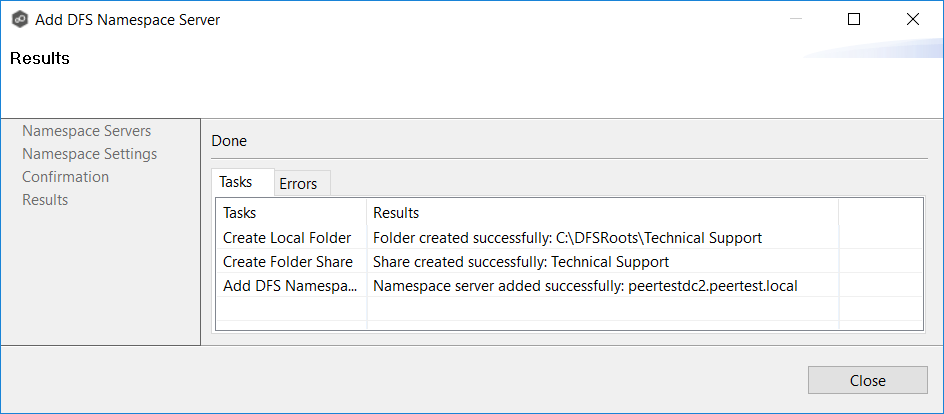
11.Click OK.
The newly added server is listed in the Namespace Servers tab.