If you have an existing namespace that you want to use in in a File Collaboration or File Synchronization job, you can import the namespace. Importing the namespace creates a new DFS-N Management job with the same name as the imported namespace.
You can then either link the namespace to an existing File Collaboration or File Synchronization job or create a new File Collaboration or File Synchronization job that uses the namespace.
To import an existing namespace:
1.Right-click anywhere in the Runtime Summary tab of the Namespace Summary view, and then select Import Existing Namespaces (or right-click the DFS-N Management job type in the Jobs view.
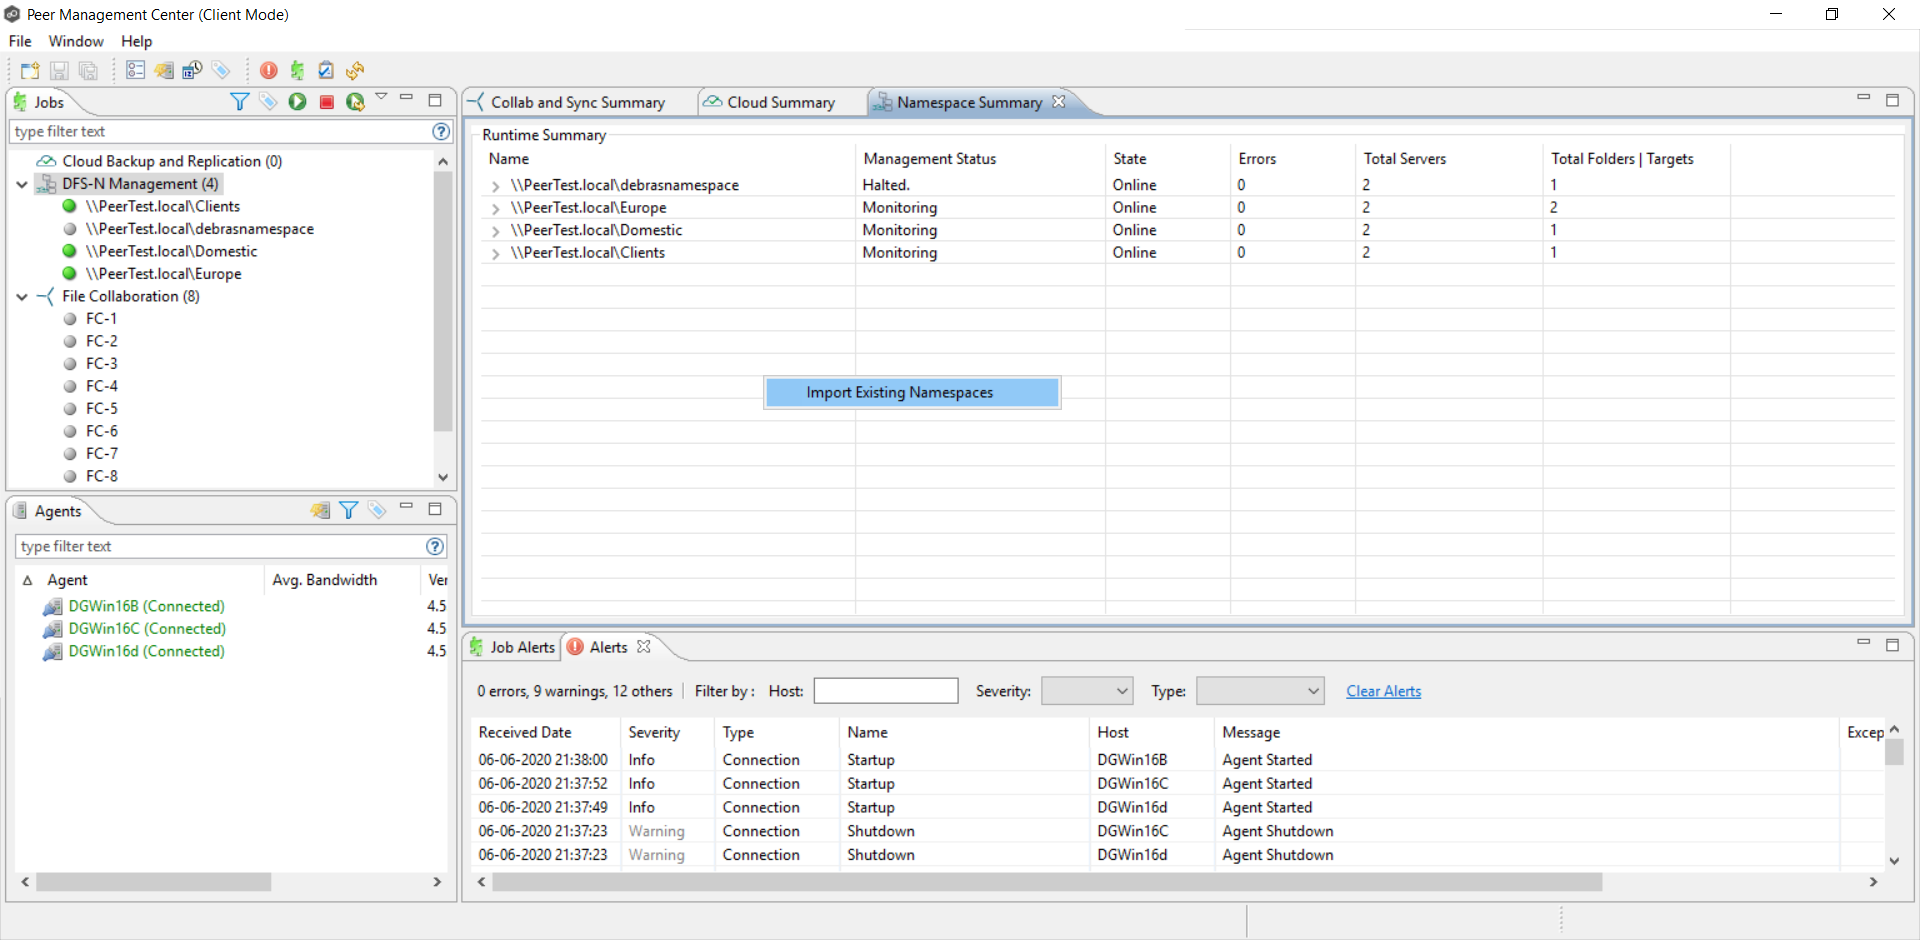
The Add Existing Namespace wizard appears.
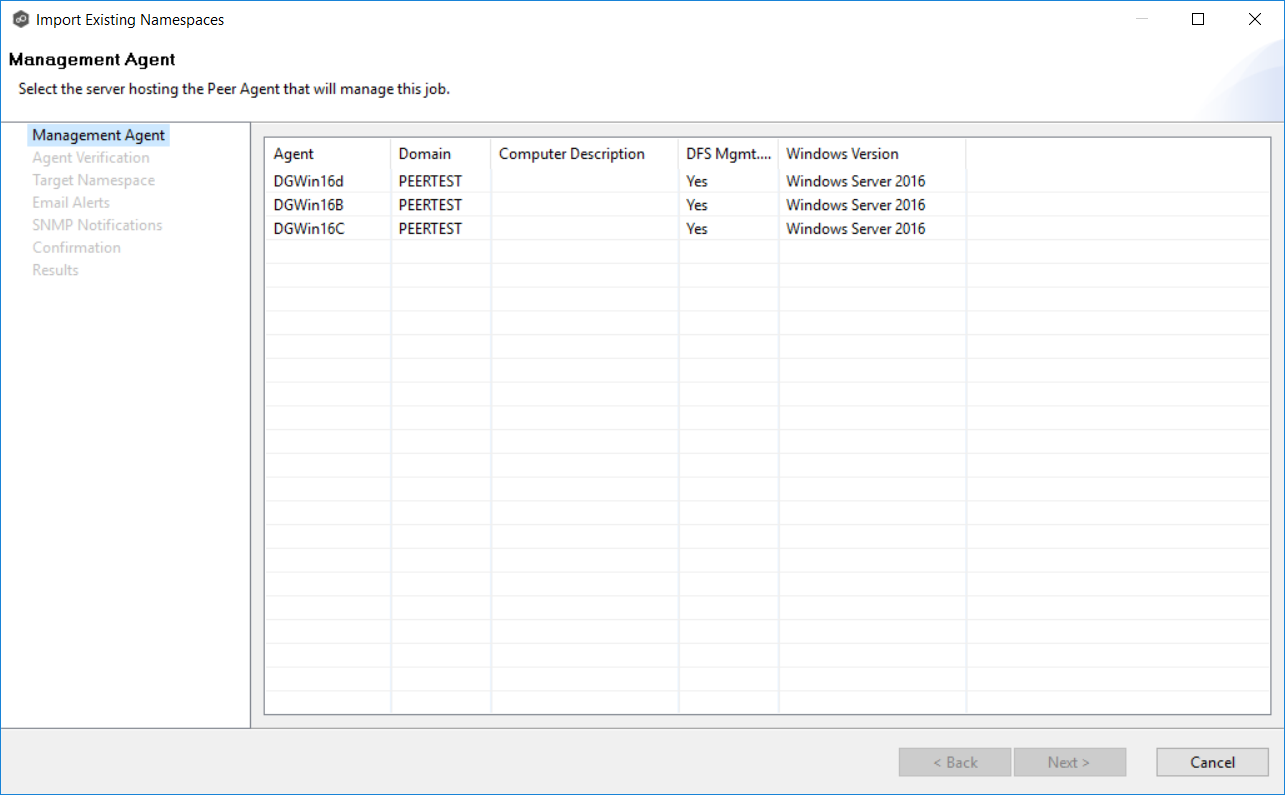
2.Select a management agent.
3.Verify the Agent environment.

4.If the DFS PowerShell Management toolkit is not installed, click the Install button that appears next to Verify DFS PowerShell Management Toolkit Installed.
After the toolkit is installed, the verification continues. A green dot signifies that the verification of that element was successful.
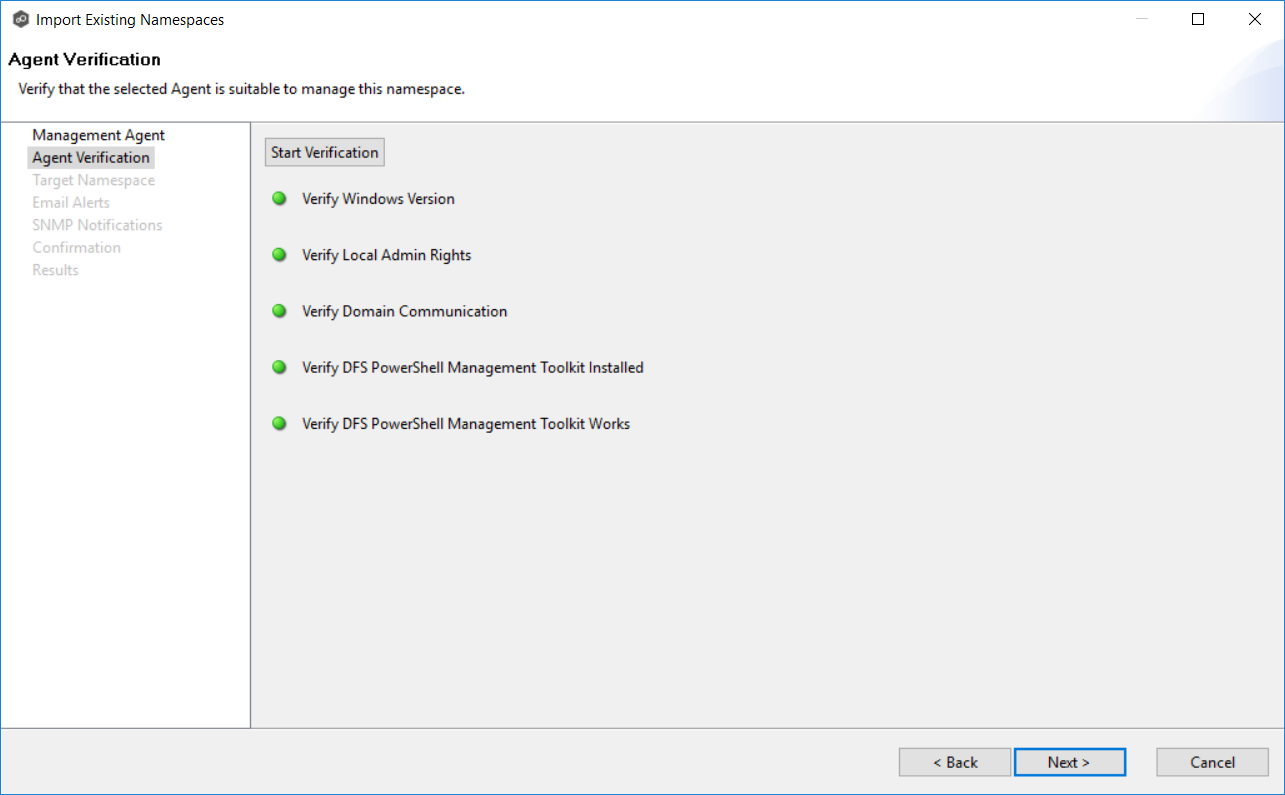
5.After the verification has successfully completed, click Next.
The Target Namespace page appears. You have two options for selecting the namespace to import: either by entering its name or by selecting it from a list of namespaces.
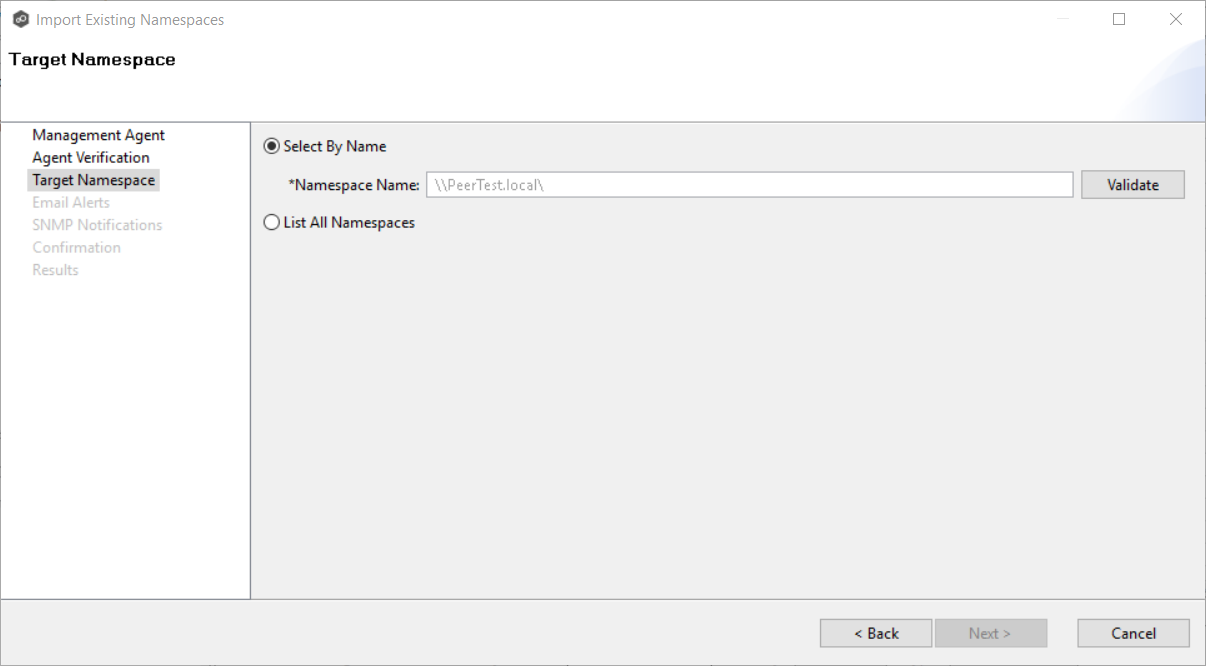
6.If you choose Select By Name, enter the namespace name and then click Validate. After the namespace is validated, continue with Step 8.
If you choose List All Namespaces, click Next.
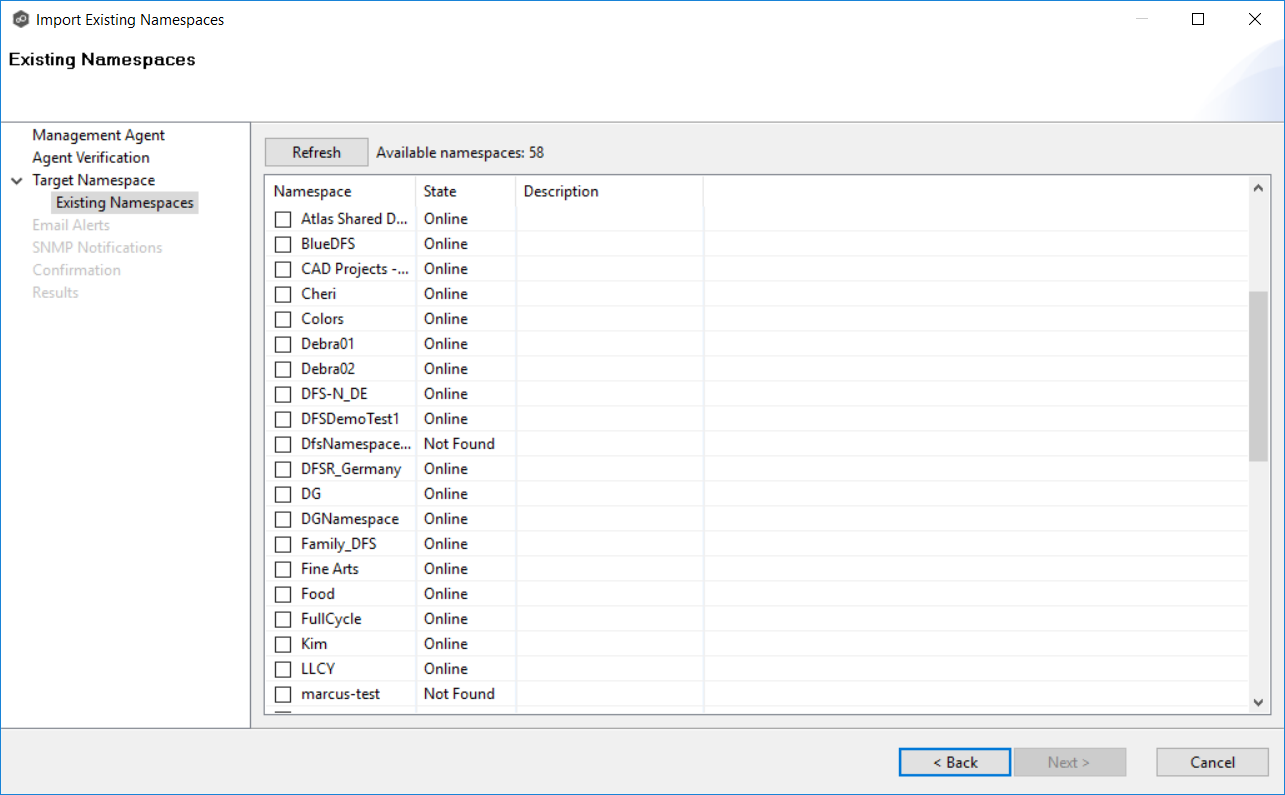
The Existing Namespace page appears. It displays a table listing the existing namespaces
Note: It may take a few minutes for existing namespaces to appear in the table.
7.Select one or more existing namespaces from the table, and then click Next.
The Email Alerts page appears.
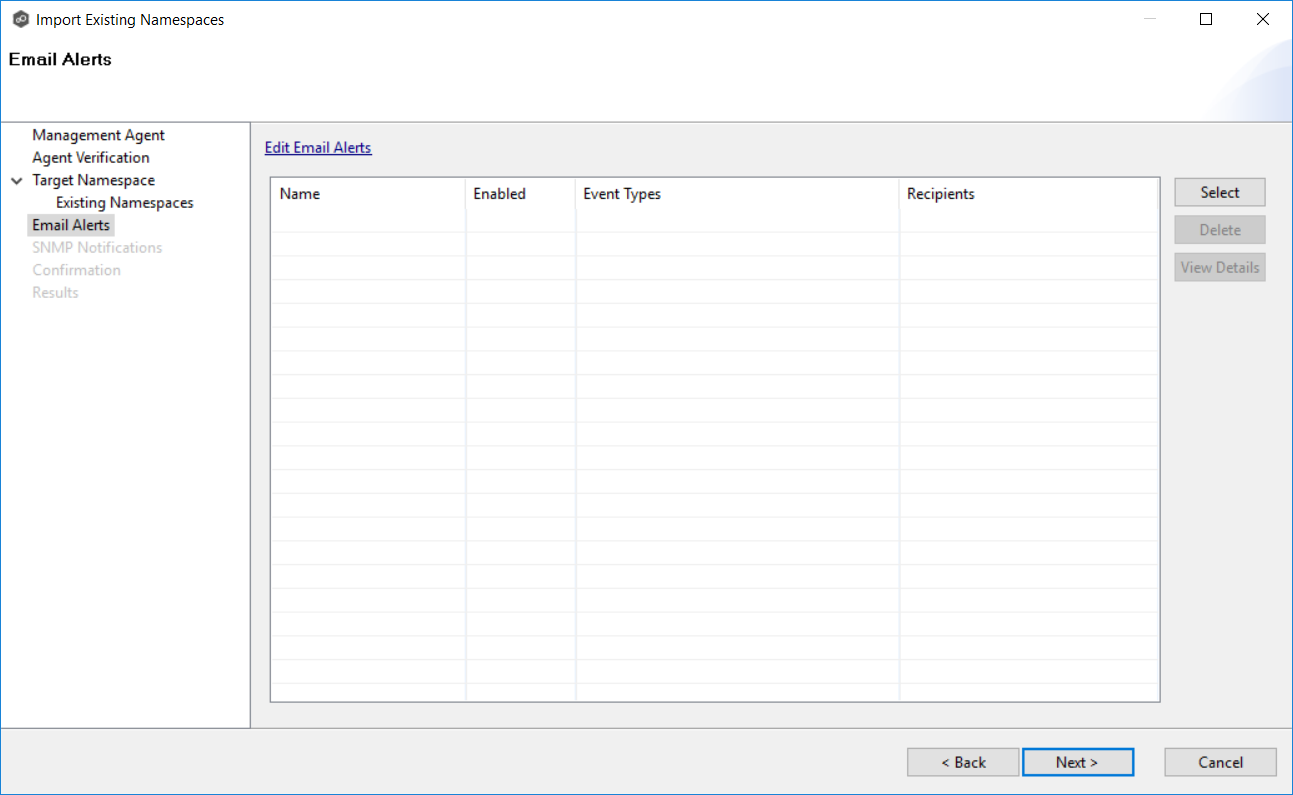
8.(Optional) Select or create email alerts to apply to the job, and then click Next.
The SNMP Notifications page appears.
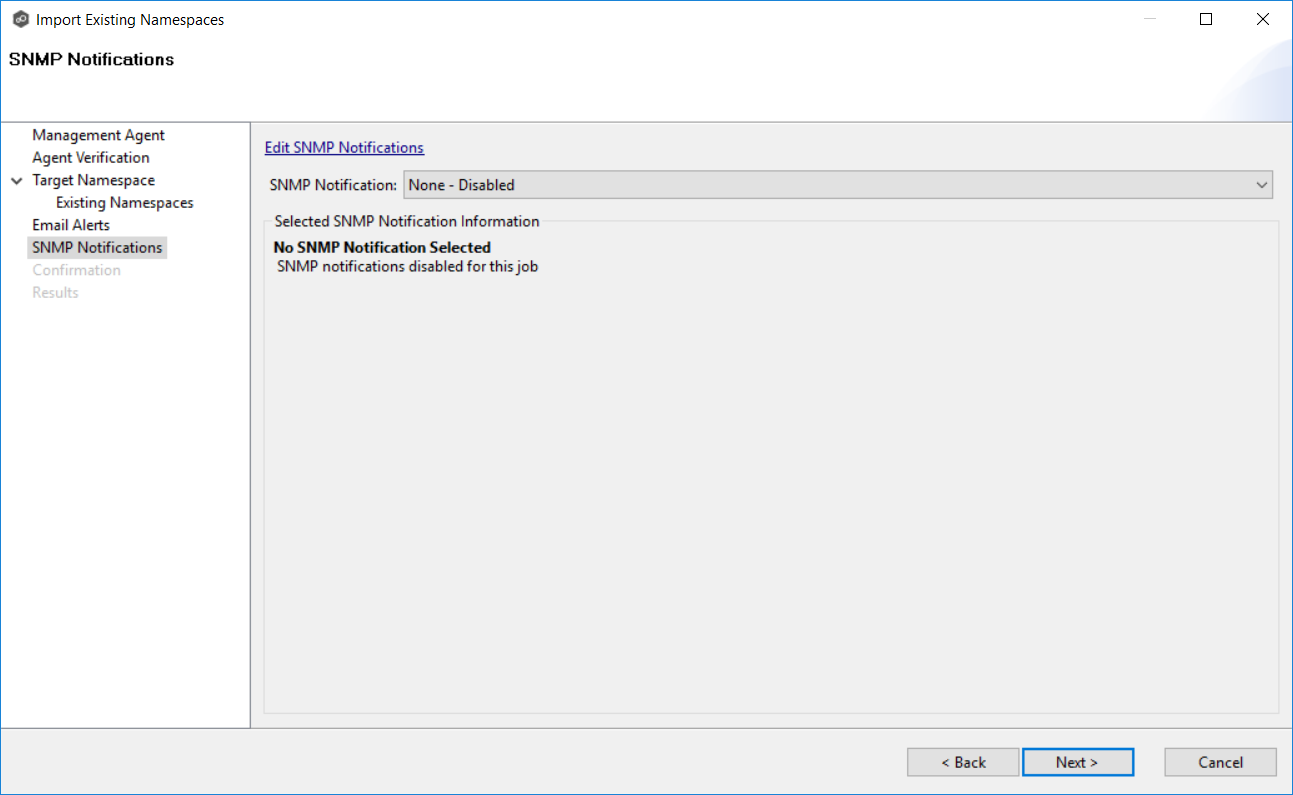
9.(Optional) Select or create an SNMP notification to apply to the job, and then click Next.
The Confirmation page appears.
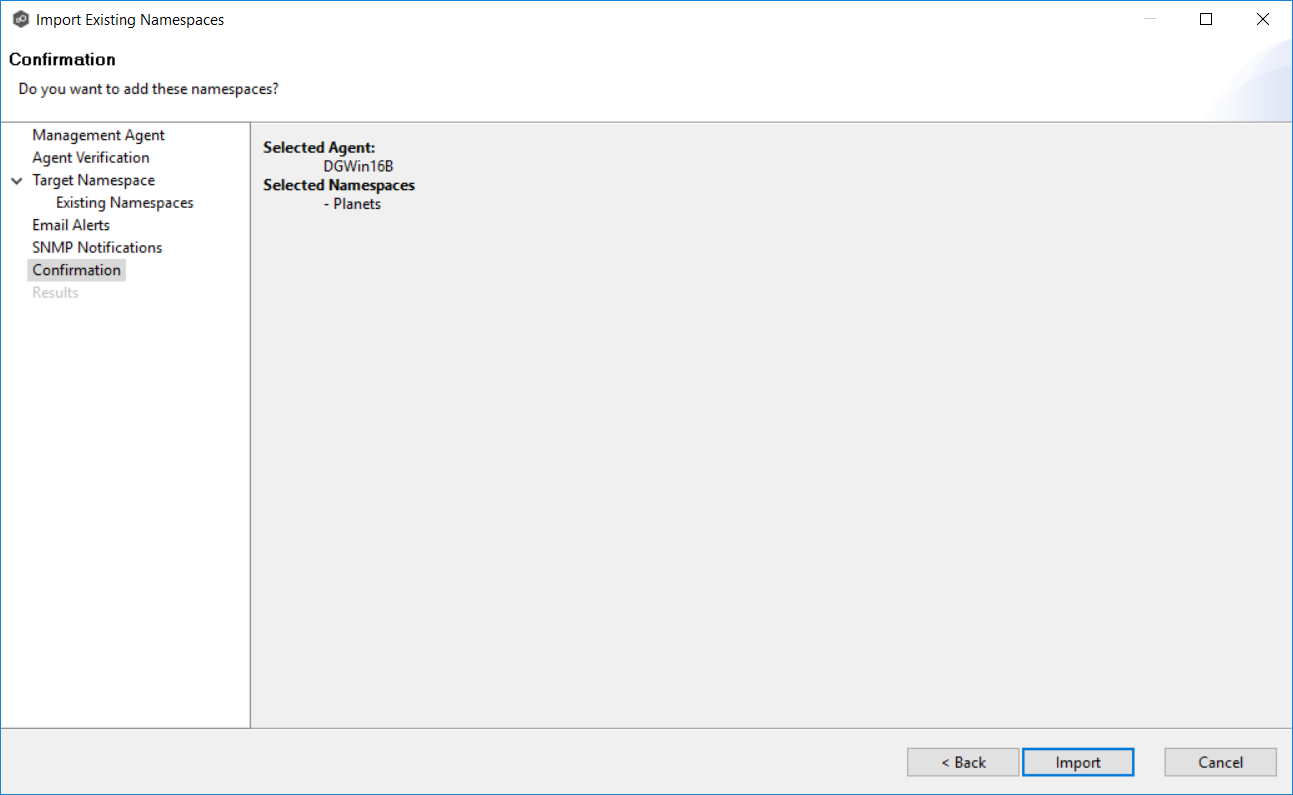
10.Review the configuration.
11.If you need to modify the job configuration after reviewing it, click Back until you reach the appropriate page and make your changes.
12.Once you are satisfied with the job configuration, click Import.
The Results page appears.
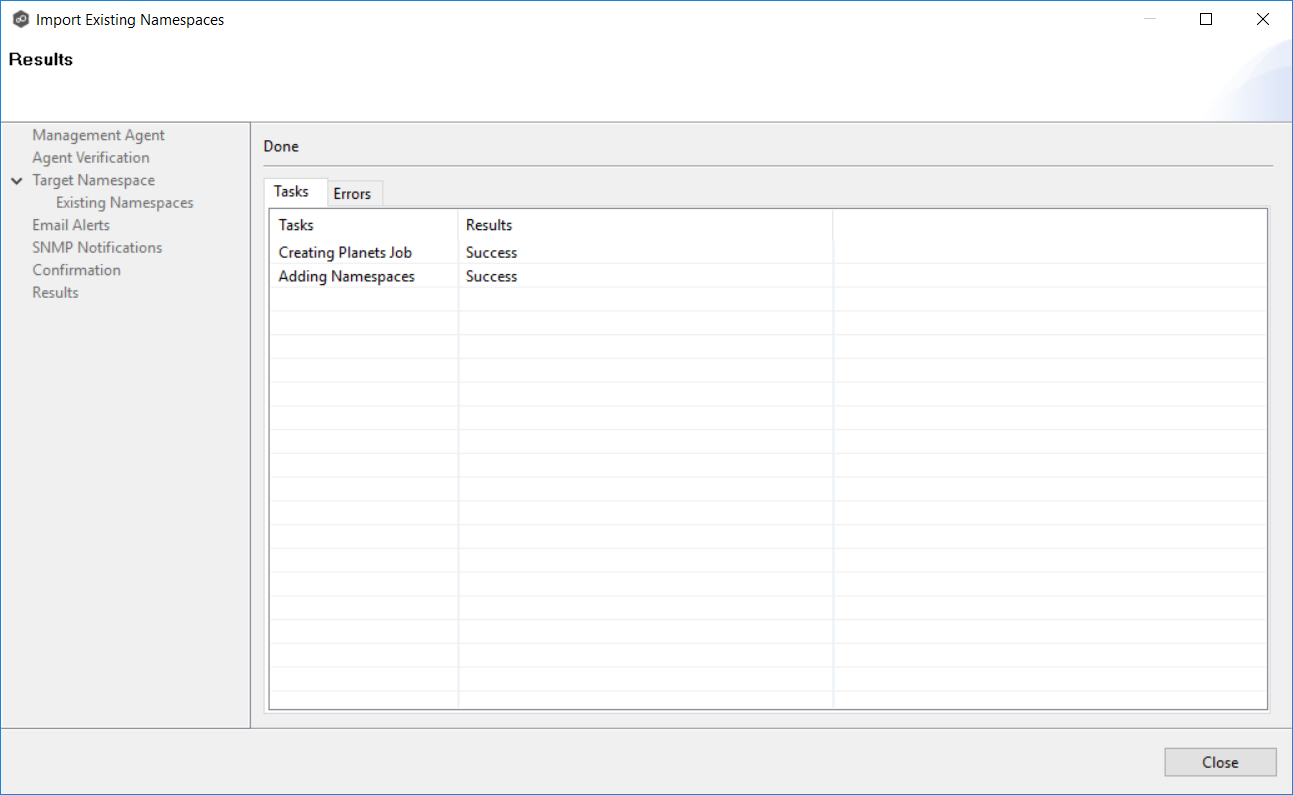
13.Review the results, and then click Close.
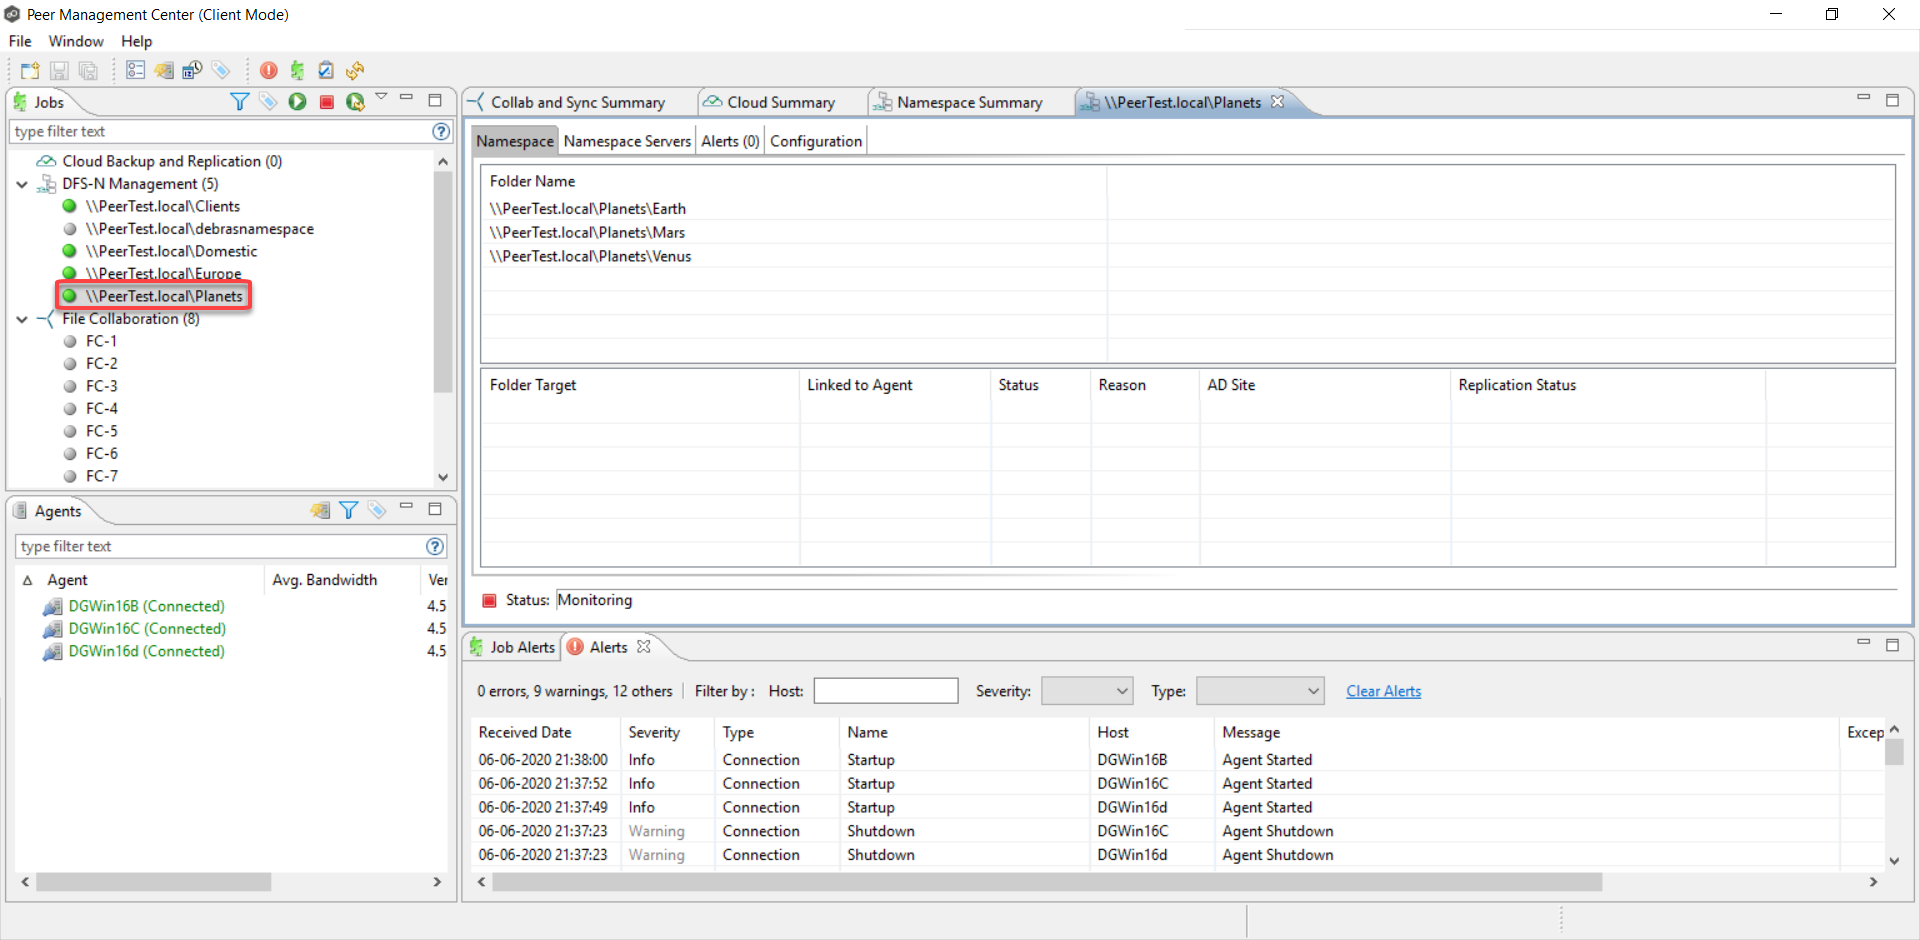
A DFS-N Namespace job is created for each namespace you added. The new job(s) are displayed in the Jobs view and tab(s) for the jobs appear in the runtime summaries view. The jobs automatically start running. The namespaces can now be linked to File Collaboration and File Synchronization jobs.