You can create a File Collaboration or File Synchronization job from a DFS namespace folder. These steps require that:
•The DFS namespace has been already created and is being managed by the PMC.
•The namespace folder has at least two folder targets.
To create a File Collaboration or File Synchronization job from a namespace folder:
1.From the Jobs view, open the DFS-N Management job managing the namespace.
2.Open the Namespace tab if it is not already displayed.
3.In the Namespace tab, right-click the desired namespace folder and select Create New Job.
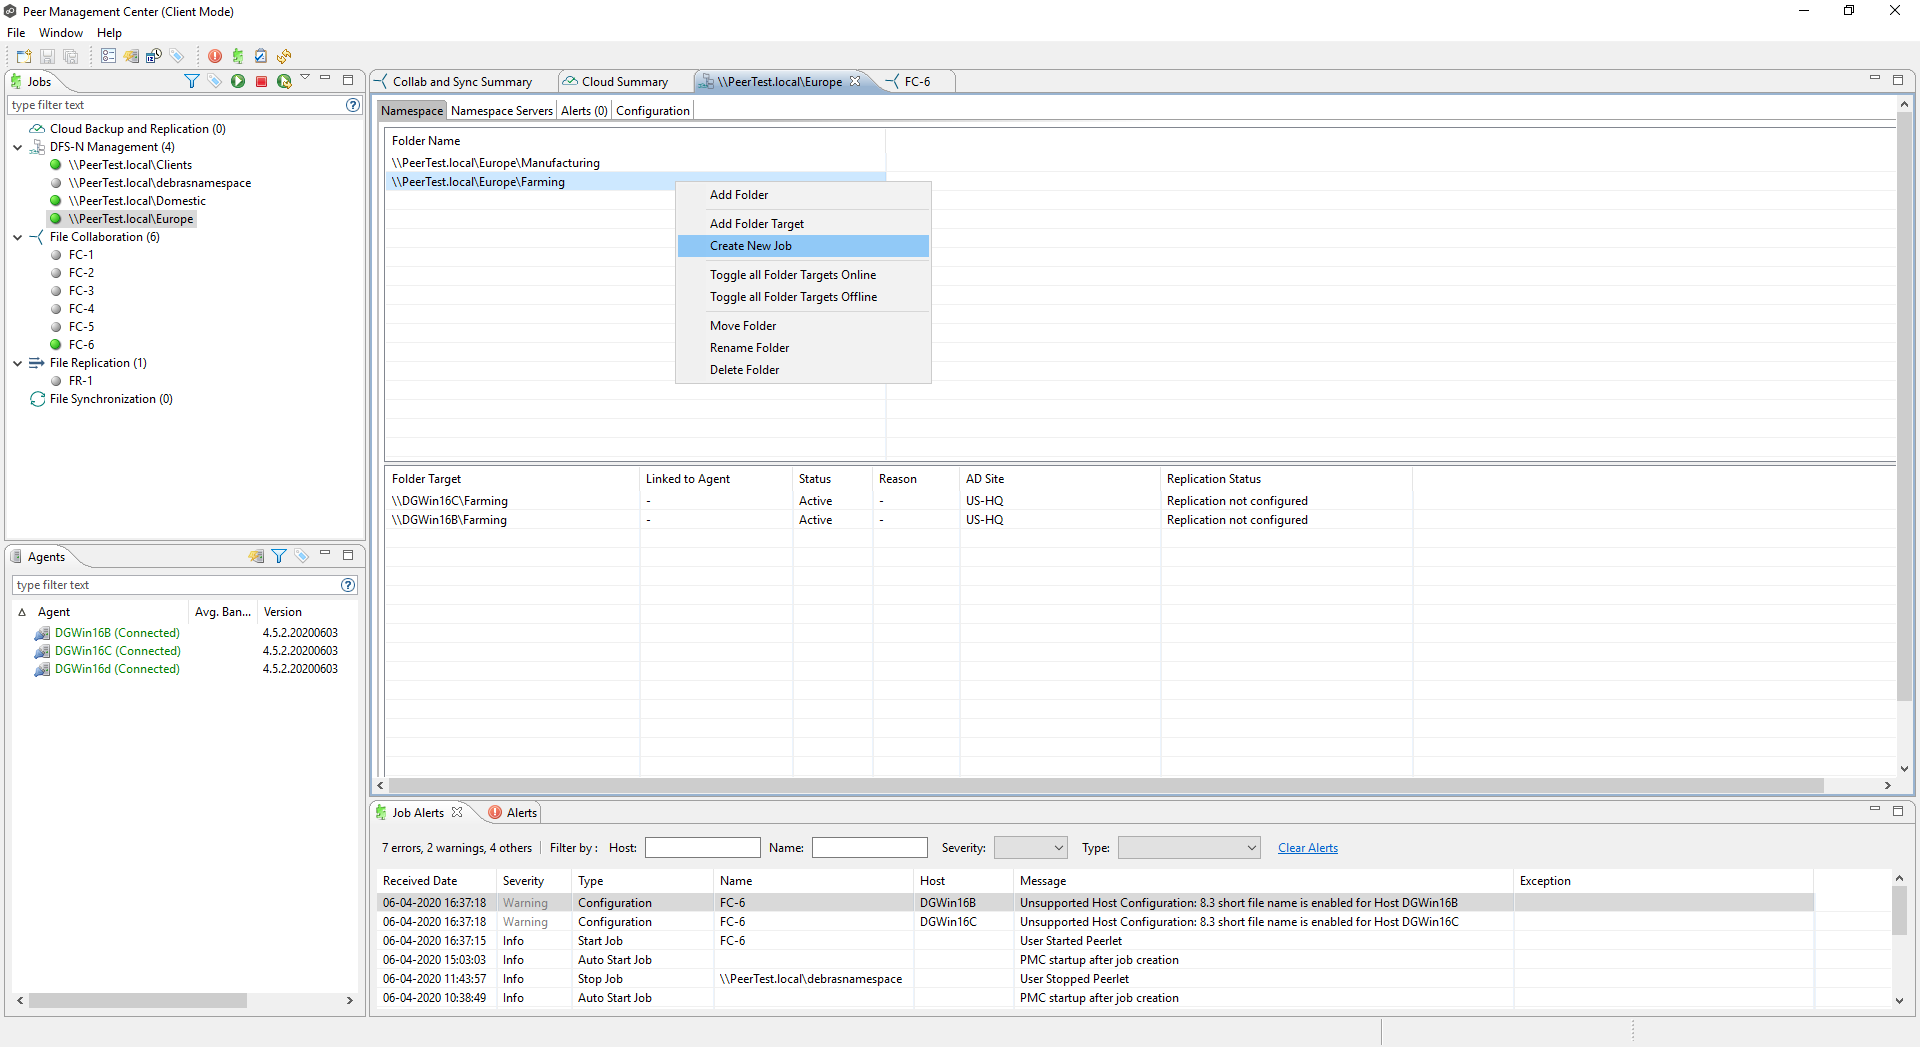
The Create New Job wizard displays a list of job types you can create: File Collaboration and File Synchronization. All other job types are not supported for use with DFS namespace management.
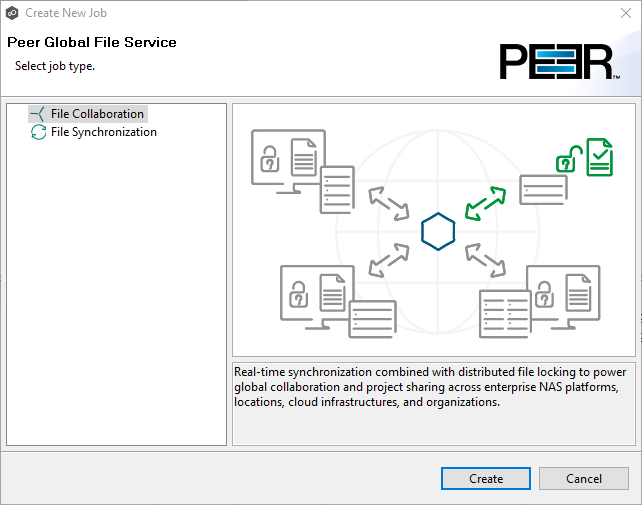
4.Select a job type and click Create:
•Select File Collaboration if locking is required in additional to synchronization (for example, for data sets with shared project files).
•Select File Synchronization if no locking is required (for example, with home directory and user profile datasets).
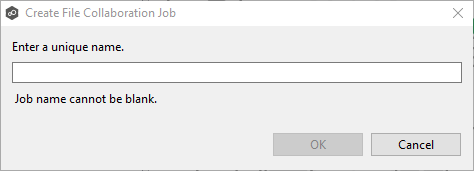
5.Enter a name for the job and then click OK.
The job name must be unique.
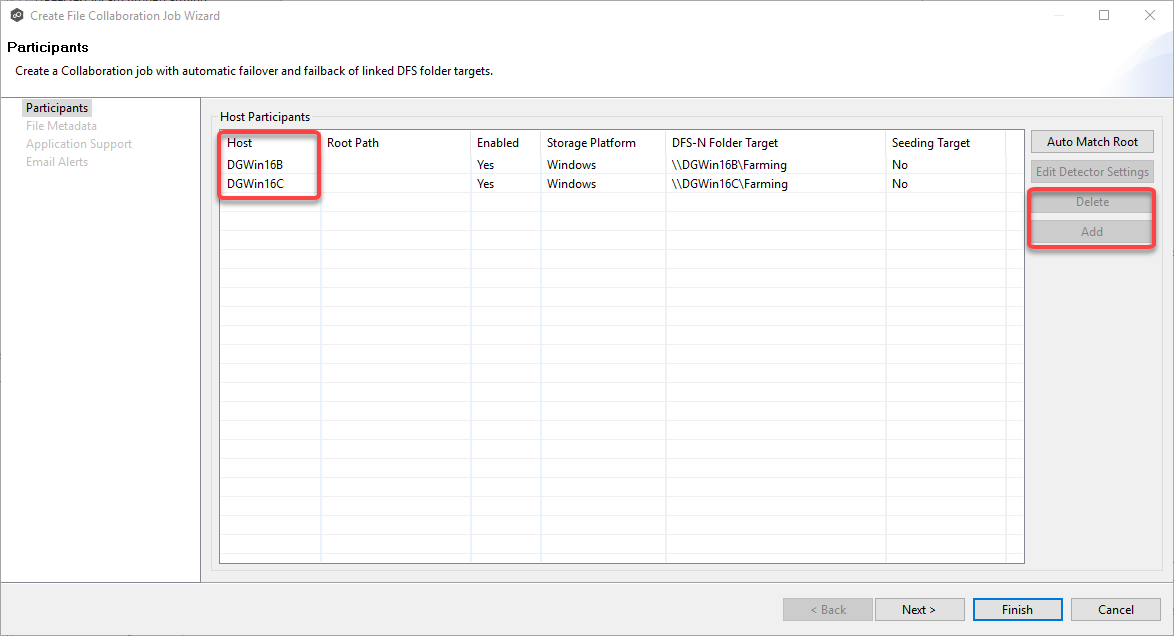
The Participants page appears. It is slightly different than Participants page that appears in the standard Create New Job wizard. The Host Participants table may be blank or it may be auto-populated with Agents.
6.If the Hosts column is blank, use the Add button to add the proper Agents.
If the Hosts column is auto-populated with Agents but not with the Agents you want, you can use the Add or Delete buttons to to modify which Agents to use in the job. At least two agents must be added.
After you have made sure the correct Agents are listed in the Host Participants column, you need to check whether the correct storage platform is listed for the Agent. If an Agent has talked to that file server before, the Storage Platform column will be auto-populated.
7.If the Storage Platform column is blank, select the platform from the drop-down list.
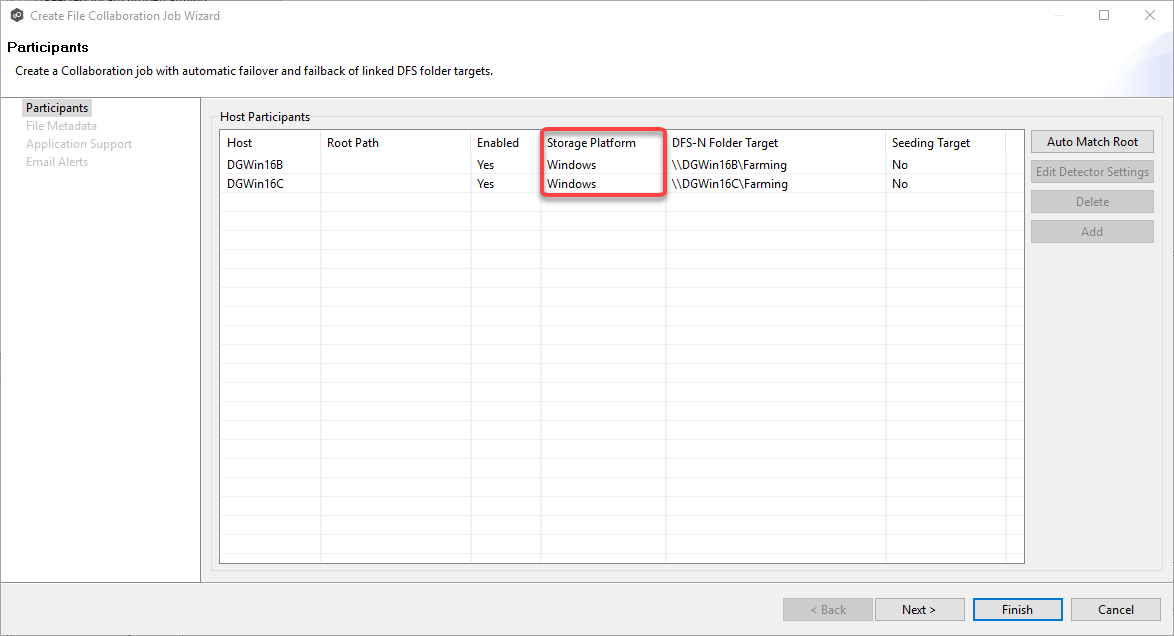
8.If you selected a platform other than Windows, click the Edit Detector Settings button and enter the required settings for your selected platform.
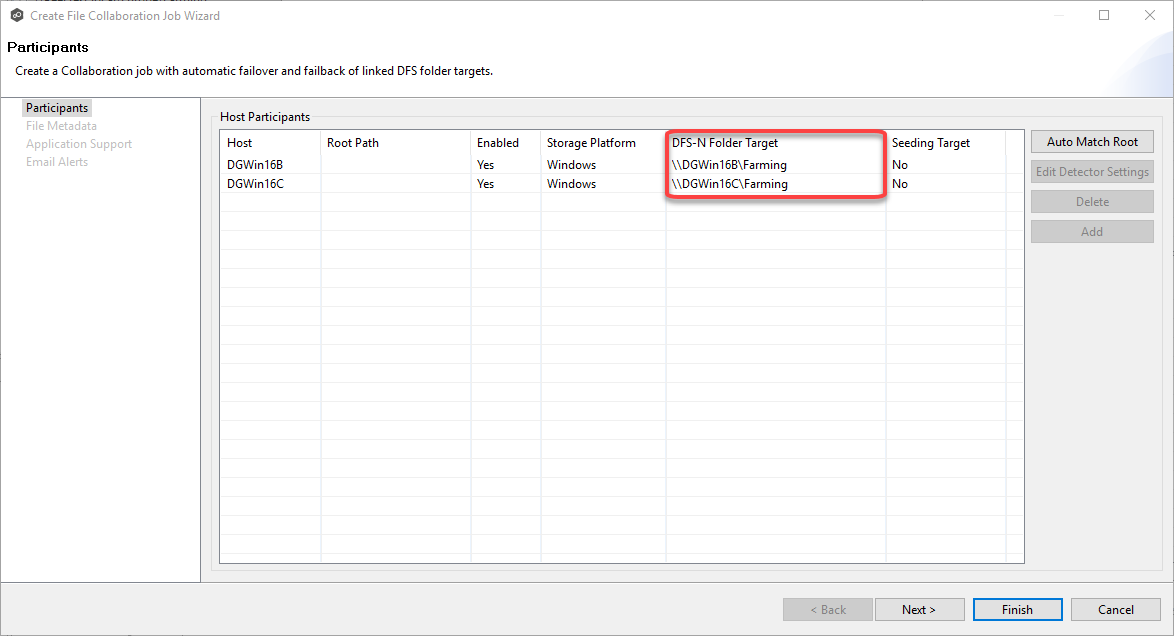
9.If the DFS Folder Target column is blank, manually enter the folder targets in the DFS Folder Target column or click in the column and select one from the drop-down list.
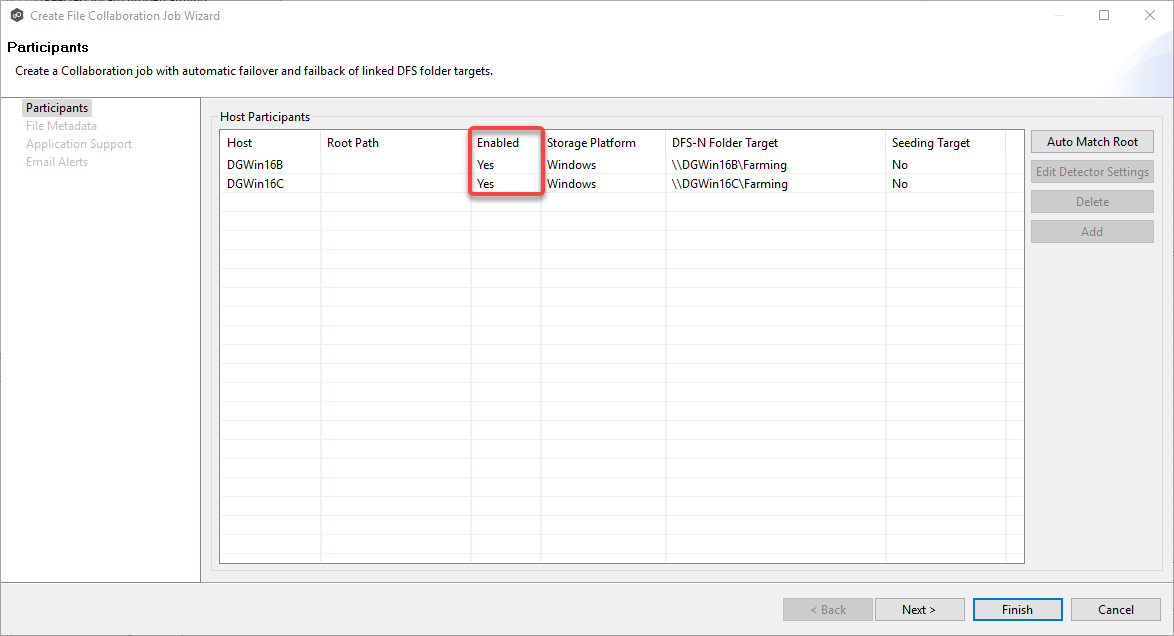
10.If No appears in the Enabled column, select Yes from the drop-down list.
11.The Enabled column [displays whether is enabling the link between that FC root path and the DFS Target folder
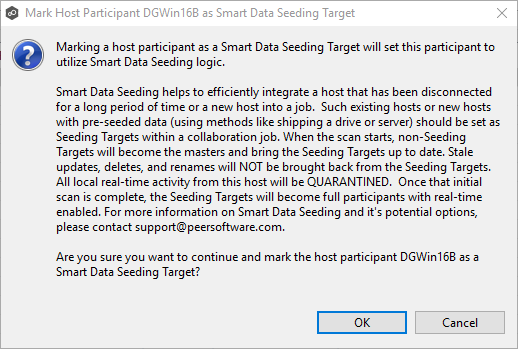
12.If you want a participant to act as a seeding target, select Yes from the drop-down list.
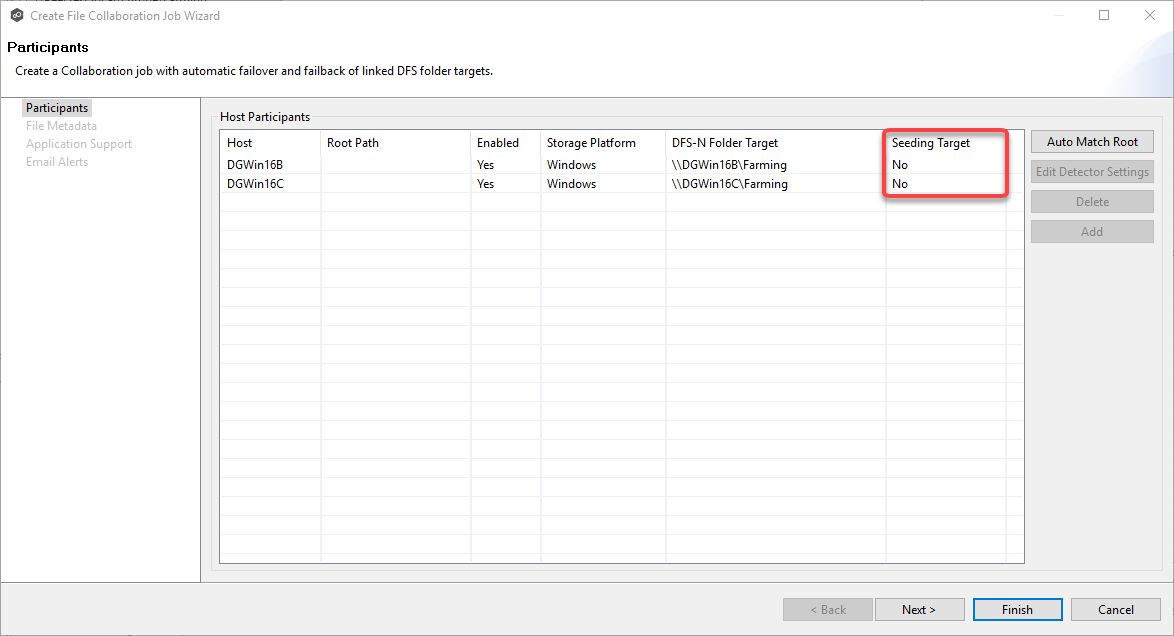
If you select Yes, a message describing seeding behavior is displayed. Multiple participants in a File Collaboration or File Synchronization job can be set as smart data seeding targets; however, at least one participant should not be set as a smart data seeding target. This participant will be acting as the "master" source for the smart data seeding targets. For more information about smart data seeding, see Smart Data Seeding or contact support@peersoftware.com.
13.Click Auto Match Root to automatically match a participant with the appropriate namespace folder target.
After clicking Auto Match Root, the root path will appear in the Root Path column. If this is the first collaboration or file synchronization job created with these Agents, you may need to populate the Root Path column manually:
•If using a Windows file server, the root path should be the local path on that file server that corresponds to the share path of the folder target.
•If using a non-Windows NAS device, this path should match the namespace folder target.

14.Once all participants are added and associated with folder targets, click Next.
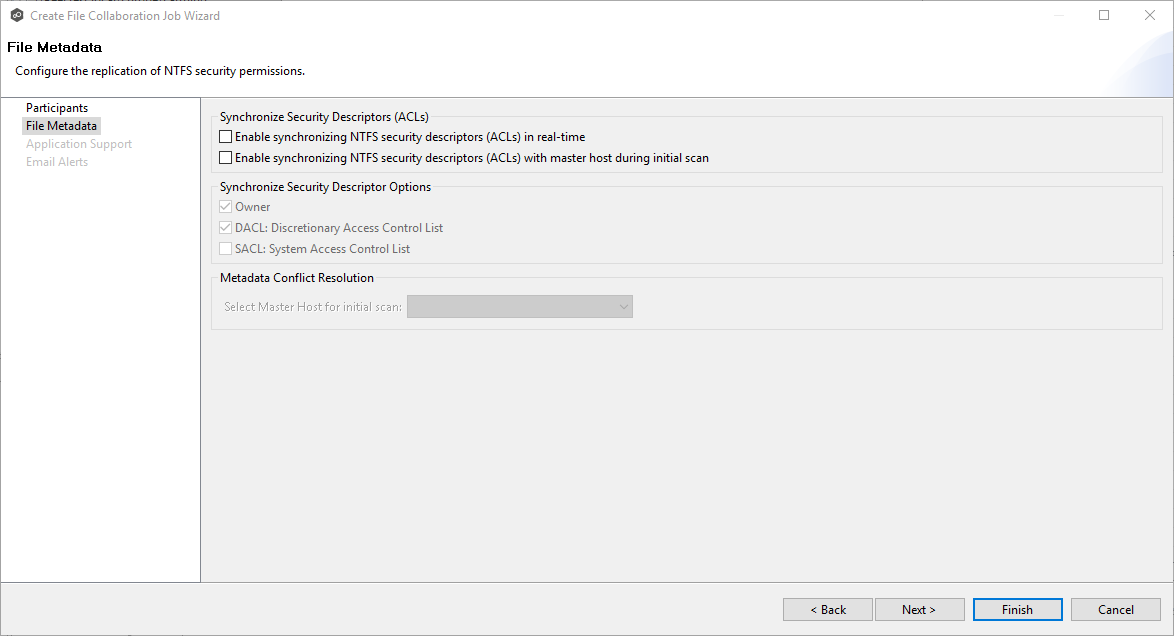
15.(Optional) In the File Metadata page, enable file metadata replication, and then click Next.
16.(Optional) In the Application Support page, select the applications you want optimized, and then click Next.

17.(Optional) In the Email Alerts page, select the emails alerts to apply to the job.
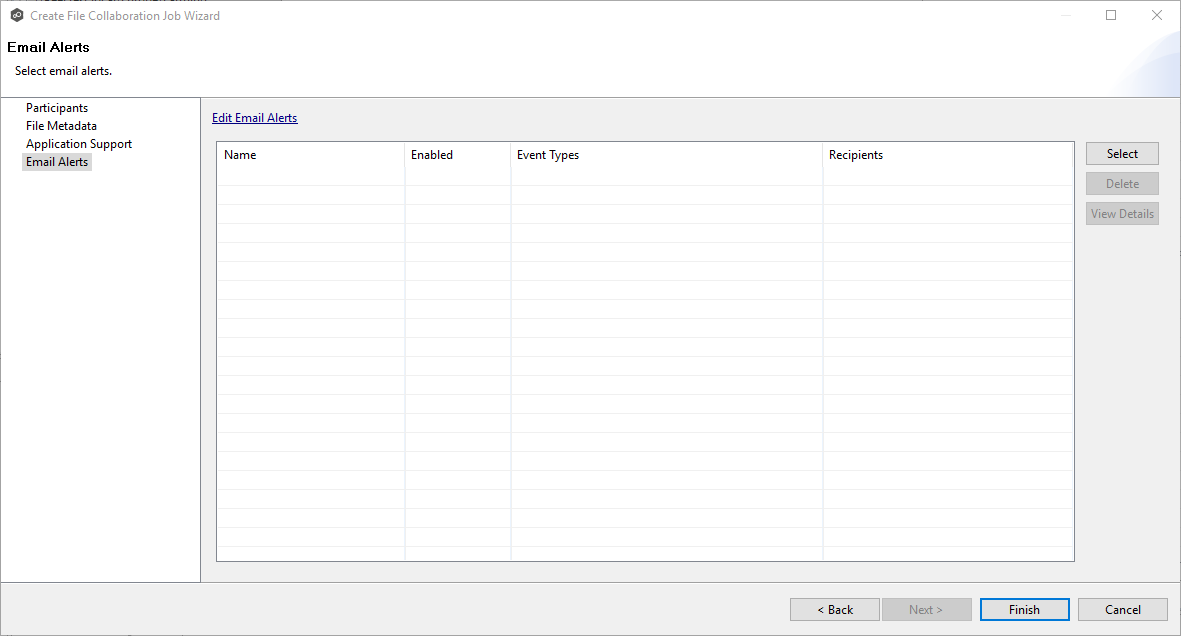
18.Click Finish to complete the creation of this job.
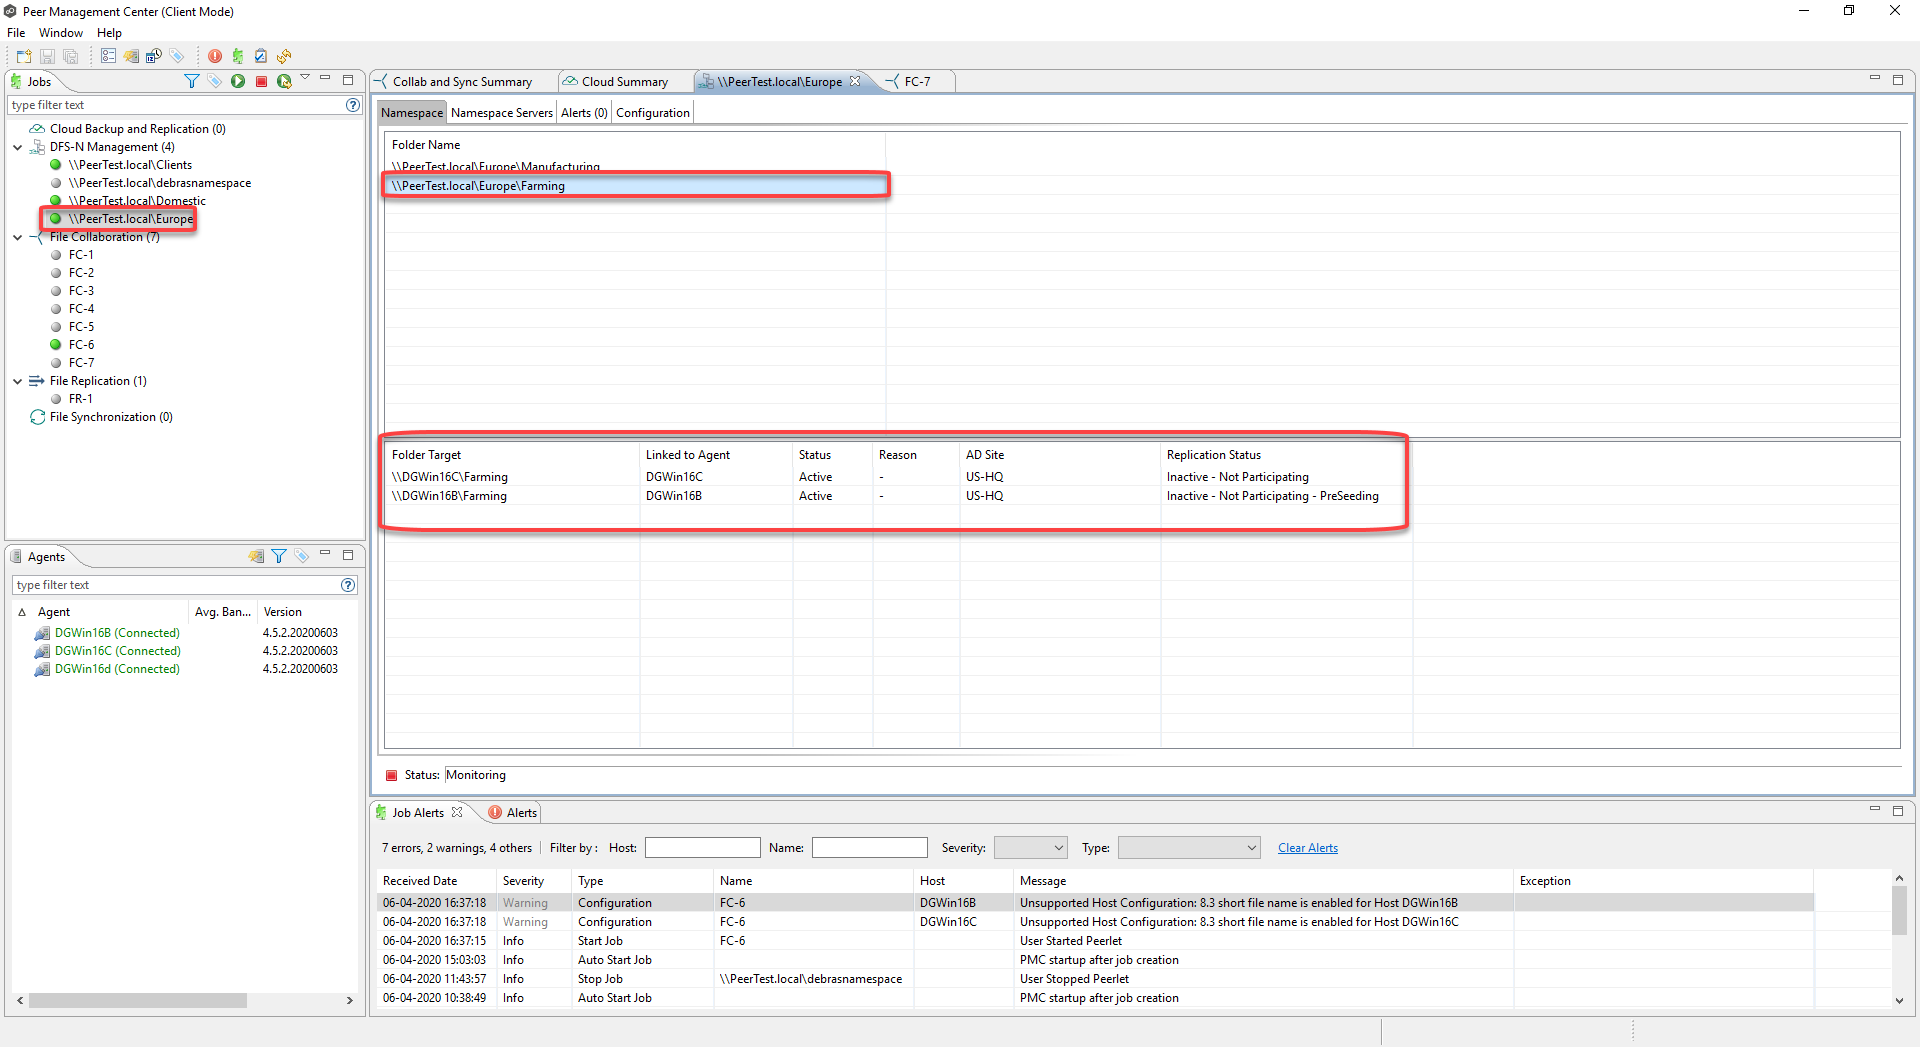
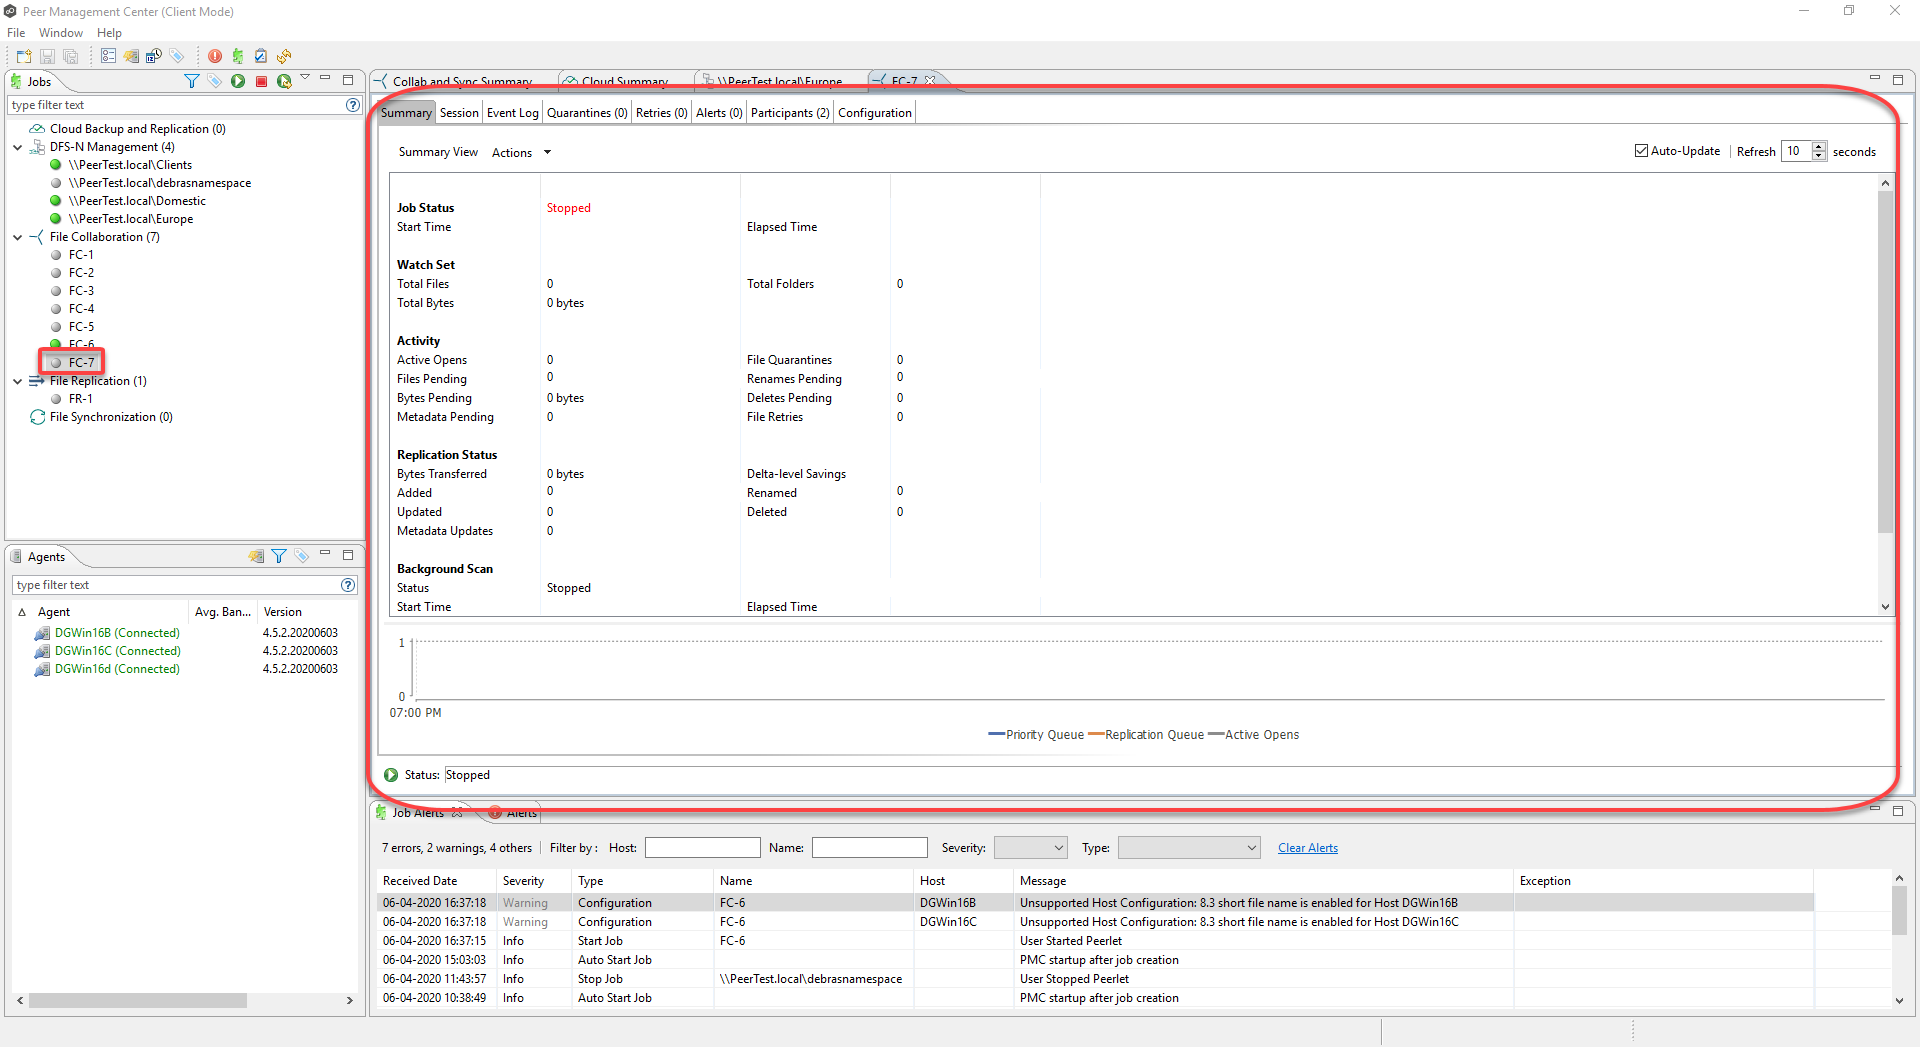
Congratulations! You have created a File Collaboration or File Synchronization job that is linked to the namespace. It is now listed in the Jobs view under the job type (either File Collaboration or File Synchronization) and a view of the job appears in the Runtime Summaries area. You can start the job from either place. See Running and Managing a File Collaboration job for more information. From this point forward, if this file collaboration or file synchronization job is running along with its paired namespace job, the PMC will automatically failover and failback folder targets.
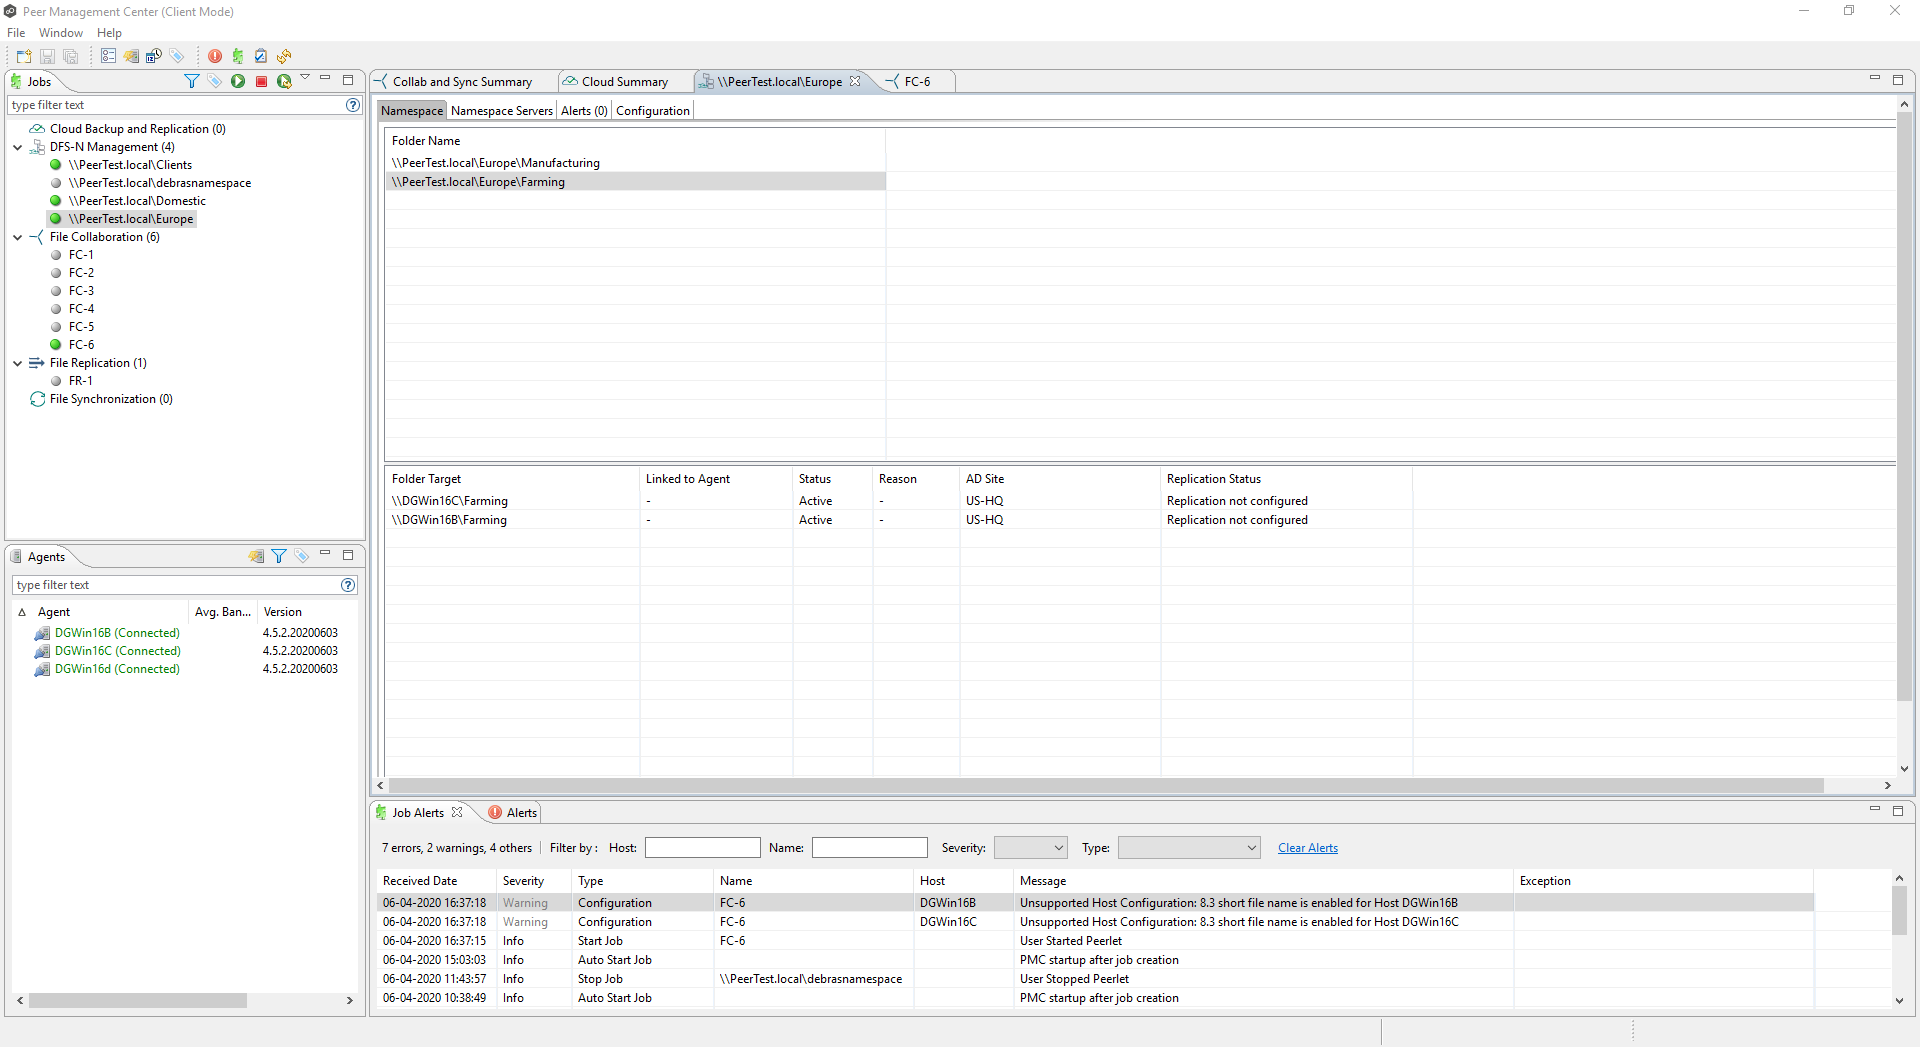
If you open the linked DFS-N Management job, and click the namespace folder in the Namespace tab, you can view the folder targets in the view below.