If you do not need a proxy server to connect to outside networks, skip this step and proceed to Step 5.
If you do need a proxy server to connect to outside networks, you have three options:
•Create a new proxy configuration.
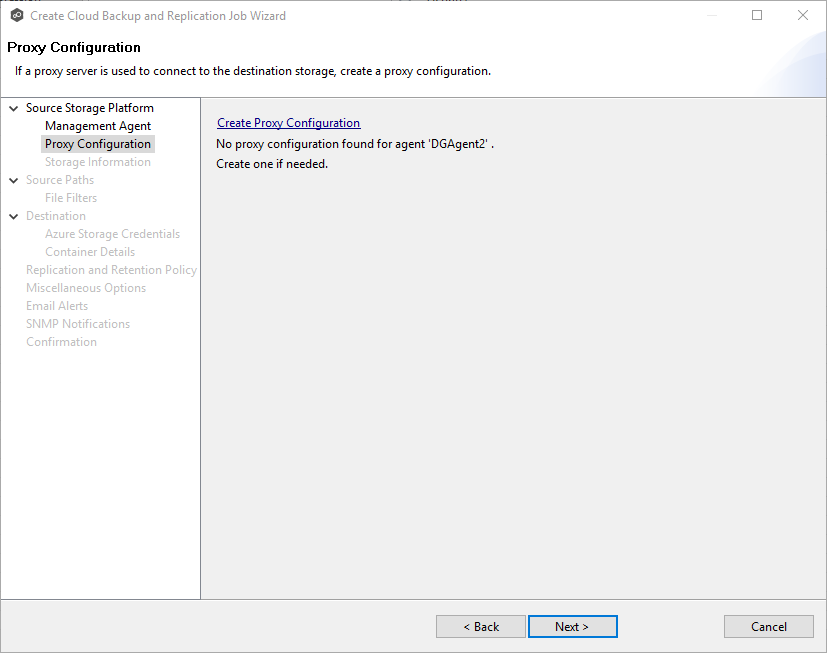
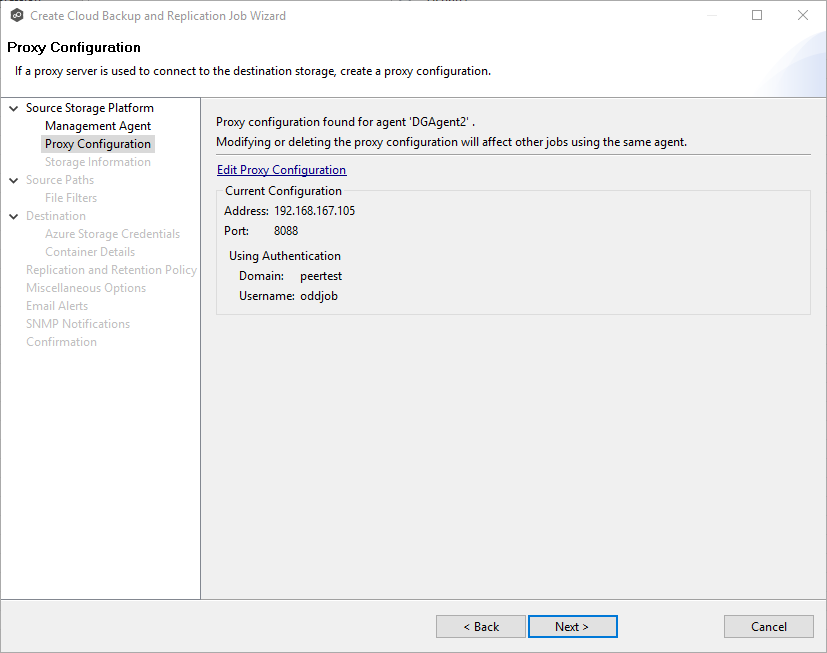
•Use the existing proxy configuration. If there is an existing proxy configuration, details about the configuration will be displayed on the page.
You may have created one in advance through Cloud Back and Replication Preferences or when you created another Cloud Backup and Replication job. Once a proxy configuration is created for a source storage platform, that proxy configuration is used for all Cloud Backup and Replication jobs using that agent.
•Edit an existing proxy configuration. Click the Edit Proxy Configuration link to edit the existing proxy.
If you edit the proxy configuration, it affects other jobs using the same agent. Editing an existing proxy configuration has the potential to create problems with the other jobs.
If there is not an existing proxy configuration for the selected management agent, follow these steps to create a new proxy configuration:
1.Click Create Proxy Configuration.
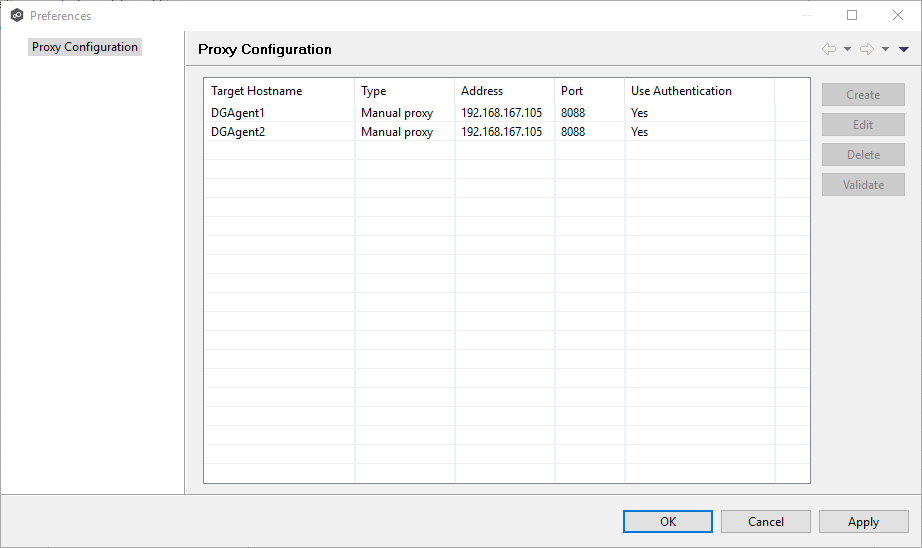
The Proxy Configuration page is displayed. Existing proxies are listed in the Proxy Configuration table.
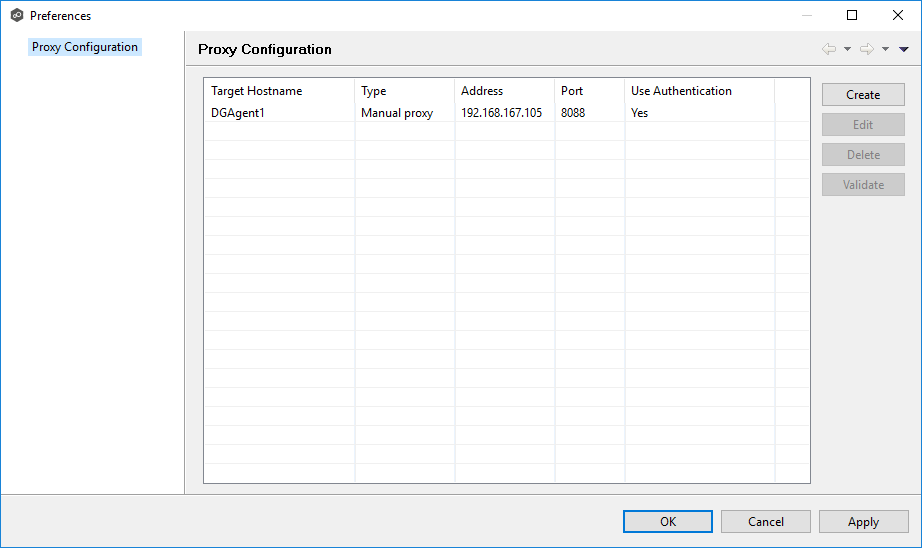
2.Click the Create button.
The Create Proxy Configuration dialog is displayed. The Agent you selected in Step 3: Management Agent is preselected.
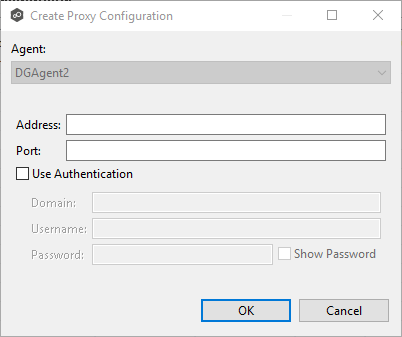
3.Enter values for the following fields:
Address |
Enter the IP address or fully qualified domain name of the proxy server. |
Port |
Enter the port number. |
User Authentication |
Select this checkbox if the proxy server requires authentication. |
4.If your proxy server requires authentication, click the User Authentication checkbox and supply the necessary values.
Domain |
Enter the domain name on the proxy server. |
|---|---|
Username |
Enter the user name for the proxy server. |
Password |
Enter the password for the proxy server. |
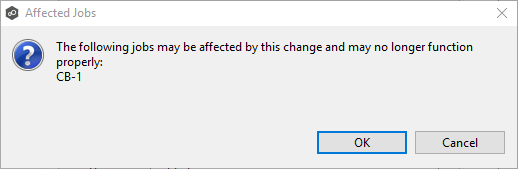
5.Click OK.
If you already have jobs managed by this agent, a message appears and identifies those jobs. They will now use the proxy as well.
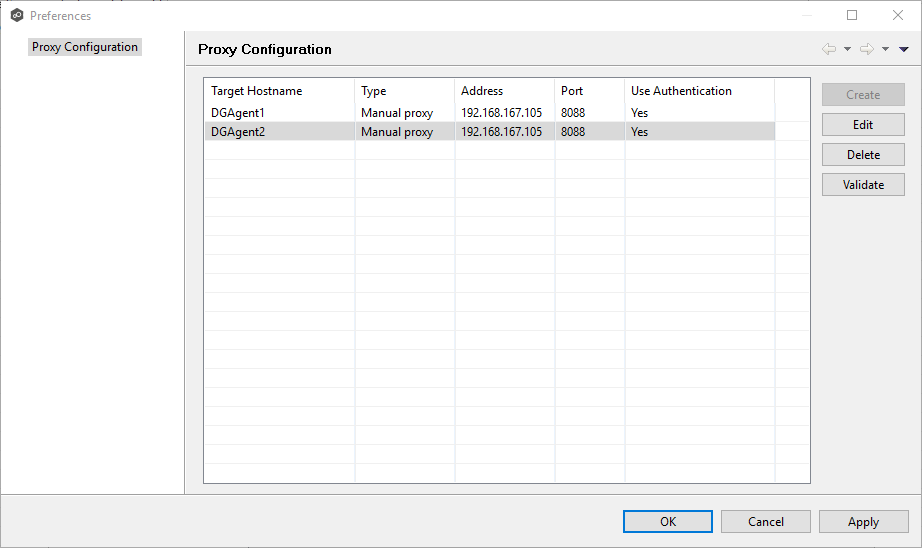
After you click OK, the Proxy Configuration page is redisplayed. The proxy you just created now appears in the table.
6.(Optional) Select the proxy you created and click Validate.
The Validate Proxy Configuration dialog appears.
7.Select the target storage account, and then click OK.
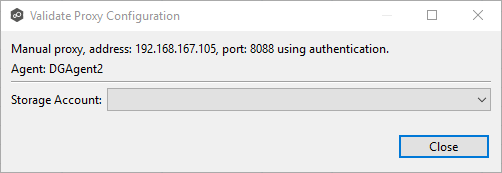
Once you click OK, PeerGFS tests the connection to the target storage account using the proxy.
8.Click OK in the Validation Result dialog.
9.Click Close in the Validate Proxy Configuration dialog.

10.Click OK in the Proxy Configuration page.
The Proxy Configuration page now displays the details about the proxy configuration.
11.Click Next.
The Storage Information page appears.