When you create a job, you can select an existing SMNP notification to apply to the job or you can create a new notification and apply it to the job. You cannot edit or delete an SMNP notification while it is applied to a job. See SMNP Notifications in the Basic Concepts section for more information about SMNP notifications.
To create an SMNP notification:
1.From the Window menu, select Preferences.
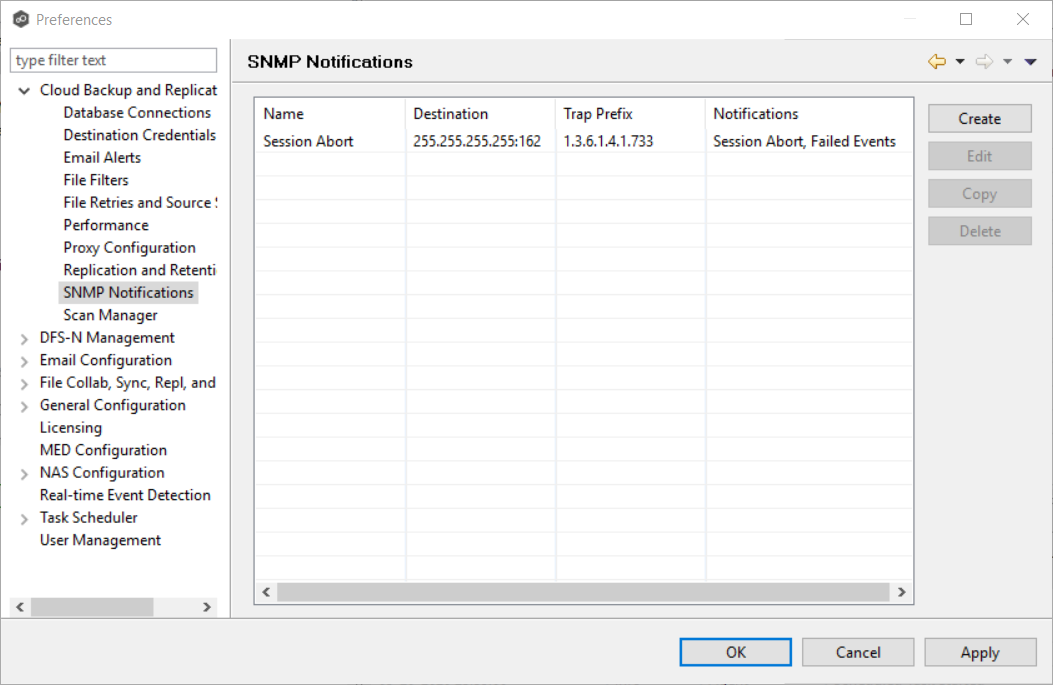
2.Expand Cloud Backup and Replication in the navigation tree, and then select SNMP Notifications.
The existing SNMP notifications are listed in the SNMP Notifications table.
3.Click the Create button.
The Add SNMP Notification dialog appears.
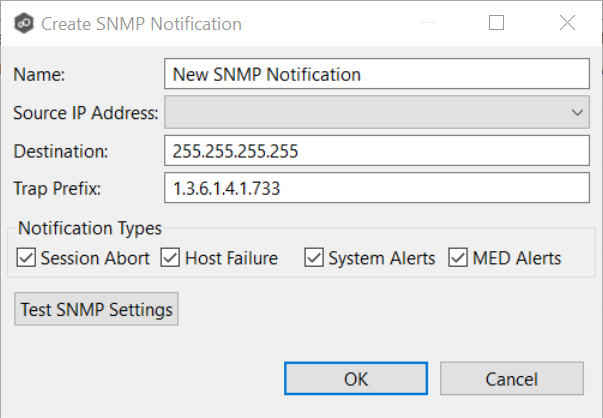
4.In the Source IP Address field, select or manually enter the IP address over which the trap will be sent.
5.In the Destination field, enter the destination host name, IP address, or broadcast address.
6.For Trap Prefix, enter a prefix that will help to identify whether the message is coming from different instances of the Peer Management Center or from different jobs.
7.For Notification Types, select the types of events that will trigger the generation of an SNMP trap:
Session Abort |
Sends a notification when the Cloud Backup and Replication job stops unexpectedly. |
Host Failure |
Sends a notification when the Management Agent of a Cloud Backup and Replication job disconnects or stops responding. |
System Alerts |
Sends a notification when a system event such as low memory or low hub disk space occurs. |
MED Alerts |
Sends a notification when a malicious event is detected. For more information, see MED Configuration. |
8.Click Test SNMP Settings, and then click OK in the Test Connection dialog.
9.Click OK or Apply.
The new notification is listed in the SNMP Notifications table and can now be applied to jobs.