After you find the data to recover, the Recover To page appears.
1.Select the recovery location. You have two options:
•Another Location - Enter the UNC path to a location on another storage device.
•Original Location - Browse to a location on the device hosting the management agent. However, we recommend not restoring directly to the original location, especially if the job is currently running.
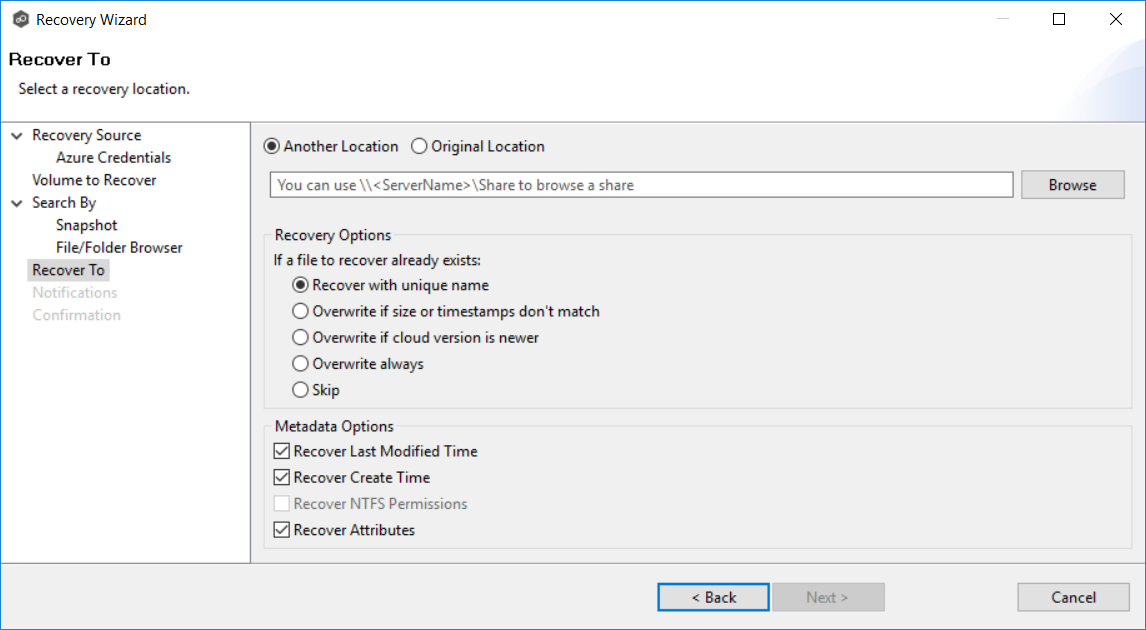
2.Select the recovery options for if the file to recover already exists in the recovery location:
Recovery Option |
Select this option if you want to: |
Recover with unique name |
Ensure that the existing file is not overwritten with the cloud version. |
Overwrite if sizes or timestamps don’t match |
Overwrite the existing file with the cloud version if the sizes or timestamps the existing file do not match the cloud version. |
Overwrite if cloud version is newer |
Overwrite the existing file if the cloud version has a more recent modification date. |
Overwrite always |
Always overwrite the existing file with the cloud version. |
Skip |
Skip recovering a file if the file already exists. |
3.Select the recovery metadata options:
Metadata Option |
Select this option if you want to: |
Recover Last Modified Time |
Set the last modification time of a recovered file to match the last modification time stored at upload rather than the time at which it was recovered. |
Recover Create Time |
Set the creation time of a recovered file to match the creation time stored at upload rather than the time at which it was recovered. |
Recover NTFS Permissions |
Set the NTFS permissions of any recovered files and folders to match the original permissions when those files and folders were uploaded. |
Recover |
Set the attributes of any recovered files and folders to match the original attributes when those files and folders were uploaded. |
4.(Optional) Click the Review button to see your selections.
5.Click Next.
The Notifications page appears.
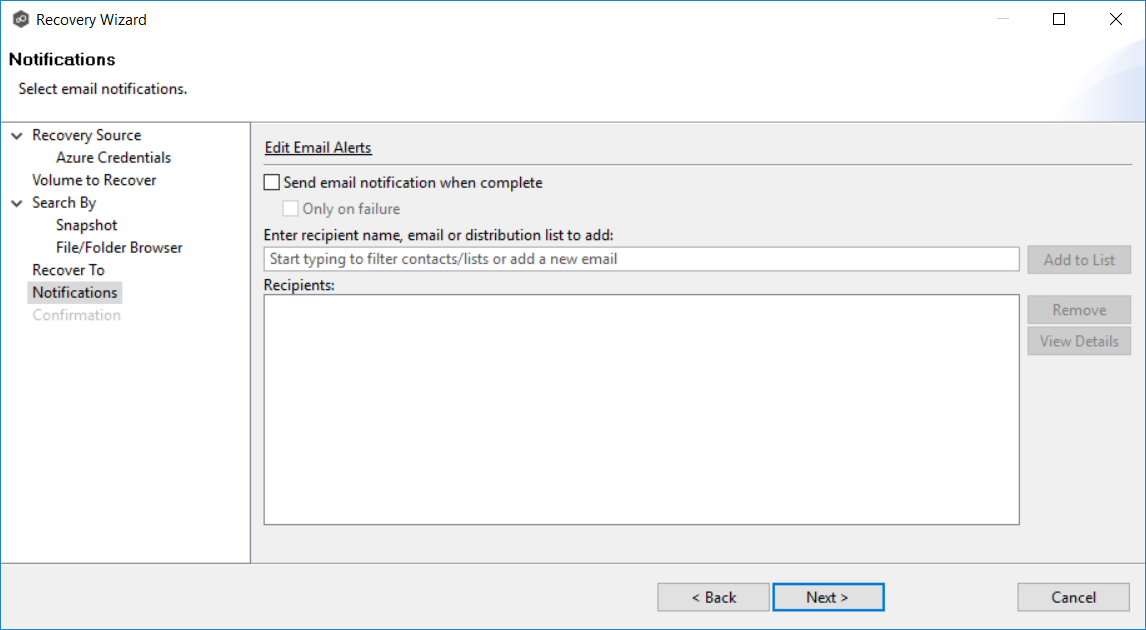
6.(Optional) Select the Send email notification when complete check box if you want notifications sent when the recovery process is complete. Select Only on failure if you want notifications sent only if the recovery does not successfully complete.
7.If sending notifications, enter recipients and add them to the list.
8.Click Next.
The Confirmation page is displayed.
9.Review your recovery settings.
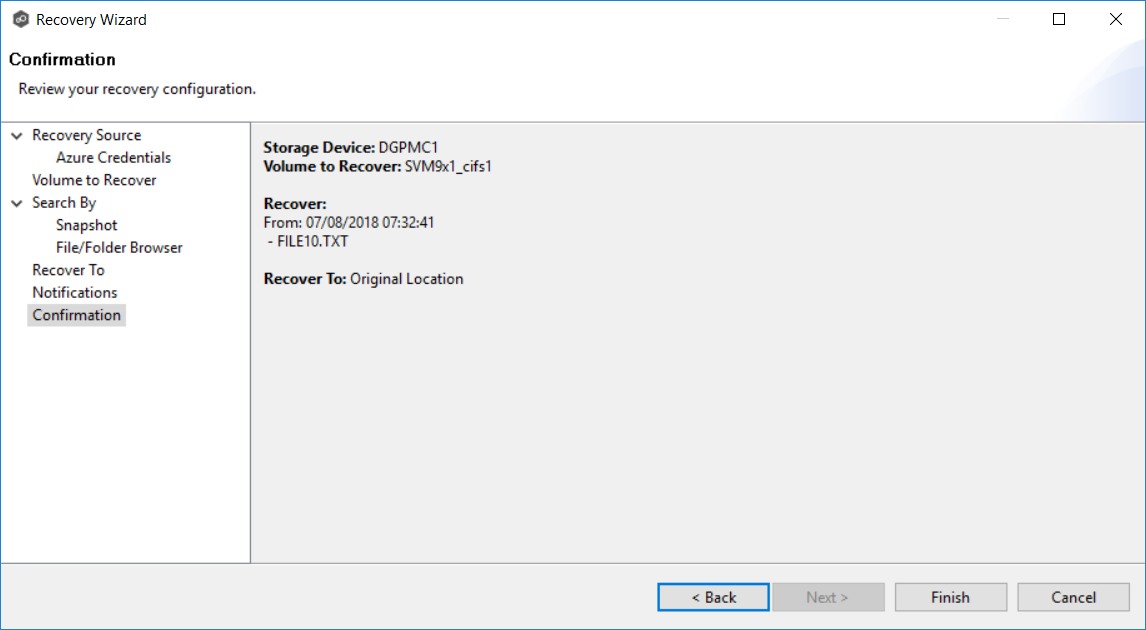
10.Click Finish.