Effects of disabling Proactive Monitoring
•Your Peer Software Technical Account Manager will no longer be able to check on the status of your PeerGFS environment.
•Data will no longer be uploaded to Peer Software. If disabled, you can request Peer Software to delete your data.
To disable Proactive Monitoring:
1.Select Preferences from the Window menu.
The Preferences dialog appears.
2.In the navigation tree, select Analytics, and then select Proactive Monitoring.
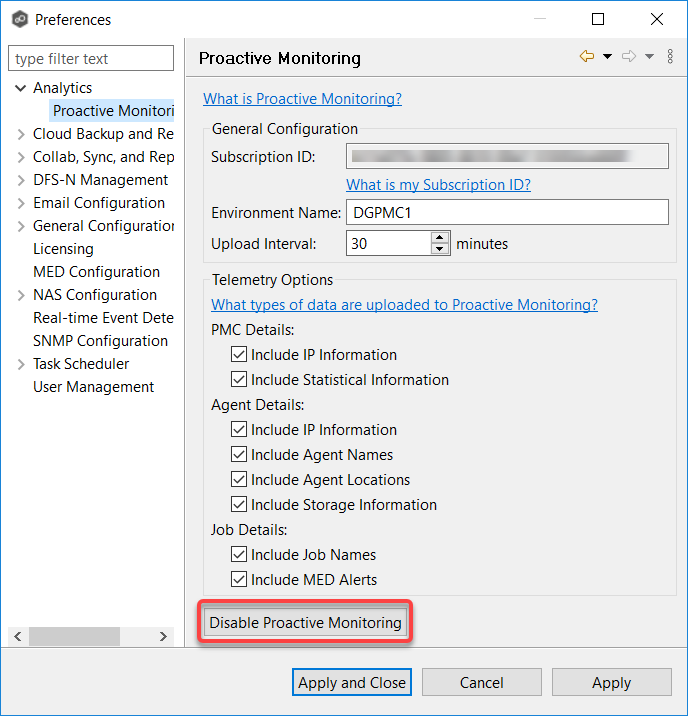
3.Click the Disable Proactive Monitoring button.
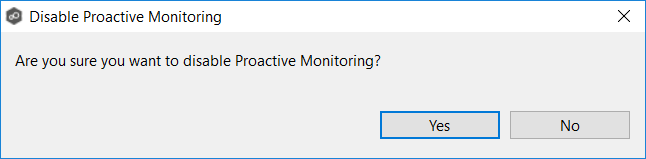
4.In the confirmation dialog, click Yes to confirm.
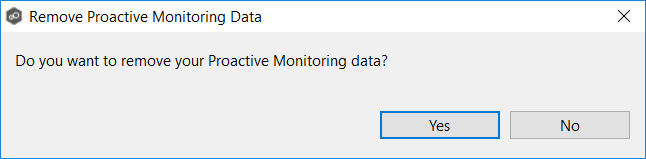
5.In the Remove Proactive Monitoring Data dialog, click Yes if you want your data deleted.
Peer Software will delete your data from Microsoft Azure. This action removes both current and historical data, which will be irrecoverable
6.If Health Checker was installed locally, choose an option in the Health Checker dialog:
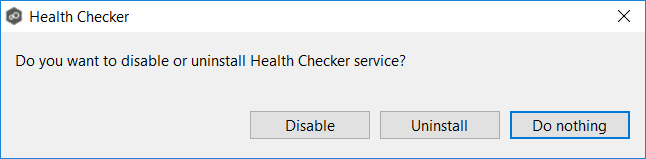
•Disable: Stops the Health Checker Service and prevents it from starting automatically..
•Uninstall: Removes the Health Checker service and all files.
•Do Nothing: Keeps Health Checker installed and running.
7.Click OK in the dialog that appears if you chose to delete Proactive Monitoring data.
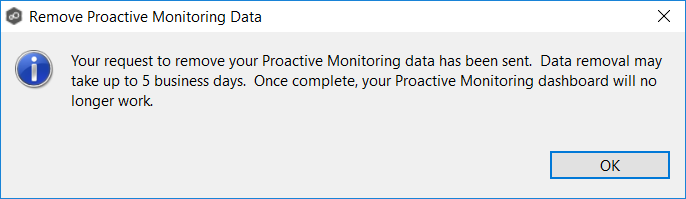
The Preferences page reappears.
8.Click Apply and Close or Apply.
Re-enabling Proactive Monitoring
To re-enable Proactive Monitoring, rerun the Set up Proactive Monitoring wizard. Click the Enable Proactive Monitoring button in the Proactive Monitoring preferences page.