To create a custom role:
1.From the Window menu, select Preferences.
2.Select User Management from the navigation tree.
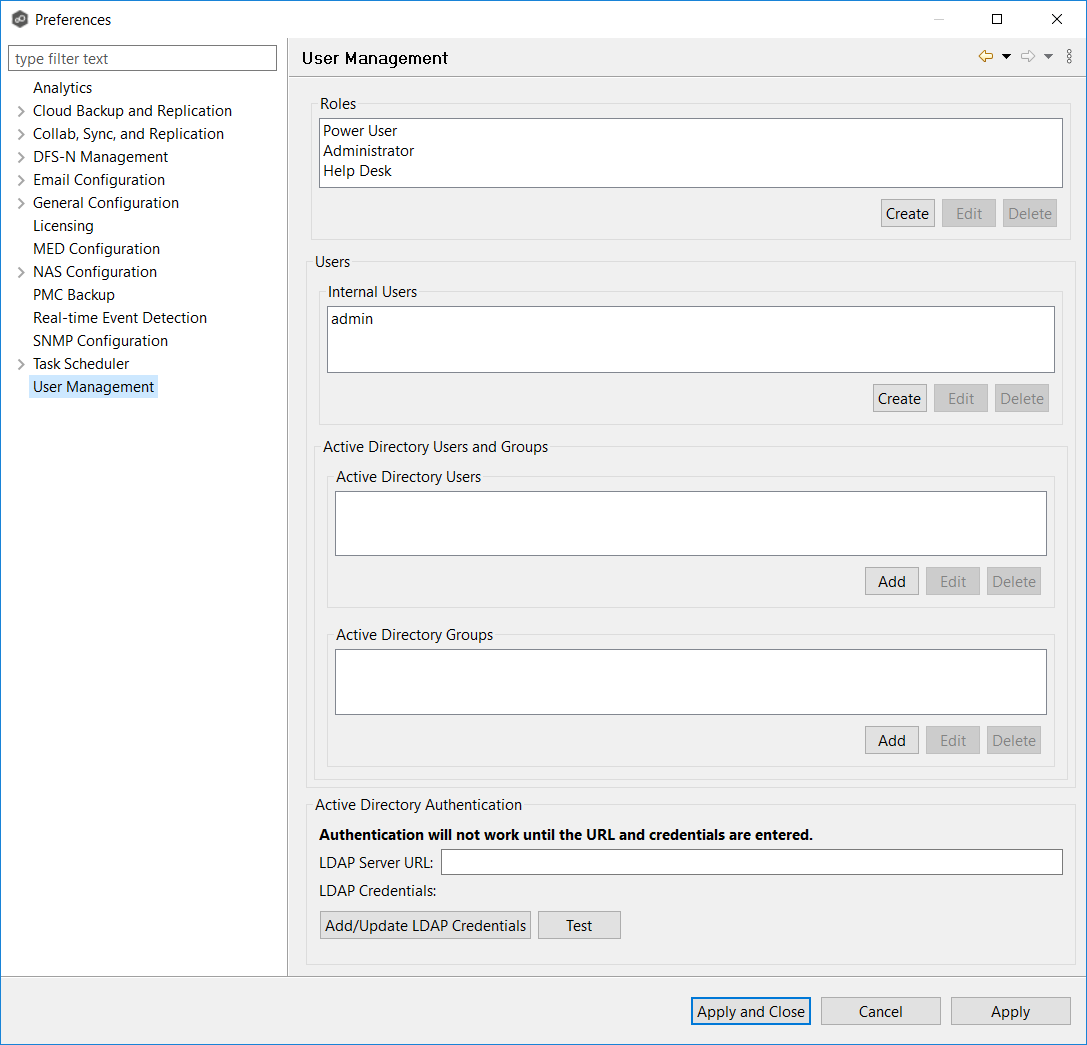
3.Click the Create button in the Roles section.
The General tab of New Role dialog is displayed.

4.Enter the following information:
•Role Name: A Role Name can contain only letters and numbers; it cannot contain any spaces or special characters. The maximum number of characters is 20. The Role Name is used in the internal Peer Management Center database.
•Display Name: The Display Name can contain spaces and special characters, in addition to letter and numbers. The Display Name is displayed in the PMC user interface and reports.
•Description: (Optional) Use the Description to provide a brief summary of the intended use of the role.
5.Select a standard web role on which to base the custom role.
6.Select the Permissions tab.
The Permissions tab displays a table of the permissions that are available to be modified for the new role. The Access column displays the current level of access that the role has to the resource. There are three levels of access: Full access, View-only access, and No access.
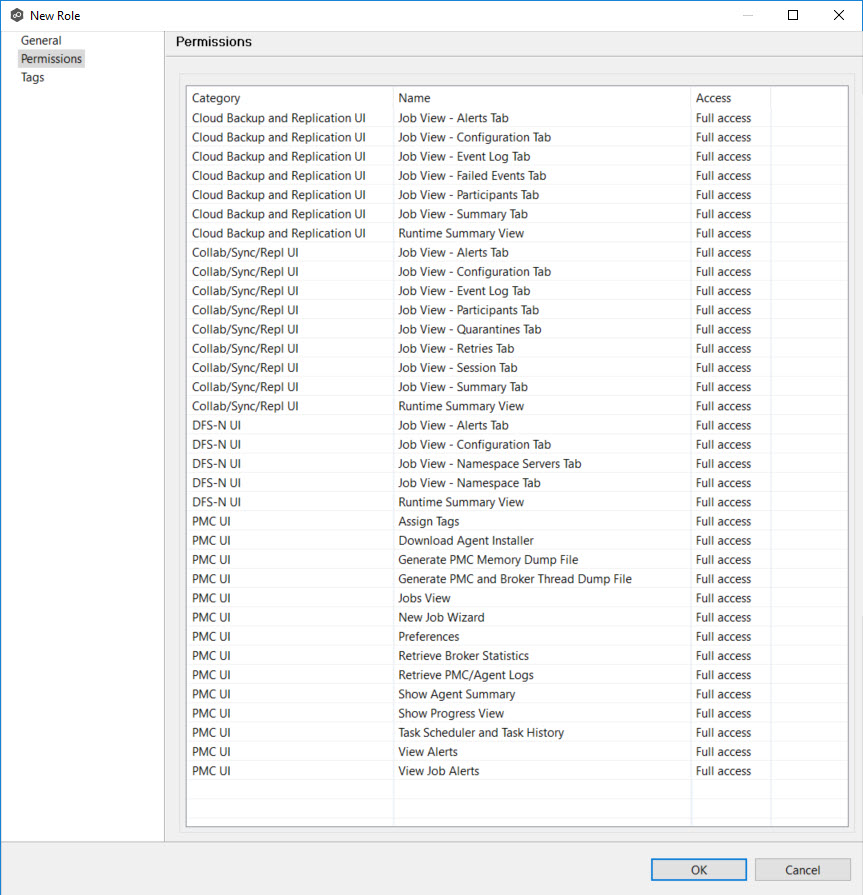
7.For each permission that you want to modify, click in the Access column, and then select the access level that you want for the new role.
8.(Optional) Click Tags to assign tags to the role.
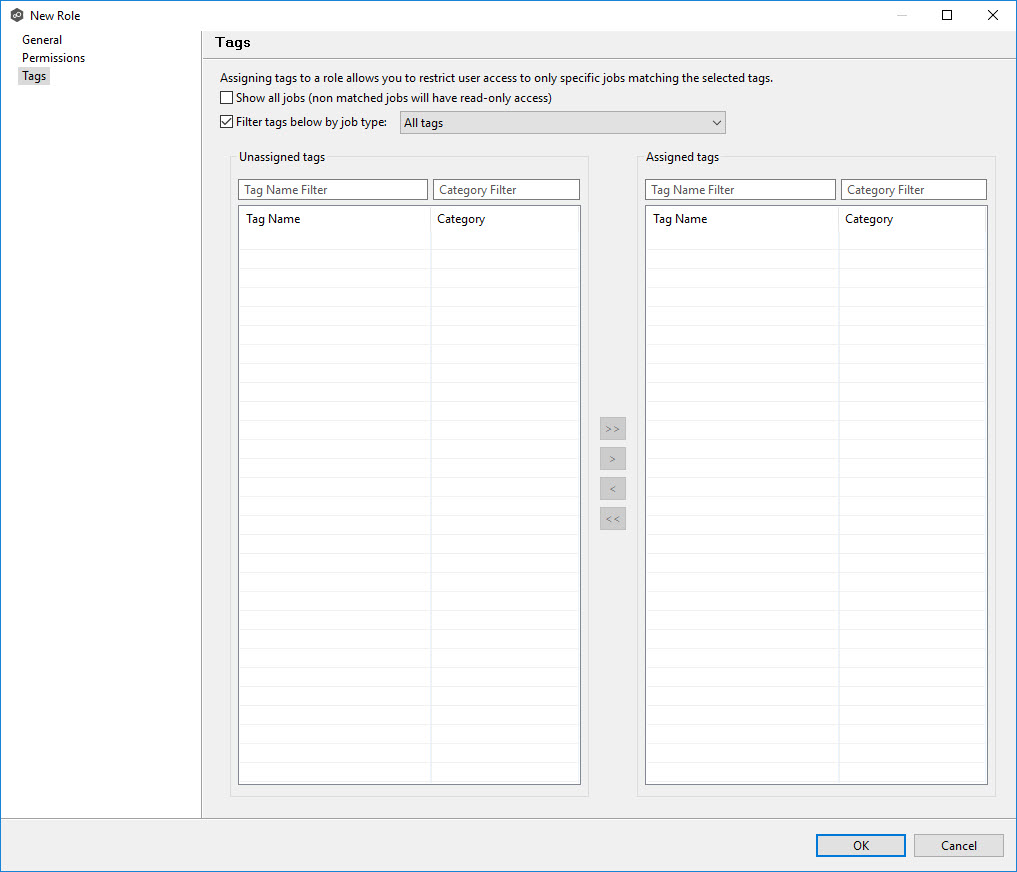
See Assigning Tags for more information.
9.Click OK.
The new role appears in the Roles section.