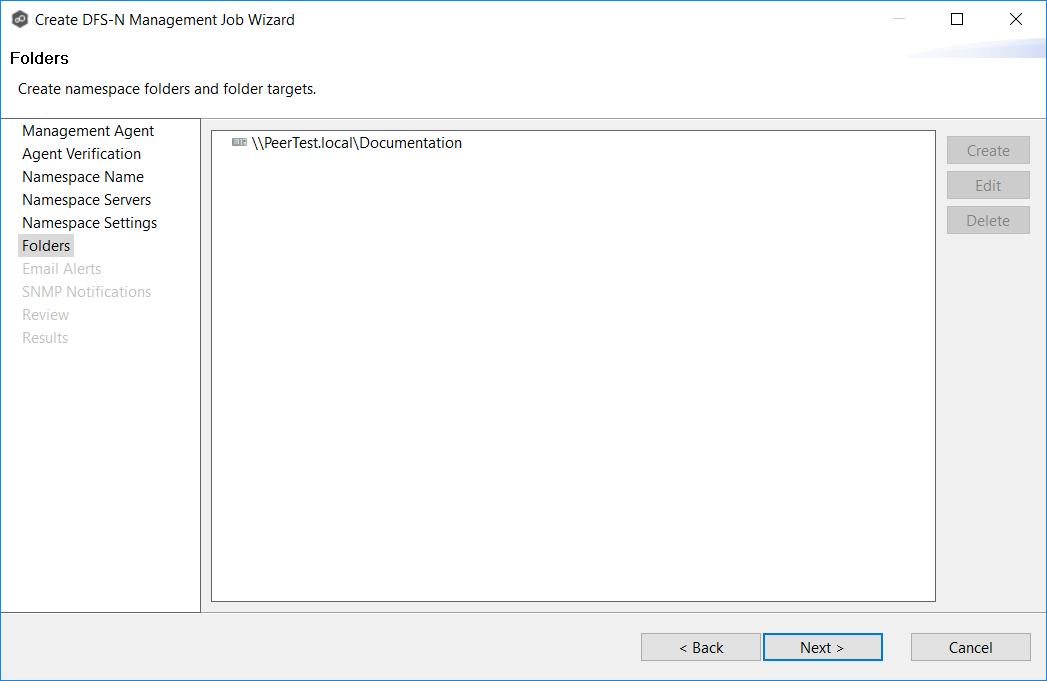
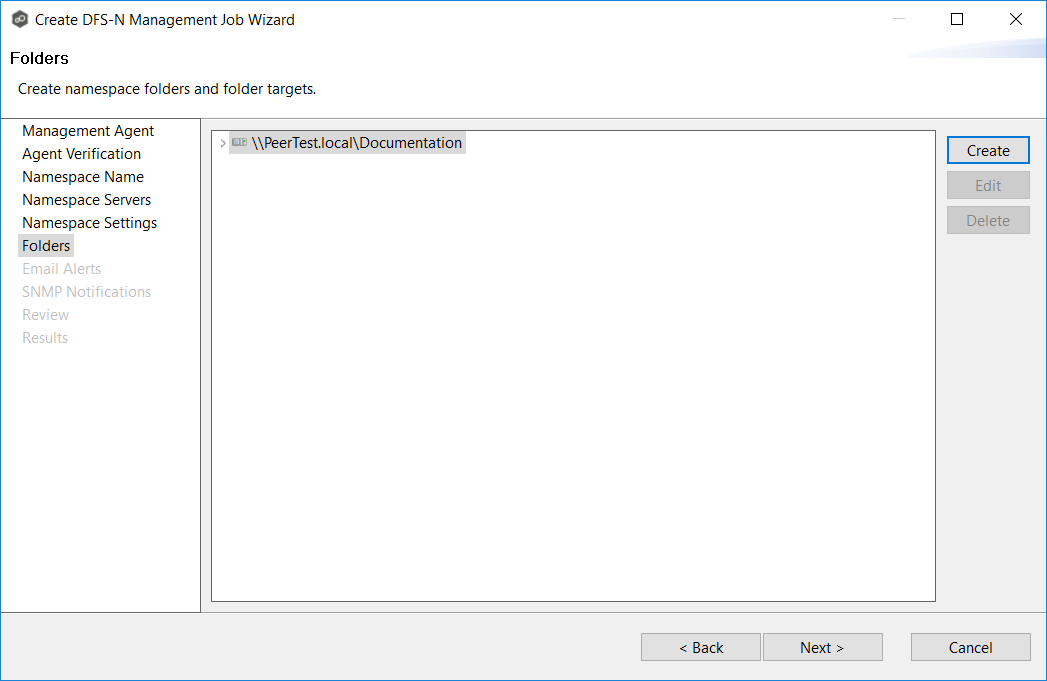
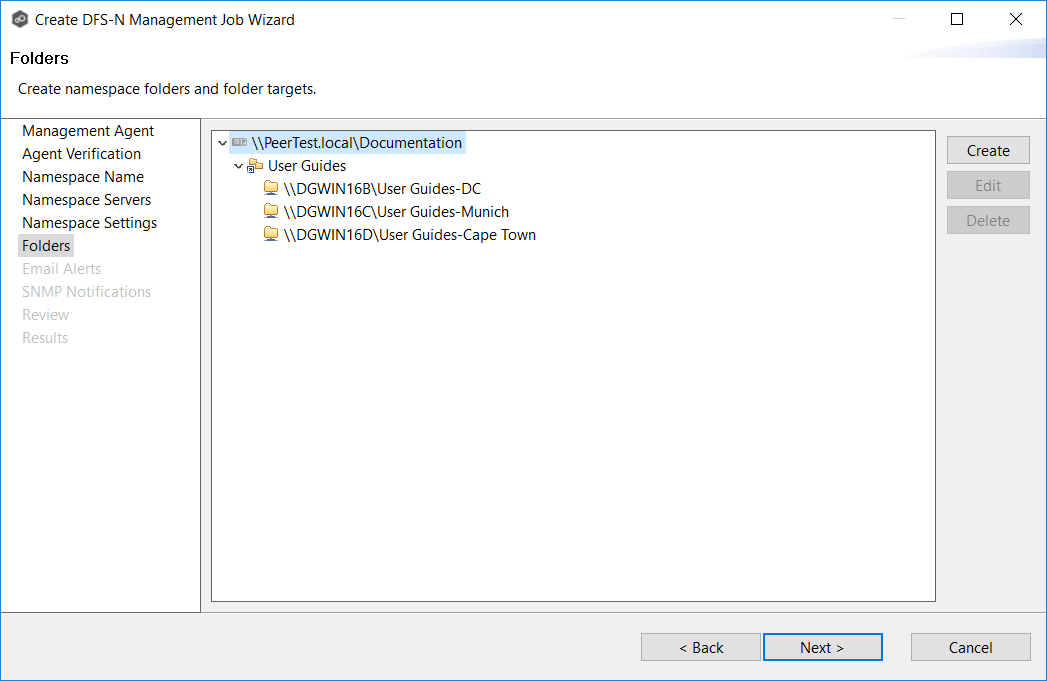
Initially, the Folders page displays the only the namespace path. After namespace folders and folder targets are added, they are displayed in a tree structure.
1.Select the namespace path, and then click the Create button.
The Folder Name dialog appears.
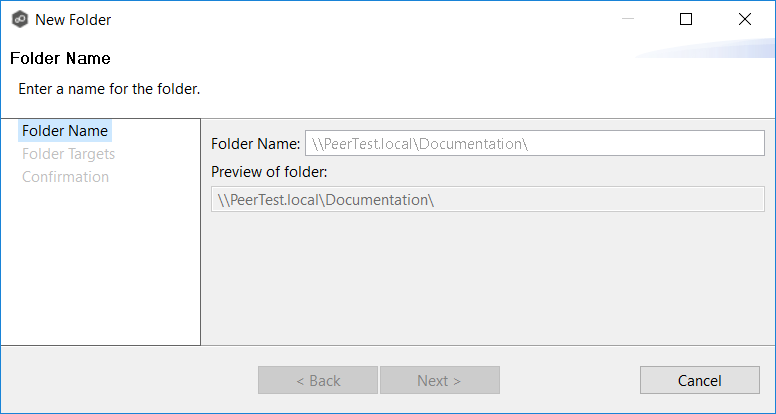
2.Enter a name for the namespace folder in the Folder Name field.
After you enter the folder name, a preview of the folder and path name appears below the Folder Name field.
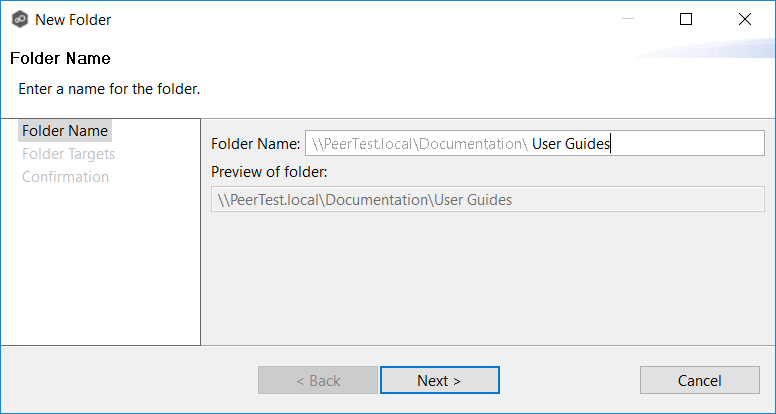
3.Click Next.
The Folder Targets dialog appears.
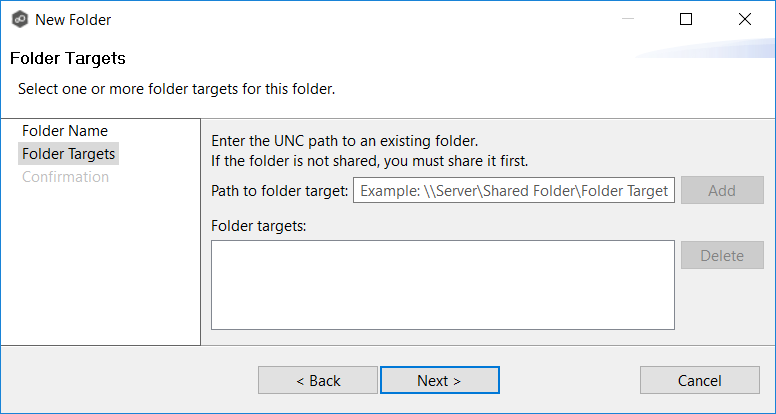
4.(Optional) To add a folder target, enter the UNC path to a shared folder, and then click Add.
If you haven't created your folders target yet, you can skip to Step 6 and add folder targets to the job later.
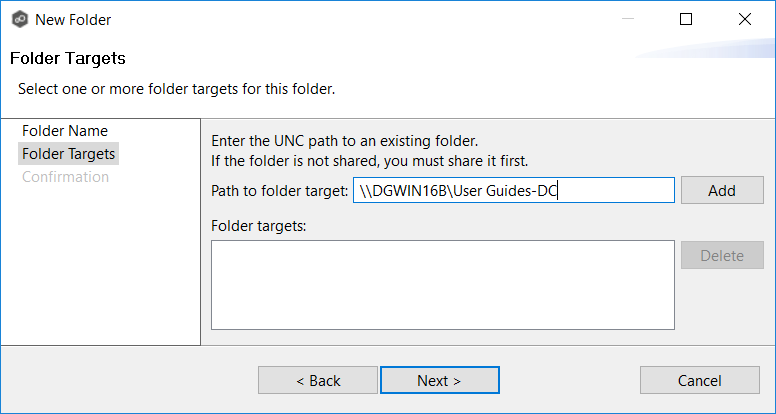
After the share is validated, it appears in the Folder targets area:
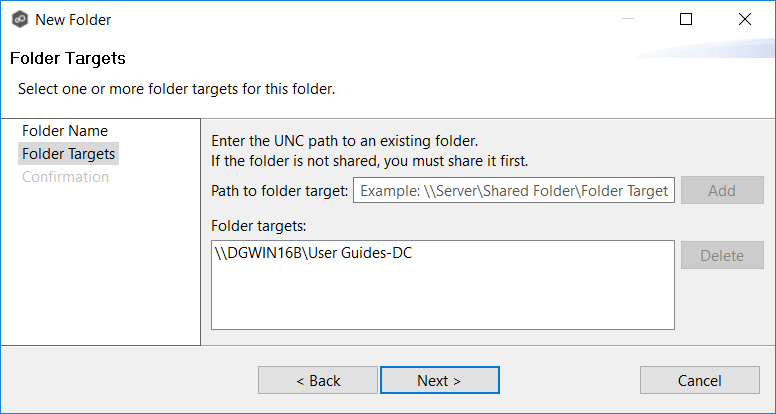
5.(Optional) Add additional folder targets.
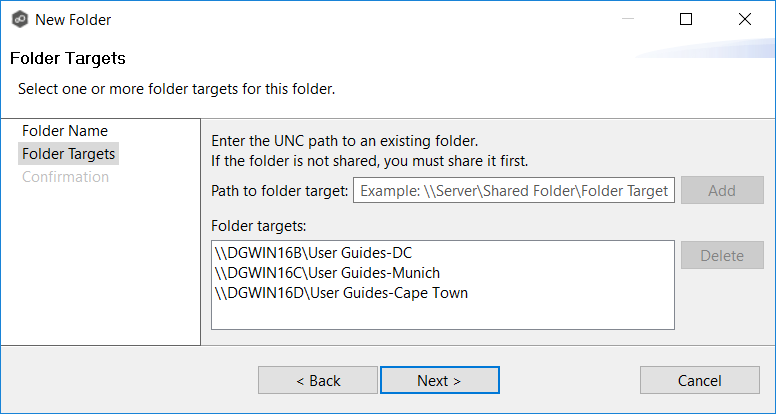
6.Click Next.
The Confirmation dialog appears.
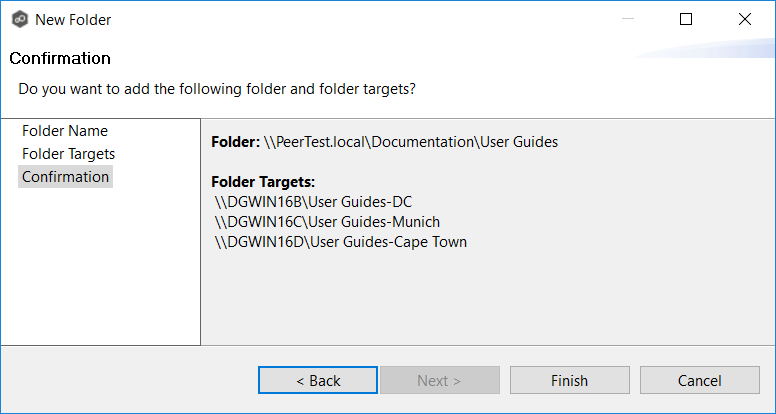
7.Review the folders and folder targets.
8.Click Back to add more folder and folder targets; otherwise, click Finish.
The Folders page reappears.
9.Expand the tree to view the folders and folder targets you added.
10.Click Next.
The Email Alerts page appears.