Perform the necessary commands using the keytool application bundled with your Peer Management Center or Peer Agent installation (Java 6).
Keytool location on Peer Management Center system: |
PMC_HUB_INSTALLATION_FOLDER\jre\bin |
Keytool location on Peer Agent system: |
PEER_AGENT_INSTALLATION_FOLDER\jre\bin |
Broker Keystore Generation
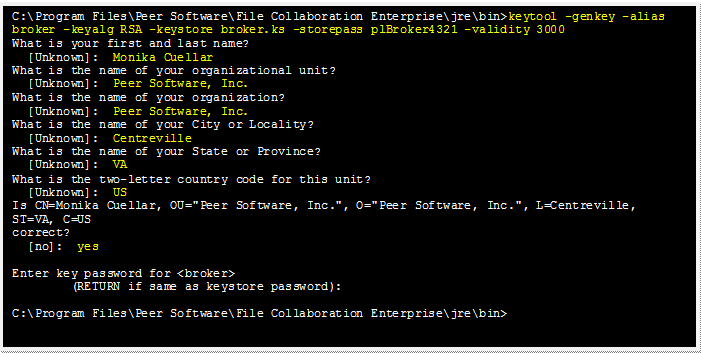
Step 1. Using keytool, create a certificate for the Peer Management Center.
keytool -genkey -alias broker -keyalg RSA -keystore broker.ks -storepass plBroker4321 -validity 3000 |
broker |
The alias of the new broker keystore containing the new certificate. |
broker.ks |
Destination broker keystore that will be created containing the new certificate. |
plBroker4321 |
The password you assign to the new broker keystore. |
Note: The broker.ks file will be created in the \jre\bin folder.
Example:
Step 2: Export the broker's certificate so it can be shared with clients.
keytool -export -alias broker -keystore broker.ks -file broker.cer |
broker |
The alias of the new broker keystore containing the new certificate.. |
broker.ks |
Destination broker keystore that will be created containing the new certificate. |
broker.cer |
The name of the broker's certificate to be created. |
Note: The broker.cer file will be created in the \jre\bin folder.
Example:

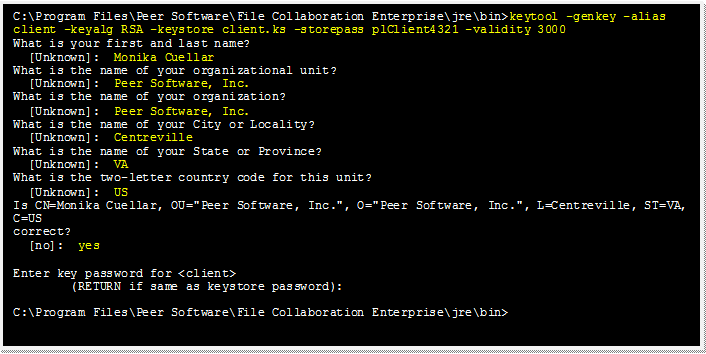
Step 3: Create a certificate/keystore for the client.
keytool -genkey -alias client -keyalg RSA -keystore client.ks -storepass plClient4321 -validity 3000 |
client |
The alias of the new client keystore containing the new certificate. |
client.ks |
Destination keystore for the client that will be created containing the new certificate. |
plClient4321 |
The password you assign to the new client keystore. |
Note: The client.ks file will be created in the \jre\bin folder.
Example:
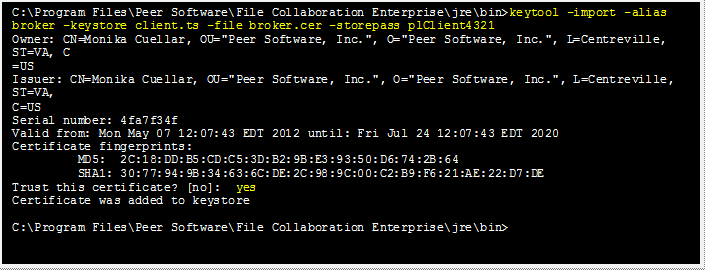
Step 4: Create a truststore for the client, and import the broker's certificate. This establishes that the client "trusts" the broker.
keytool -import -alias broker -keystore client.ts -file broker.cer -storepass plClient4321 |
broker |
The alias of the broker keystore created in step 1. |
client.ts |
Destination truststore for the client that will be created containing the broker's certificate. |
broker.cer |
The broker's certificate created in step 2. |
plClient4321 |
The password assigned to the client keystore in Step 3. |
Example:
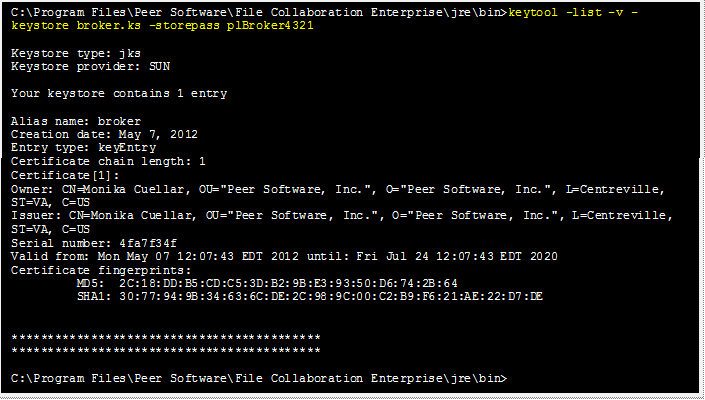
Optional: List the certificates in the broker keystore.
keytool -list -v -keystore broker.ks -storepass plBroker4321 |
Example:
Verify Client Certificate
If you want to verify client certificates, you need to take a few extra steps.
Step 1: Export the client's certificate so it can be shared with broker.
keytool -export -alias client -keystore client.ks -file client.cer -storepass plClient4321 |
Note: The client.cer file will be created in the \jre\bin folder.
Example:

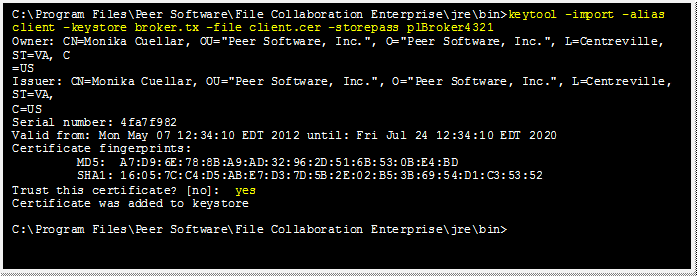
Step 2: Create a truststore for the broker, and import the client's certificate. This establishes that the broker "trusts" the client:
keytool -import -alias client -keystore broker.ts -file client.cer -storepass plBroker4321 |
Example:
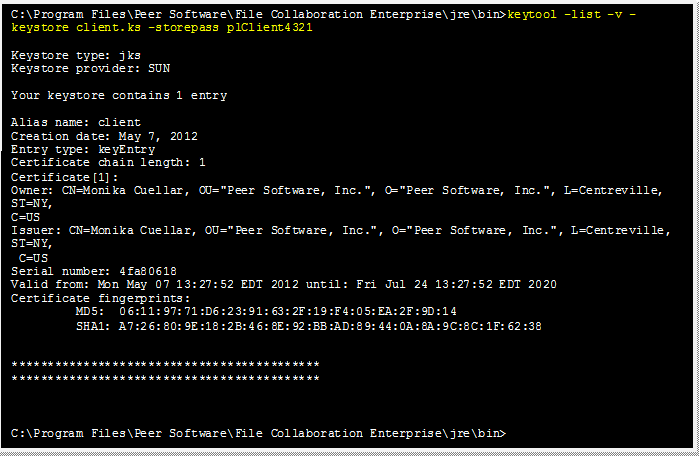
Optional: List the certificates in the client keystore.
keytool -list -v -keystore client.ks -storepass plClient4321 |
Example:
Copy the Generated Keystore Files into Their Appropriate Location
On the Peer Management Center system: Copy the following files from the "C:\Program Files\Peer Software\Peer Management Hub\jre\bin" directory into the "C:\Program Files\Peer Software\Peer Management Hub\Broker\keys" directory on the Peer Management Center system. Overwrite the existing files.
broker.ks
broker.ts
On the Peer Agent system: Copy the following files from the "C:\Program Files\Peer Software\Peer Management Hub\jre\bin" directory into the "C:\Program Files\Peer Software\Peer Agent\keys" directory on the Peer Agent systems. Overwrite the existing files.
client.ks
client.ts
Restart All Peer Management Center Services for the Changes to Take Effect
We recommend you create a folder outside the Peer Management Center/Peer Agent installation directories in which to store the keystore files. This will ensure that upgrades will not clear/overwrite these files. The steps outlining this process will be posted shortly.