Once preferences have been configured, create a new file collaboration job by clicking on the Create New button in toolbar of the Peer Management Center, or by selecting New from the File menu. A list of all installed Peerlet types will be displayed. Selecting the File Collaboration option will prompt you for a unique name for the job, then open the New File Collaboration wizard.
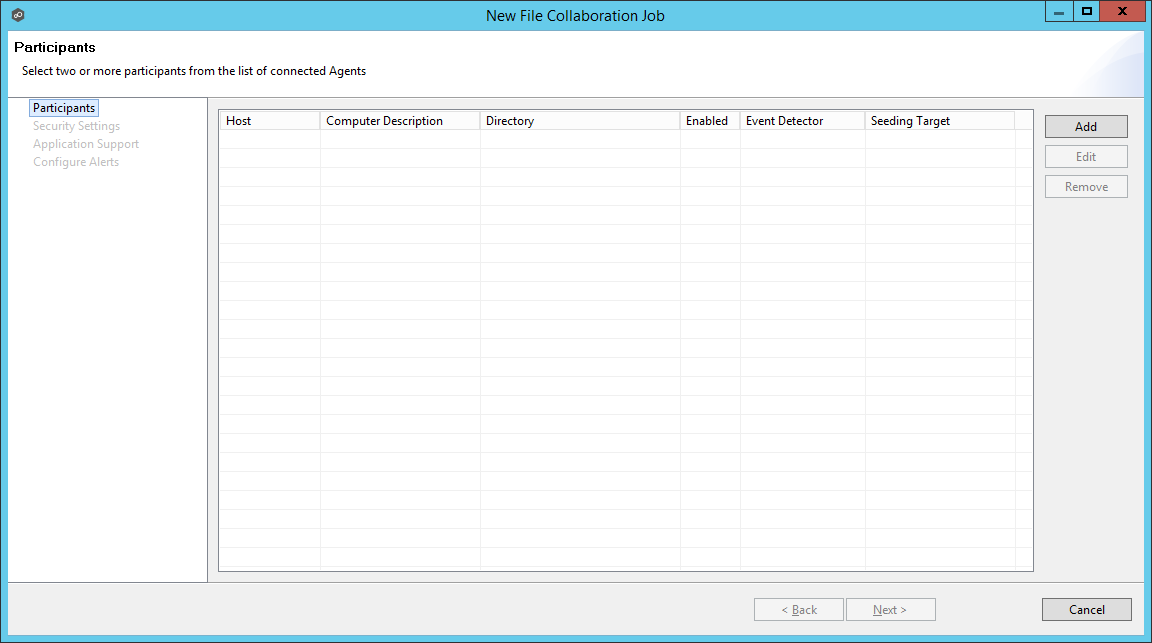
The first step in the new File Collaboration job wizard is to select two or more Agents to participate in this replication relationship.
1.To add a participant, click the Add button.
2.Another wizard will appear to guide you through the process of adding an Agent (and an optional NAS device) to this new file collaboration job. The storage platform that you select from this screen will determine what settings are needed later in the wizard.
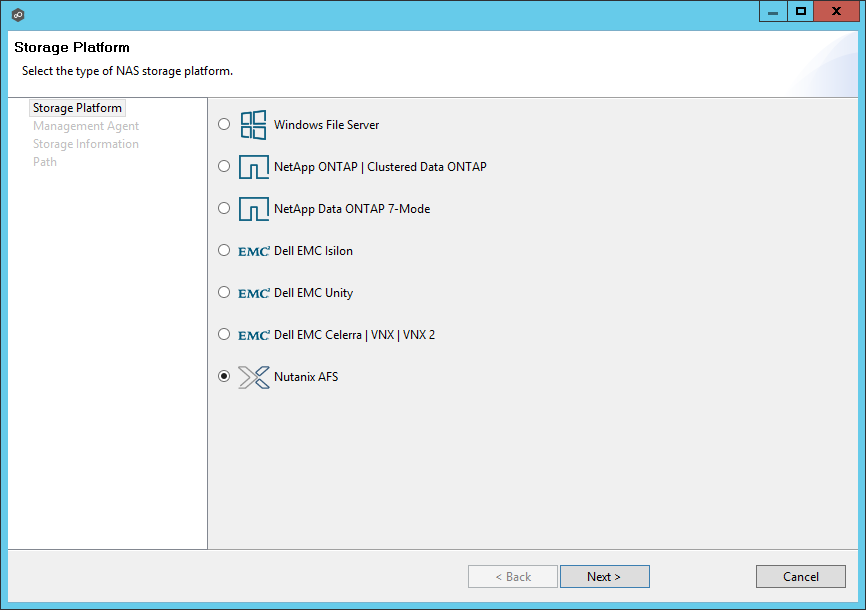
3.Select the appropriate platform, then click Next.
The next screen will show a list of connected Agents.
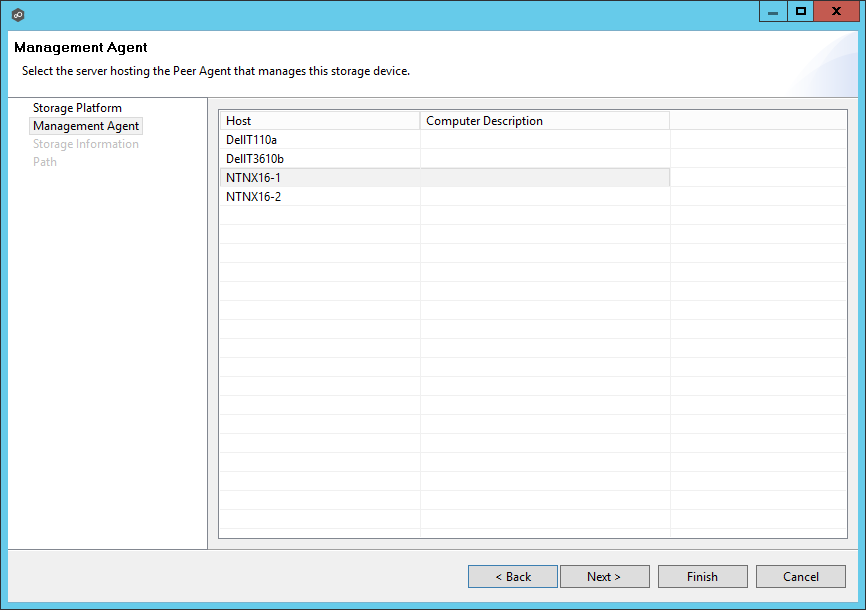
4.Select the one that will directly manage the storage platform selected above, then click Next
The required settings on the following screen will vary depending on the storage platform selected above. If Windows was selected, the wizard will skip this page.
5.If the selected Management Agent has never been connected to a NAS device, you will need to enter connection information specific to the selected storage platform. See the File Collaboration subsection of the Advanced Configuration section for more information on the requirements of each storage platform.
If the selected Management Agent has been connected to a NAS device in the past, you can select Existing Credentials to automatically use the previously entered settings.
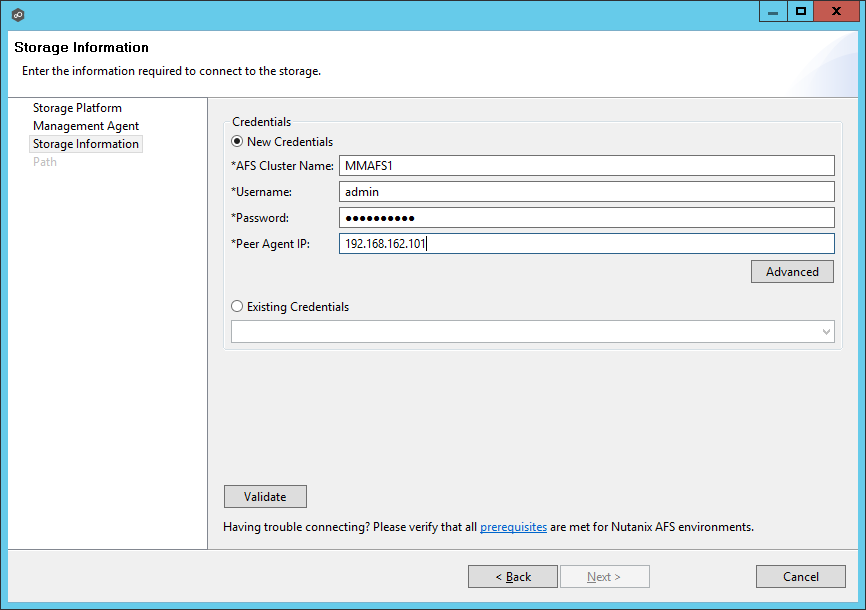
6.Click Next to continue.
7.Once storage device information has been entered and verified, you will be prompted to browse for or enter a path for the watch set.
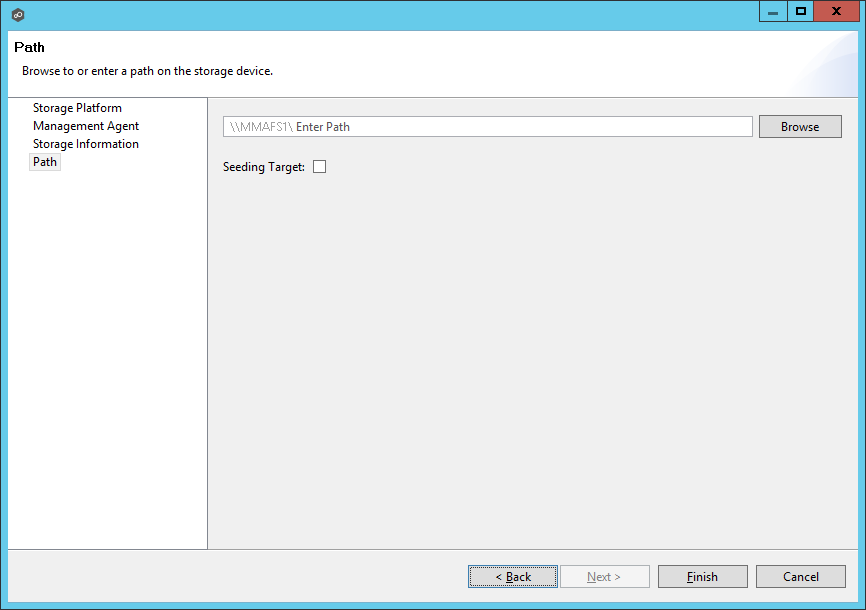
If you wish to browse for the desired path, click the Browse button. The following dialog will appear.
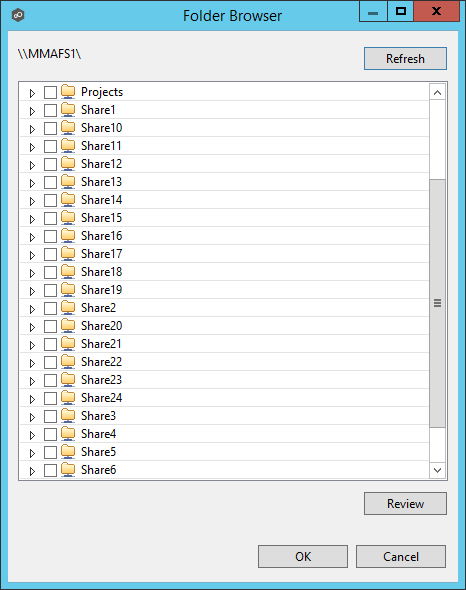
Check the appropriate volume/share/subfolder, then click OK.
Optionally, if the Seeding Option is checked, the following warning like the following will appear:
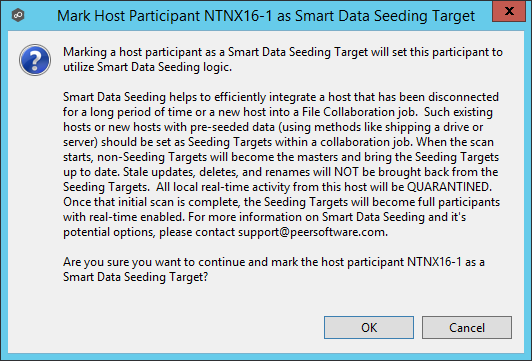
Click OK if the described behavior is what you are looking for. For more information, please contact support@peersoftware.com.
8.Click Finish to complete the wizard for this participant.
9.Repeat the preceding six steps for each participant.